Spring has sprung! Color up your plastic Easter eggs this holiday with Crayola Play Sand! Colored sand is an awesome alternative to traditional egg dye that is less of a mess but all the more color!
The 'sweetest' part is that you can fill it with your kids favorite candy! (We always recommend placing wrapped/sealed candy inside no matter how you choose to decorate your eggs).
Below are the step-by-step instructions to the colorful DIY straight from the Crayola Play Sand Lab.
Keep reading to learn how to decorate your own!
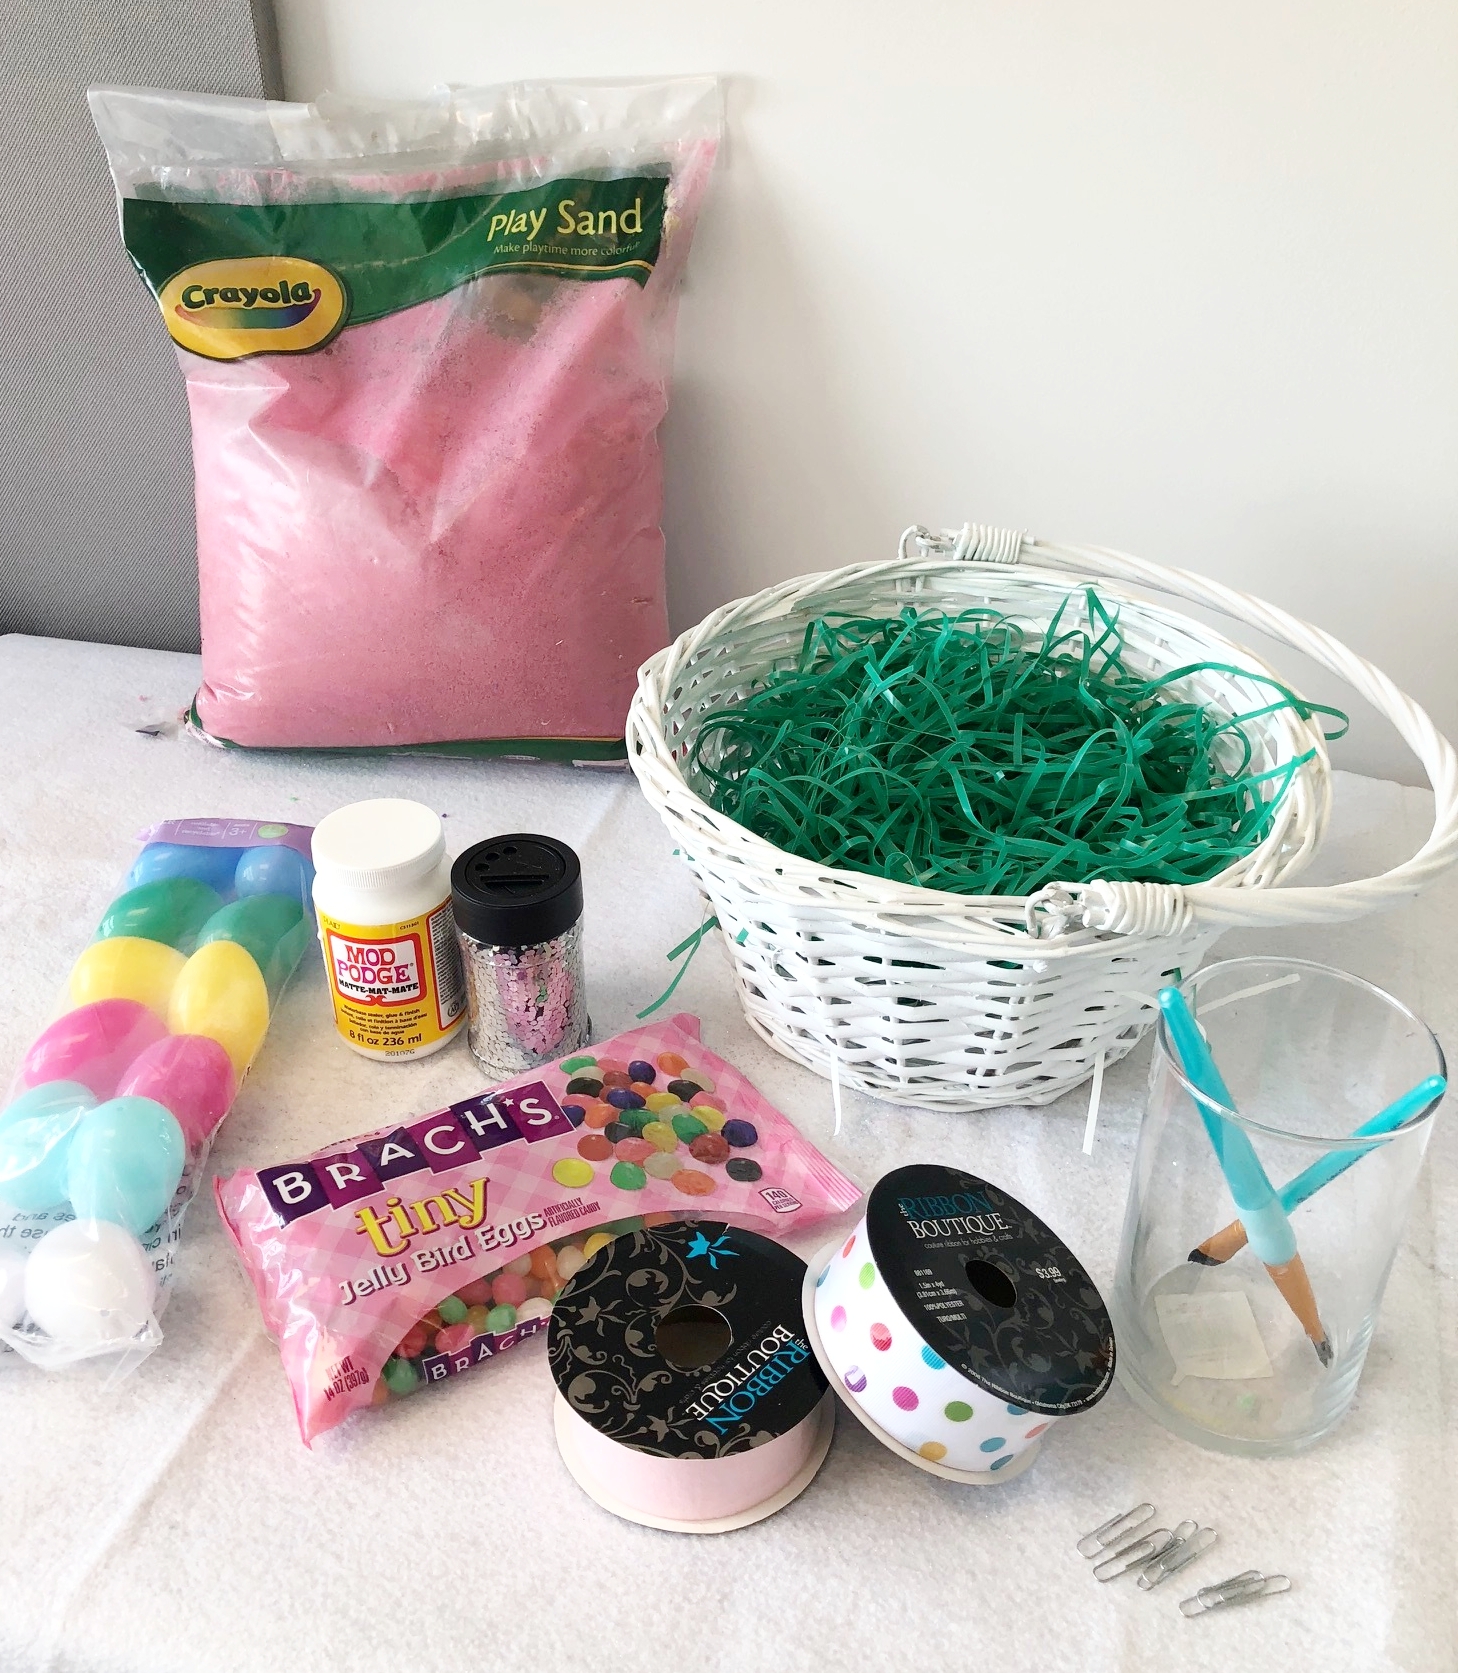
MATERIALS
Here are some of the items you'll need:
Plastic white Easter eggs (Find these at your local craft store)
1 8 oz. jar of Mod Podge, or any type of kid-safe liquid glue
At least 1 bag of Crayola Play Sand- Any color! Select multiple colors for an even cooler looking design! (Click here to find it at a store near you!)
1 Cup per color of Crayola Play Sand
Large Paper clips (1 for each egg you intend to make)
Medium Paint Brush
Bowls
Glitter
Candy! (Wrapped candy preferred)
Straw grass & Basket (optional)
1 styrofoam block
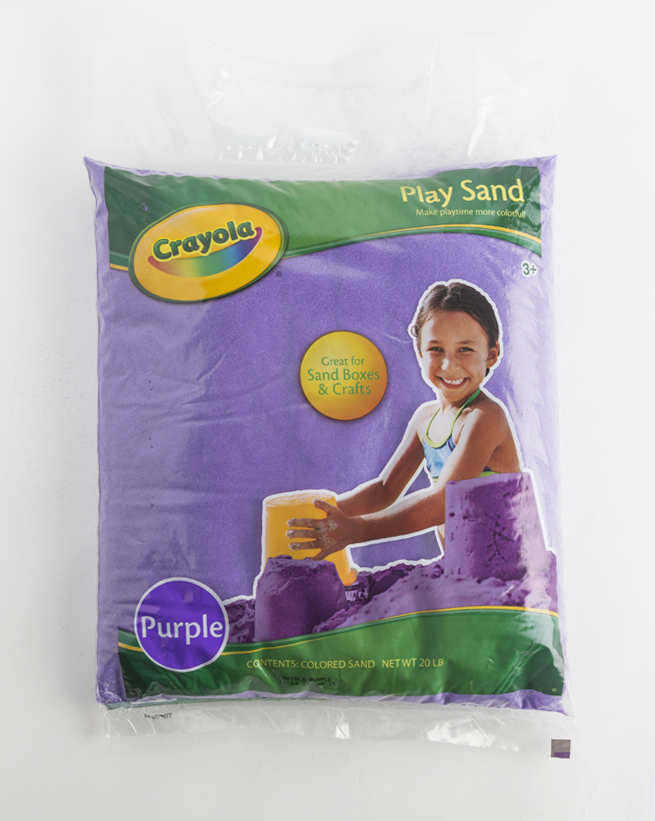
Purple Crayola Play Sand

Pink Crayola Play Sand
INSTRUCTIONS:
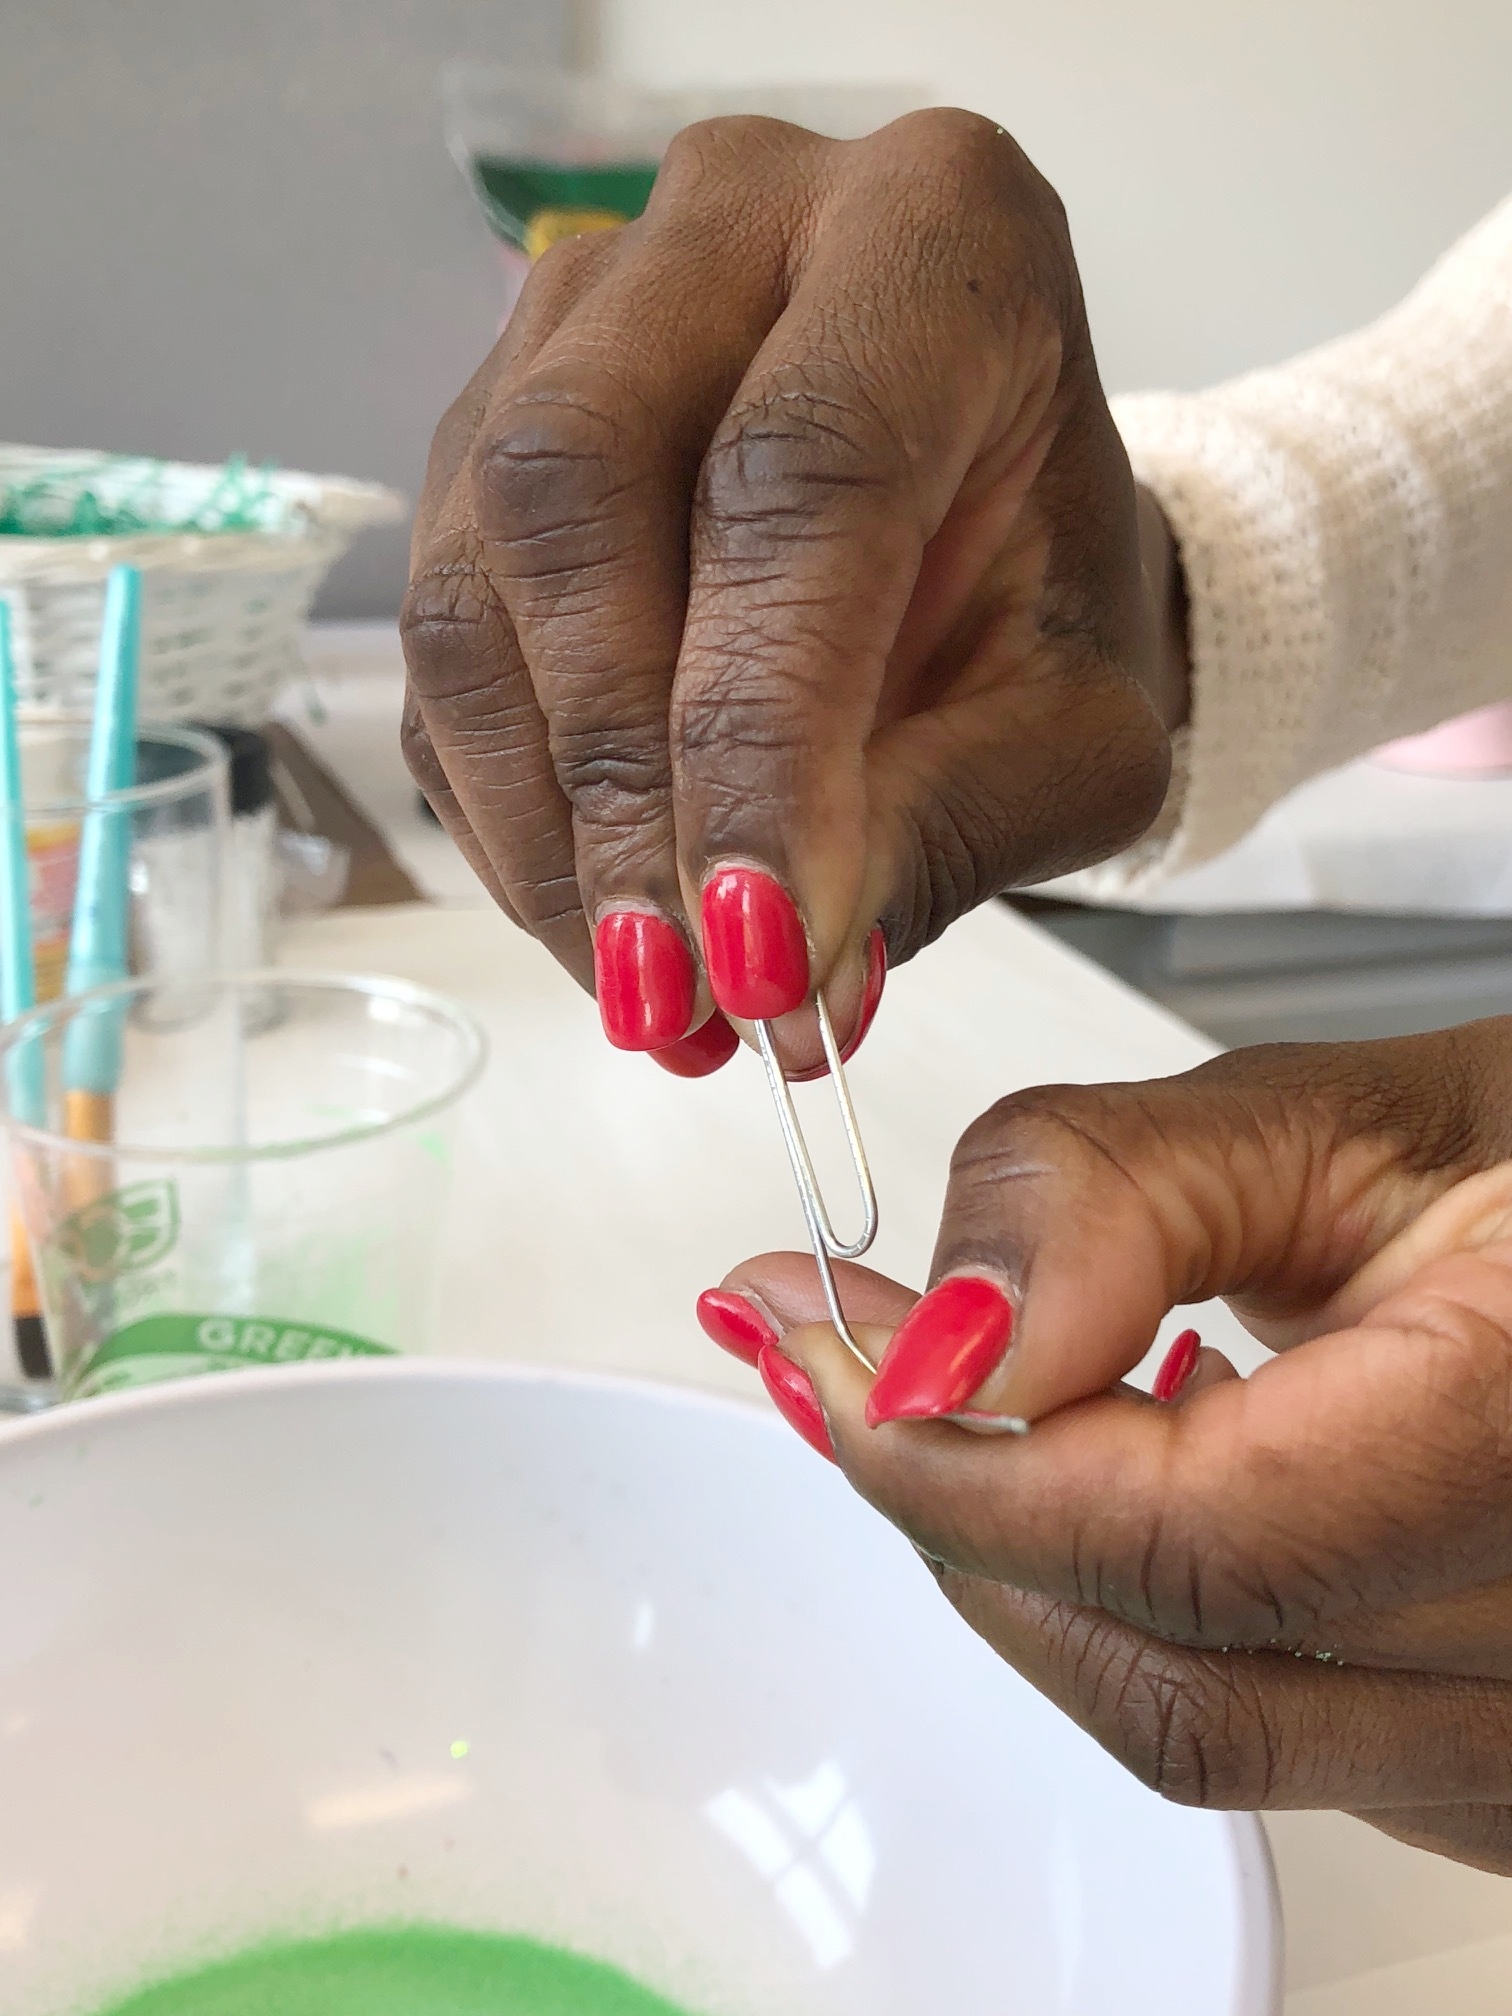
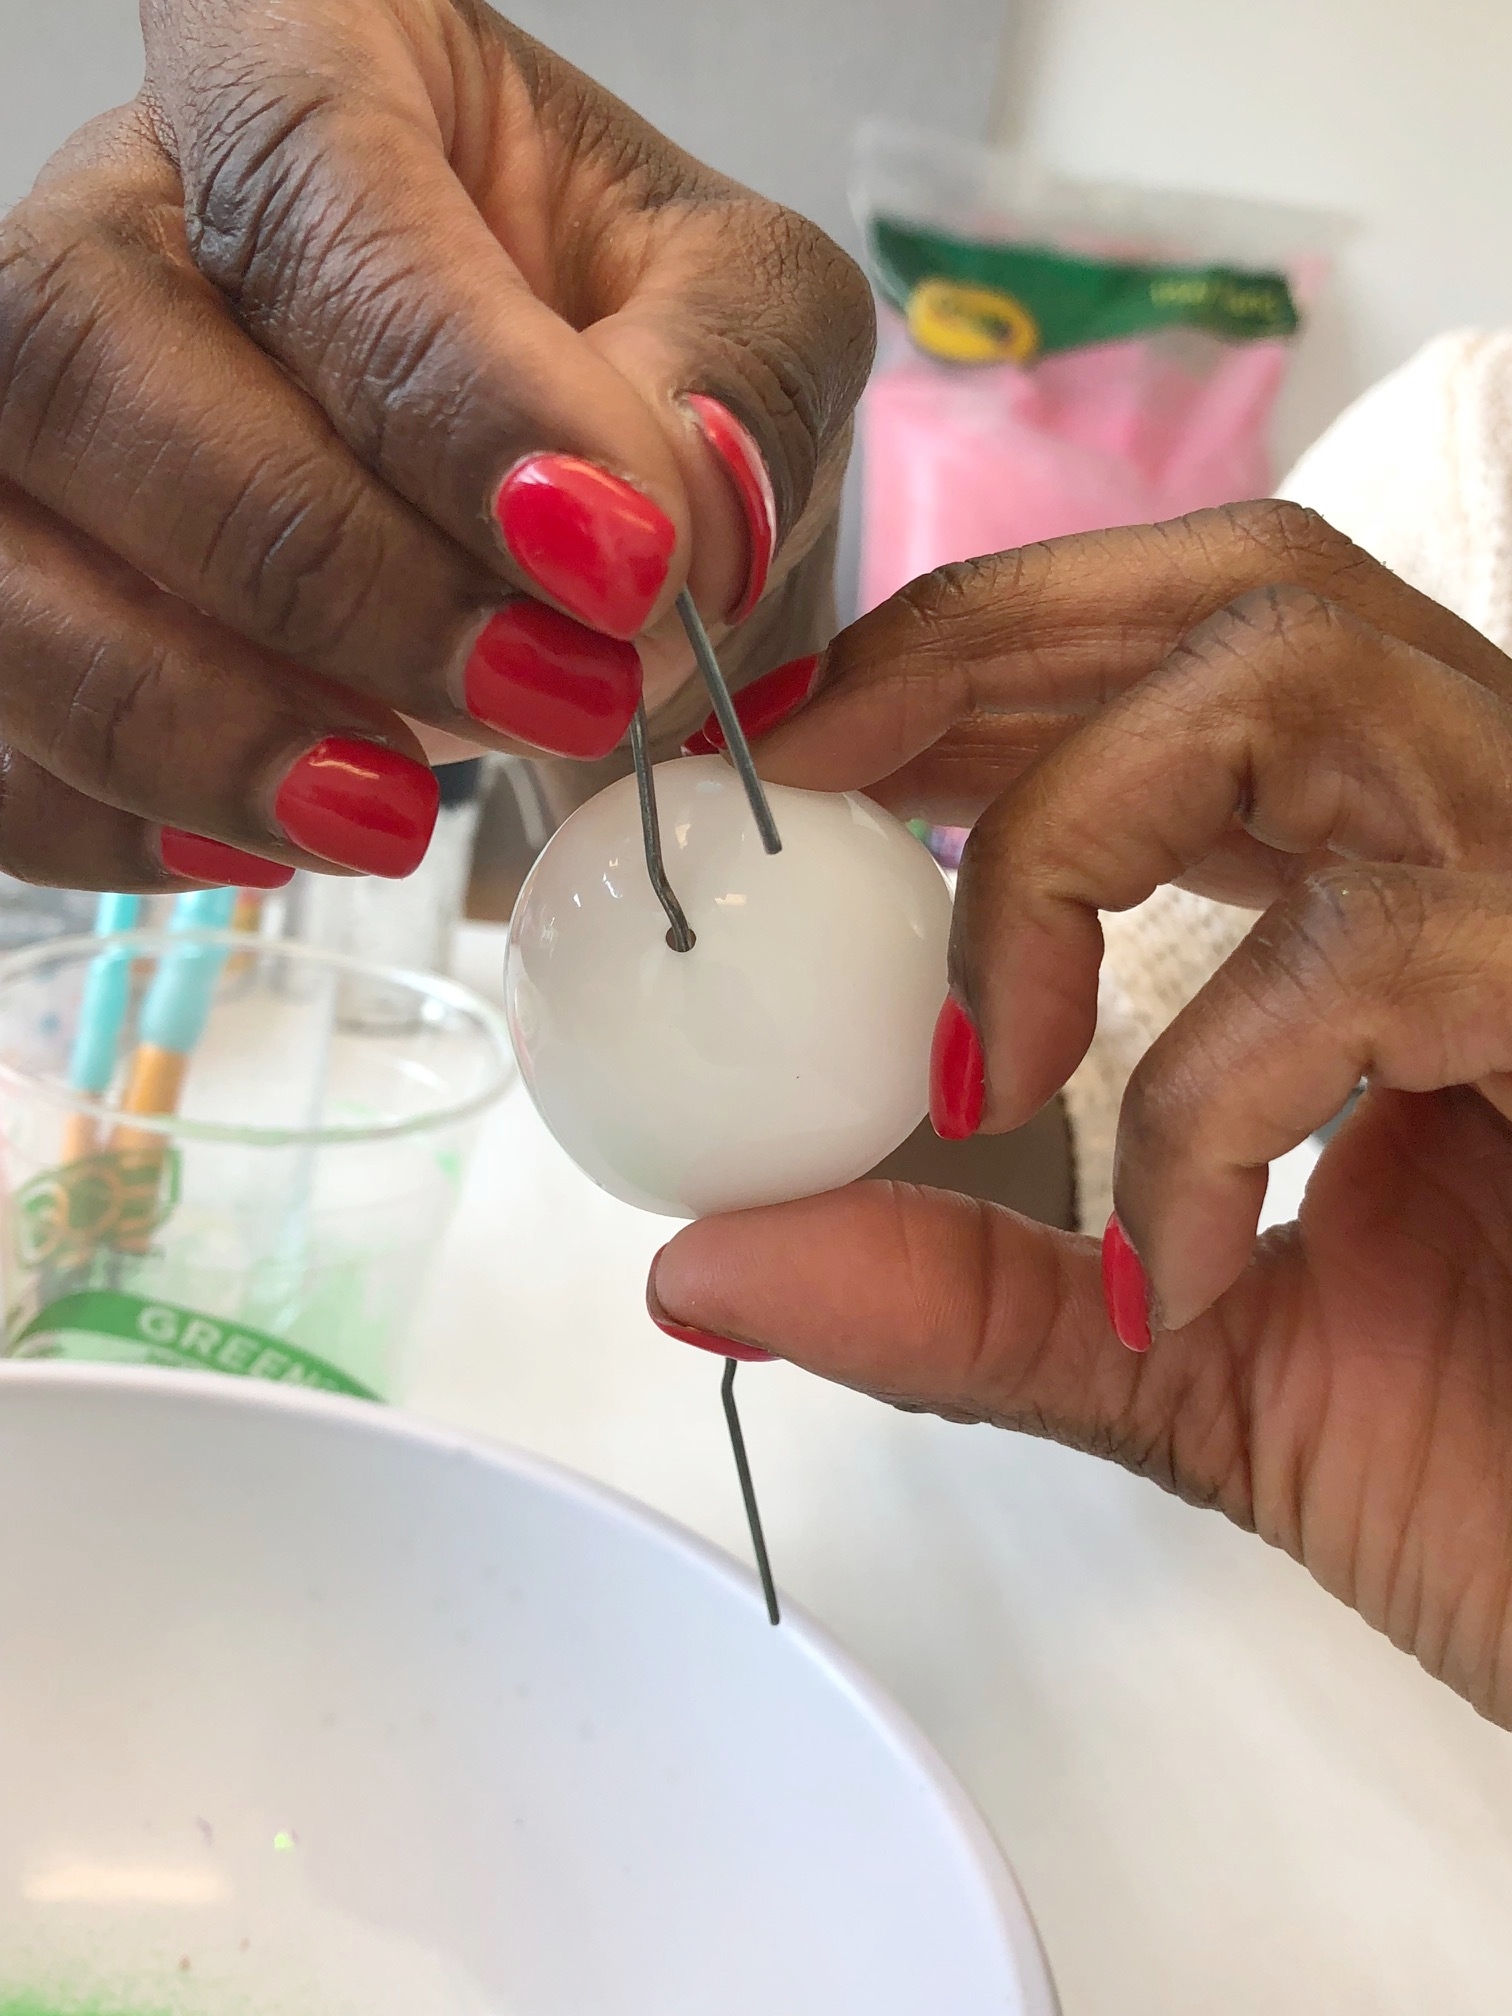
For starters, lets create a simple way to hold the eggs while you paint, sand and set them to dry. We do this by unfolding a large paperclip and leaving it in the shape of a candy cane (like below).

Next, break apart a plastic egg, hold the bottom half of the egg (or the side with the 2 holes in it) and slide the paperclip through both holes as pictured below. Then add the other half of the egg by sliding it up the bottom end of the paper clip.
Snap the eggs together and you're done! You now have an easy, less messy and more fun way to decorate your eggs. Let the fun begin!


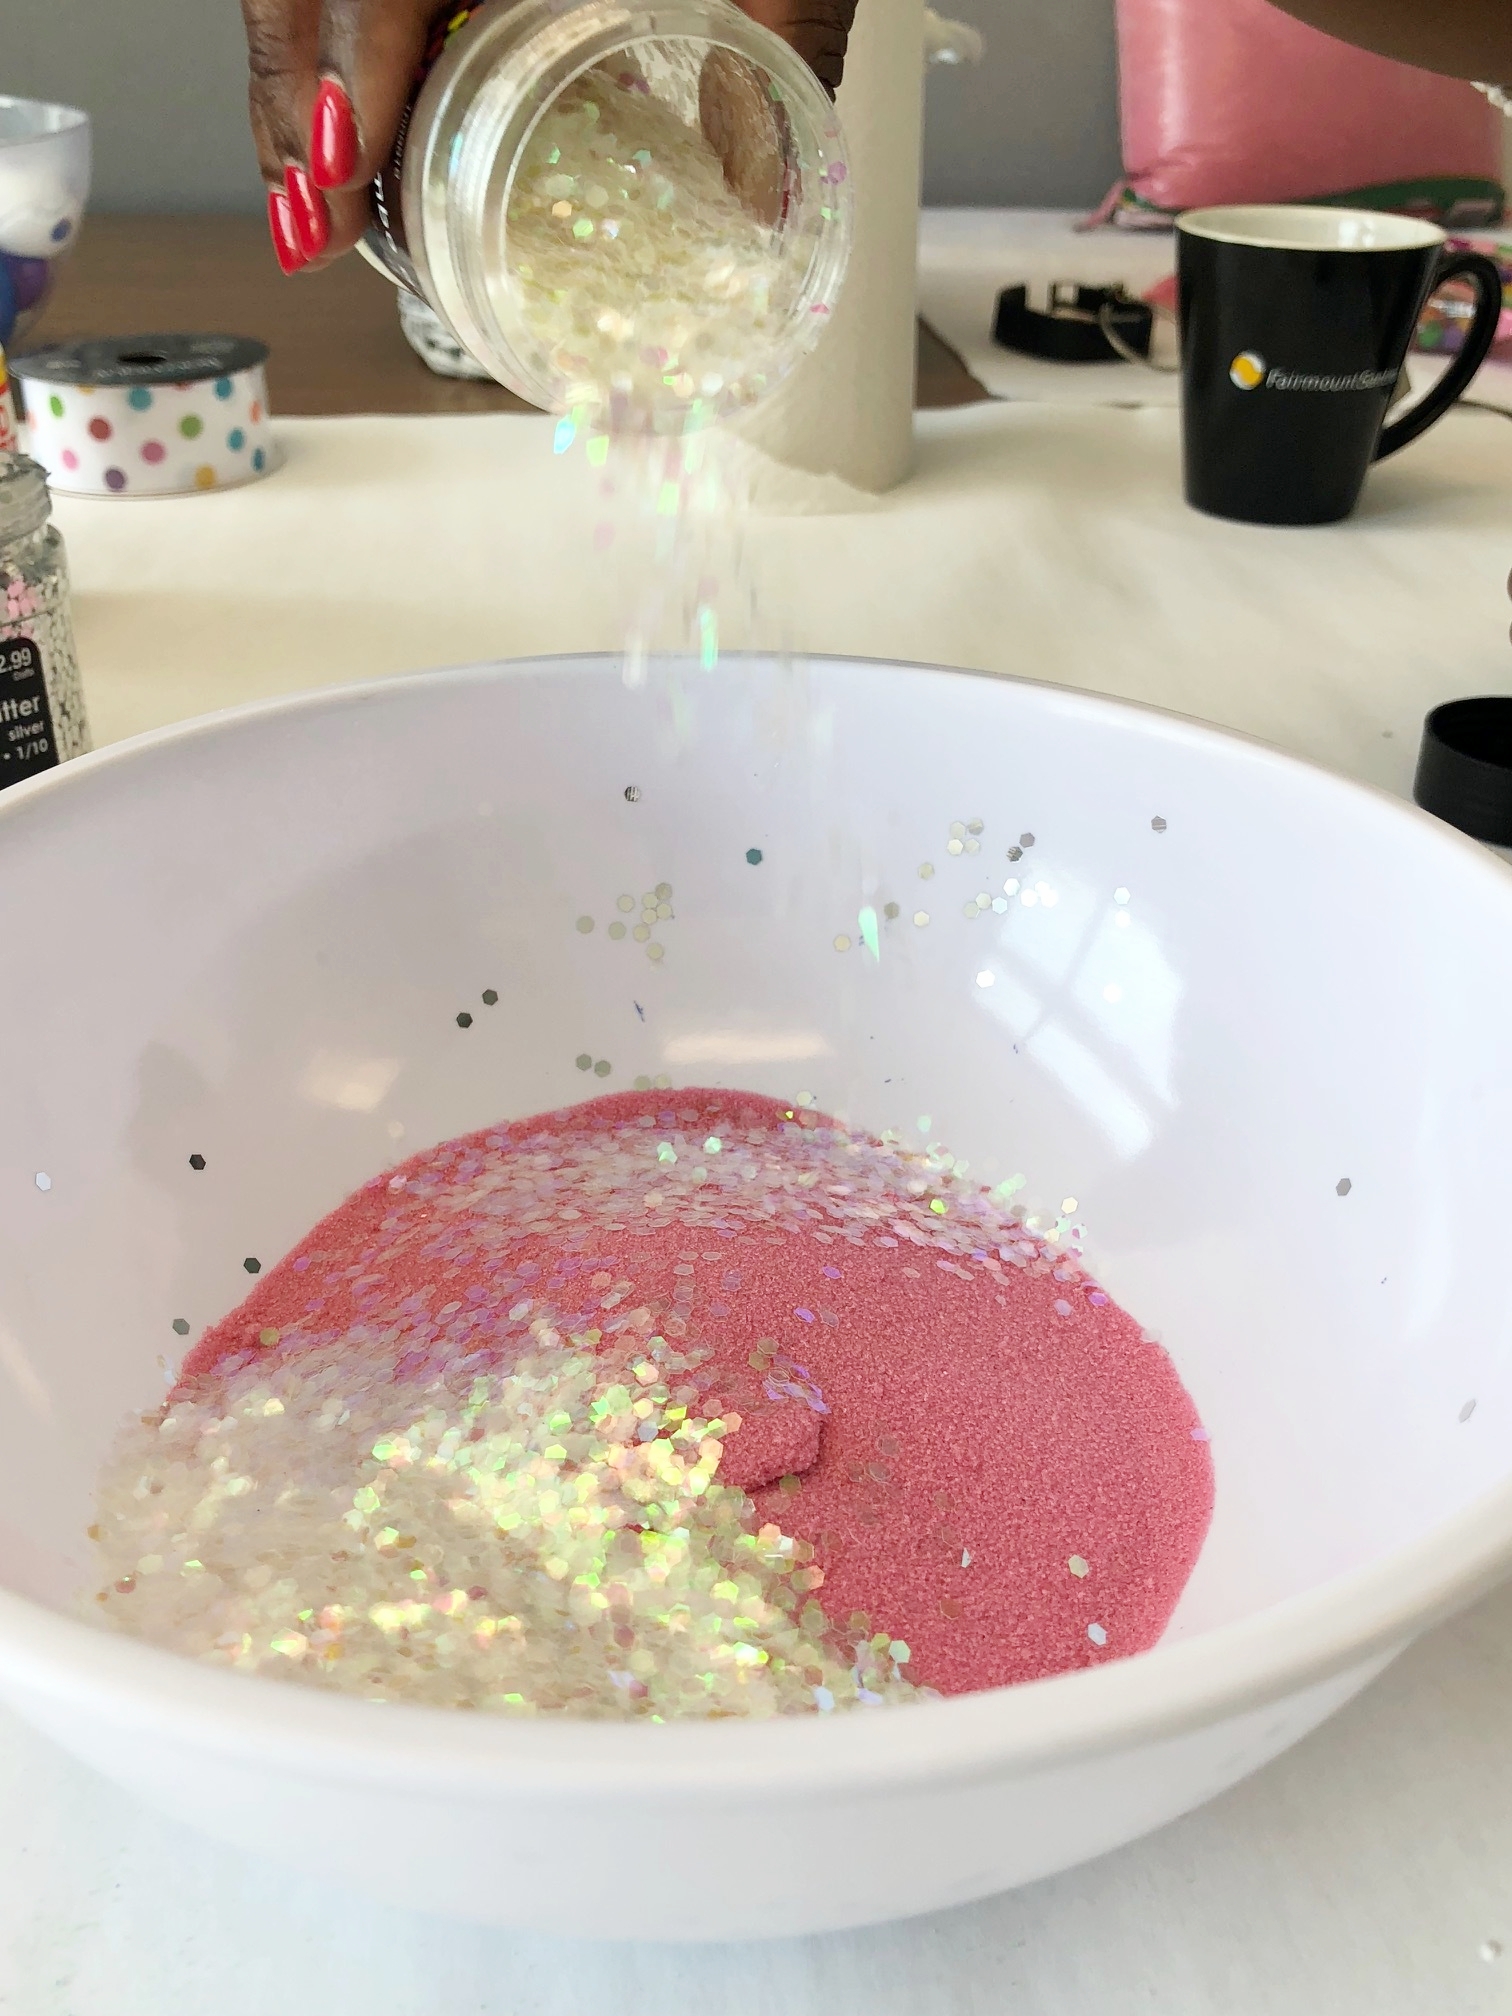
First, pour Crayola Play Sand (and even glitter if you like sparkle) into a bowl, mix the materials together, and set it to the side.

Holding the egg by the paper clip handle, use a brush to paint Mod Podge or liquid glue onto your egg with swift strokes until the egg is covered specifically where you'd like to add your play sand and glitter. You can do spots, stripes or the entire egg!


Next, grab your bowl of Crayola Play Sand and/or glitter mix and begin carefully sprinkling it along the areas you applied glue to using a spoon. Don't be afraid to shake on alot if you're going for a strong pop of color!


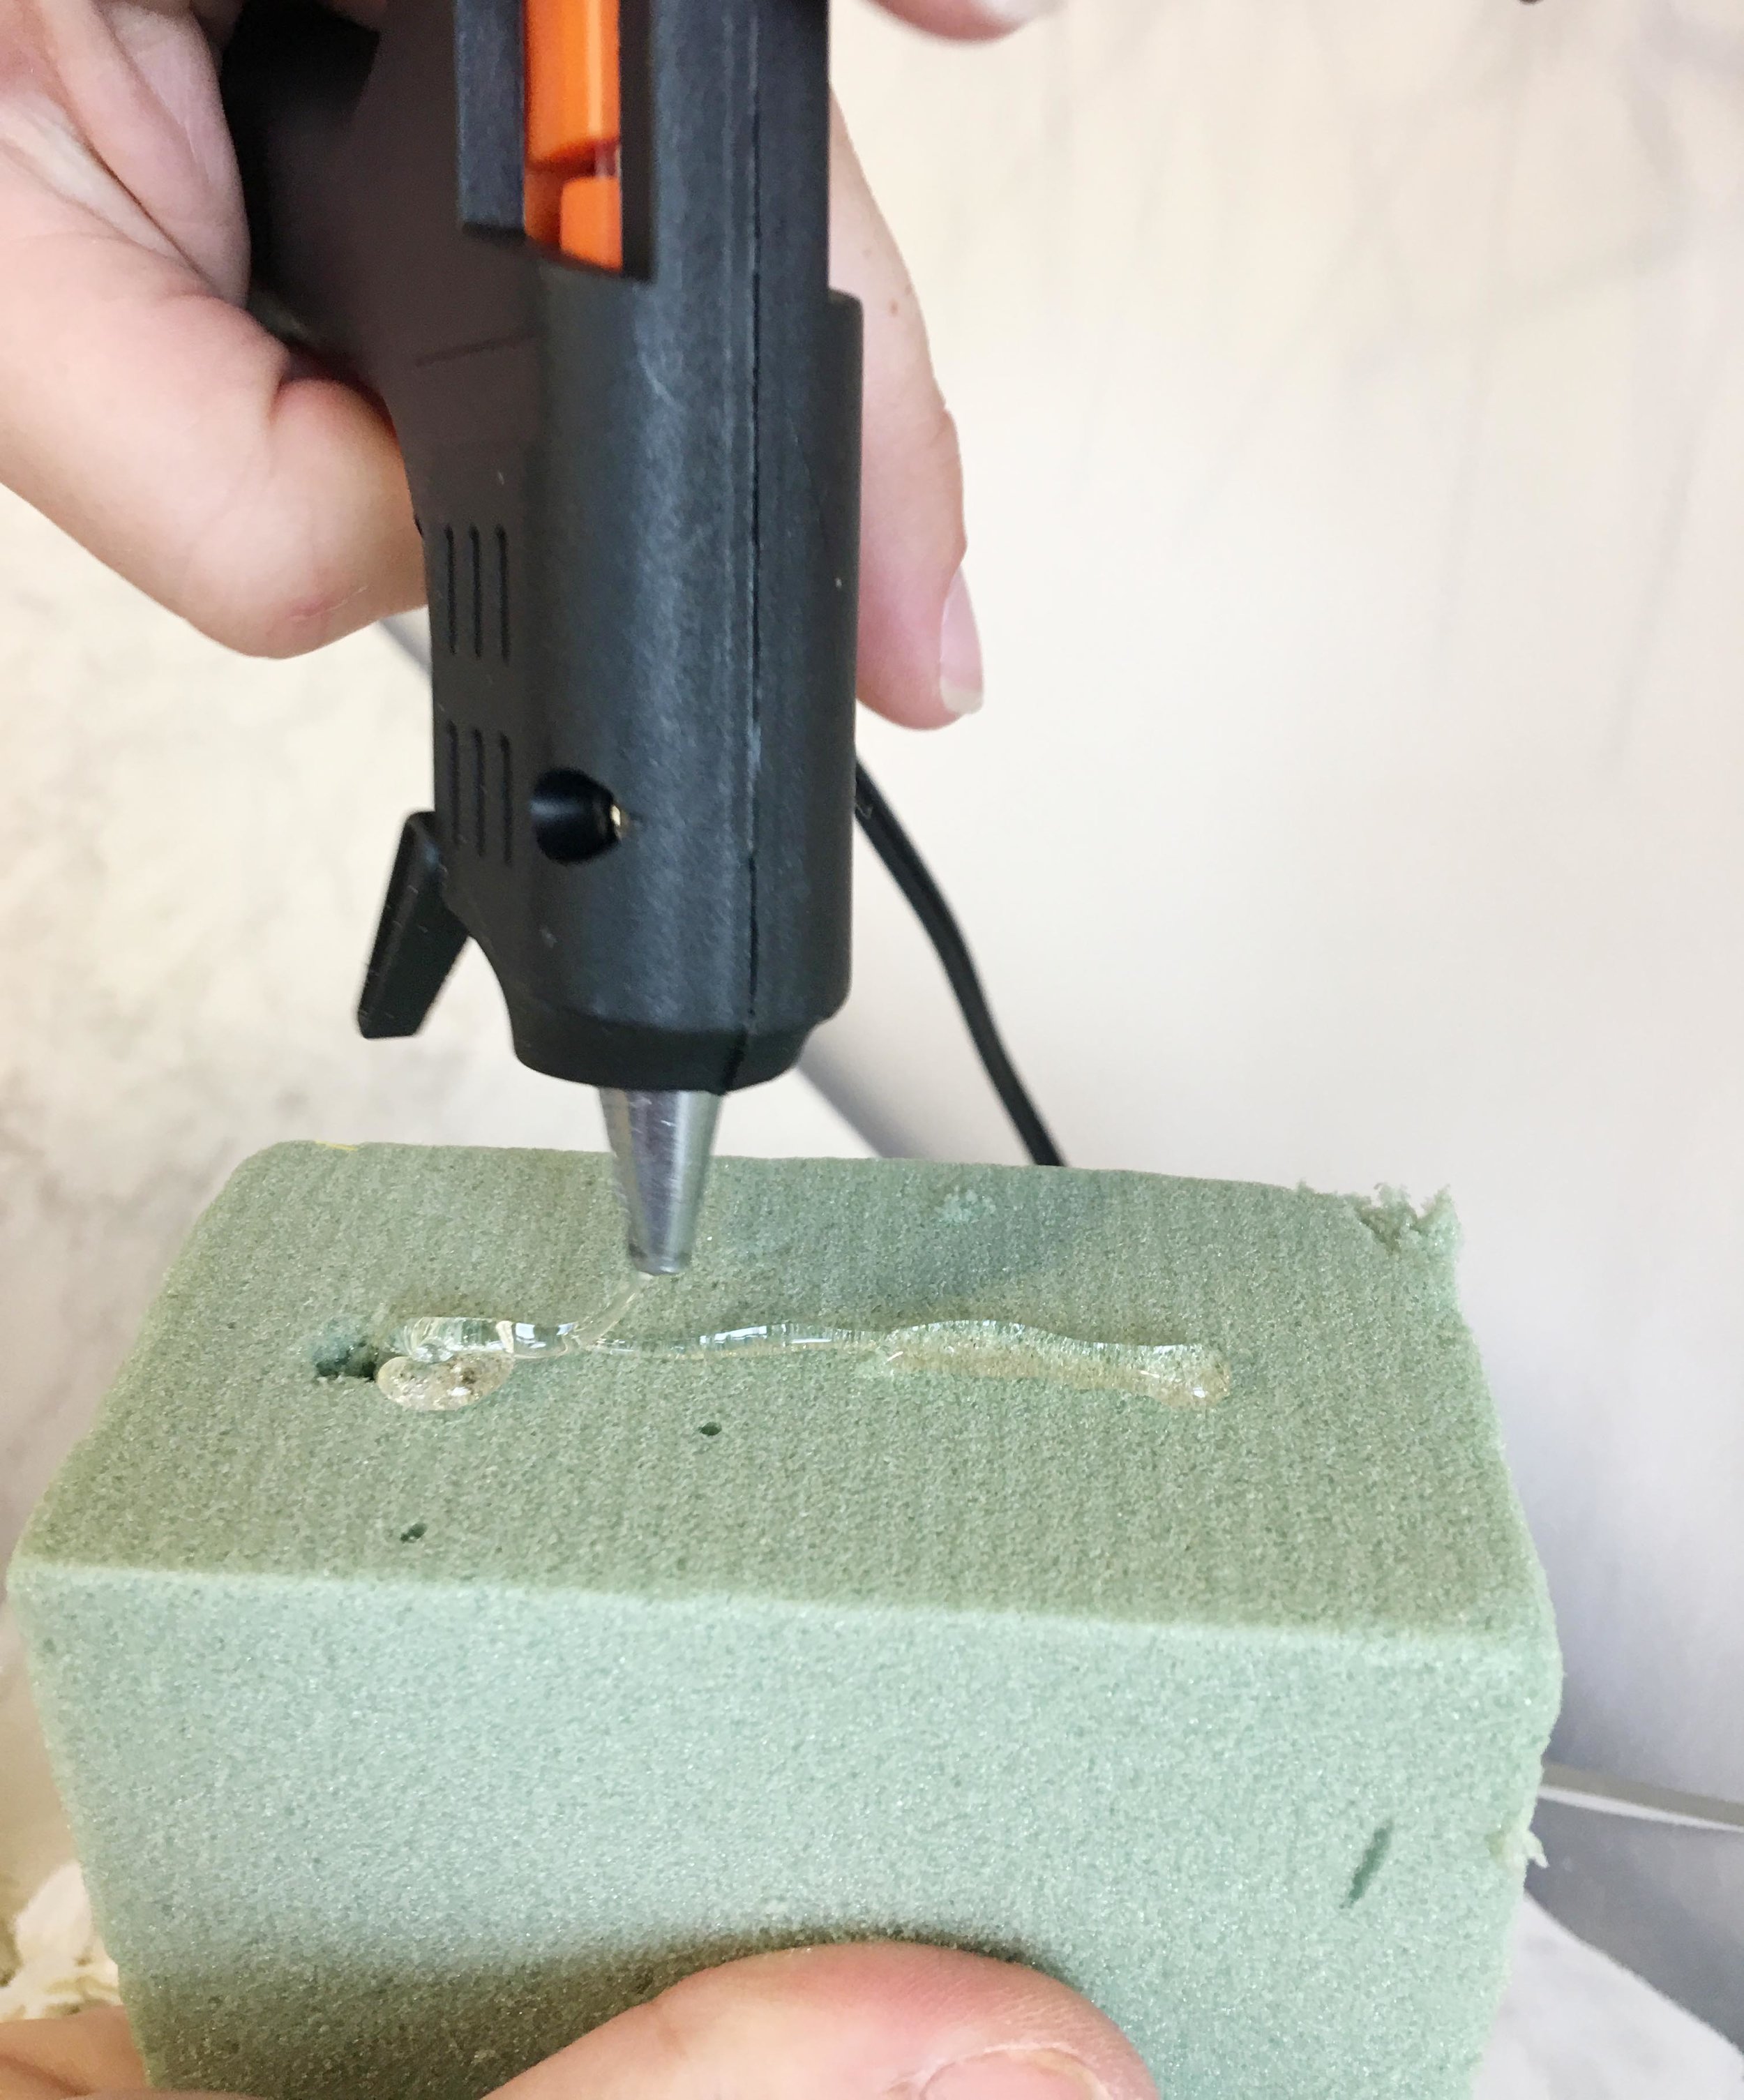
Place the egg in the styrofoam block and Let dry for about half an hour.

Once the eggs are dry, you can fill them with your favorite wrapped candy and you're done!

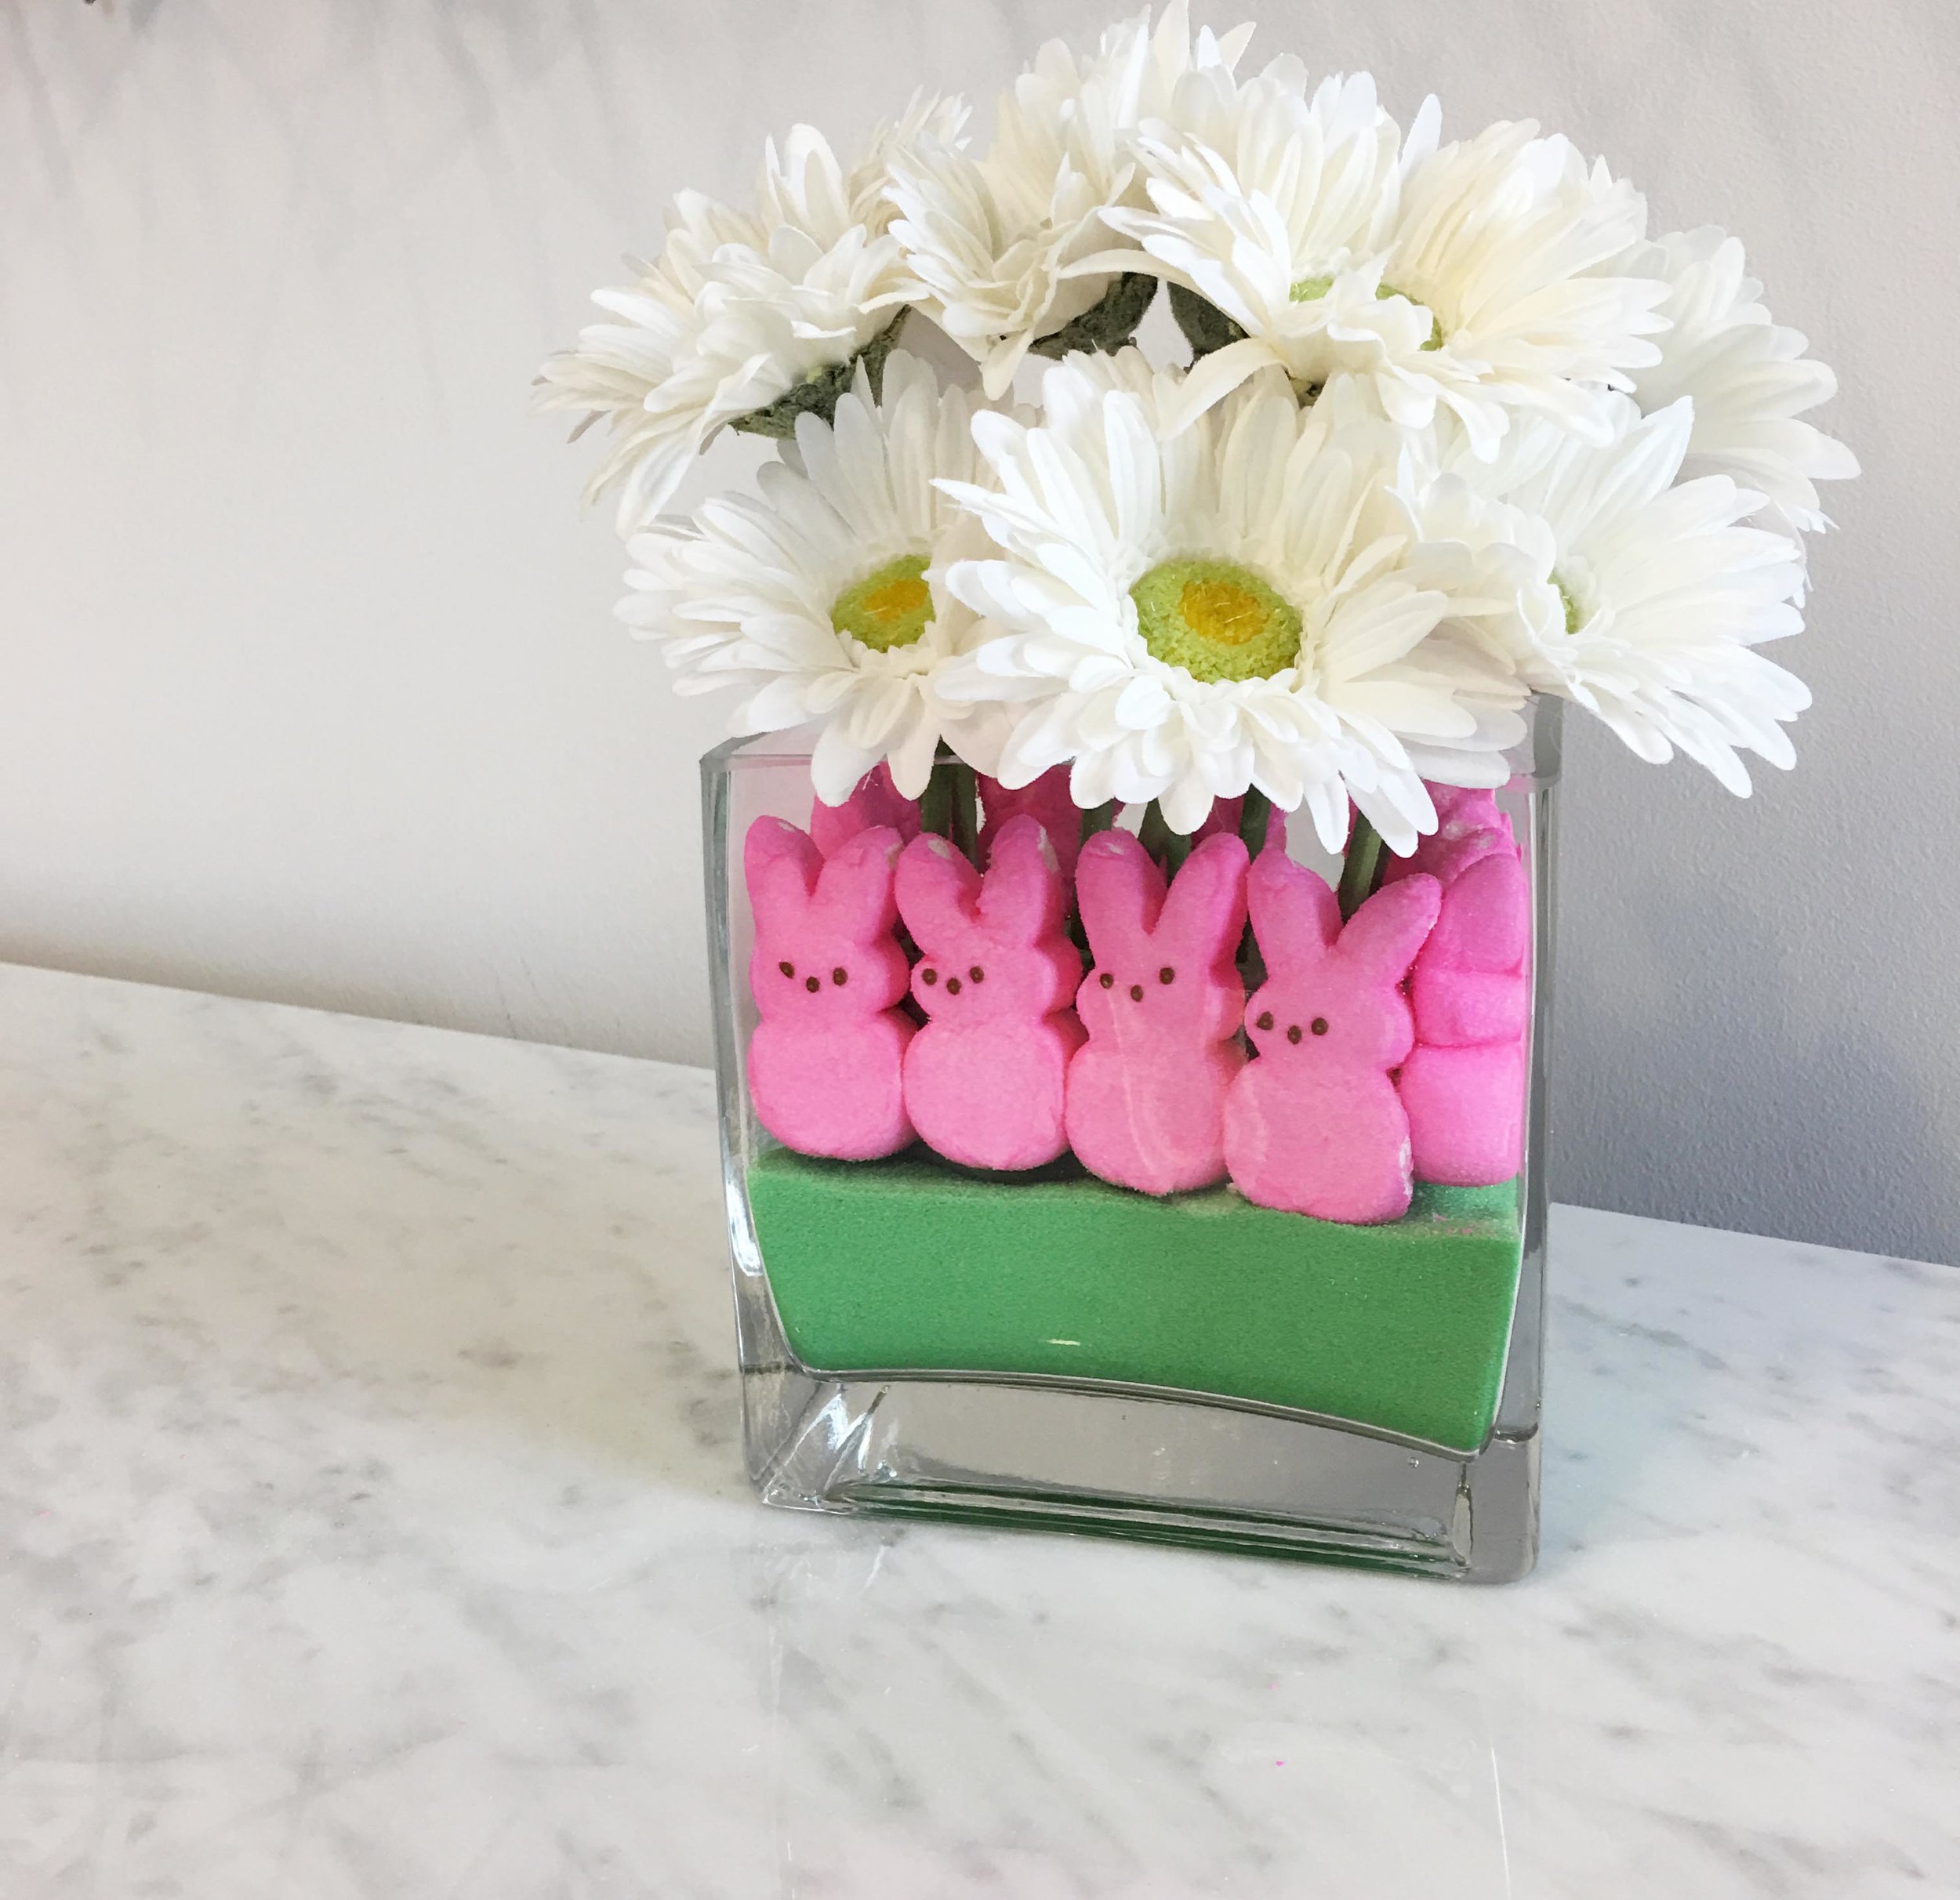
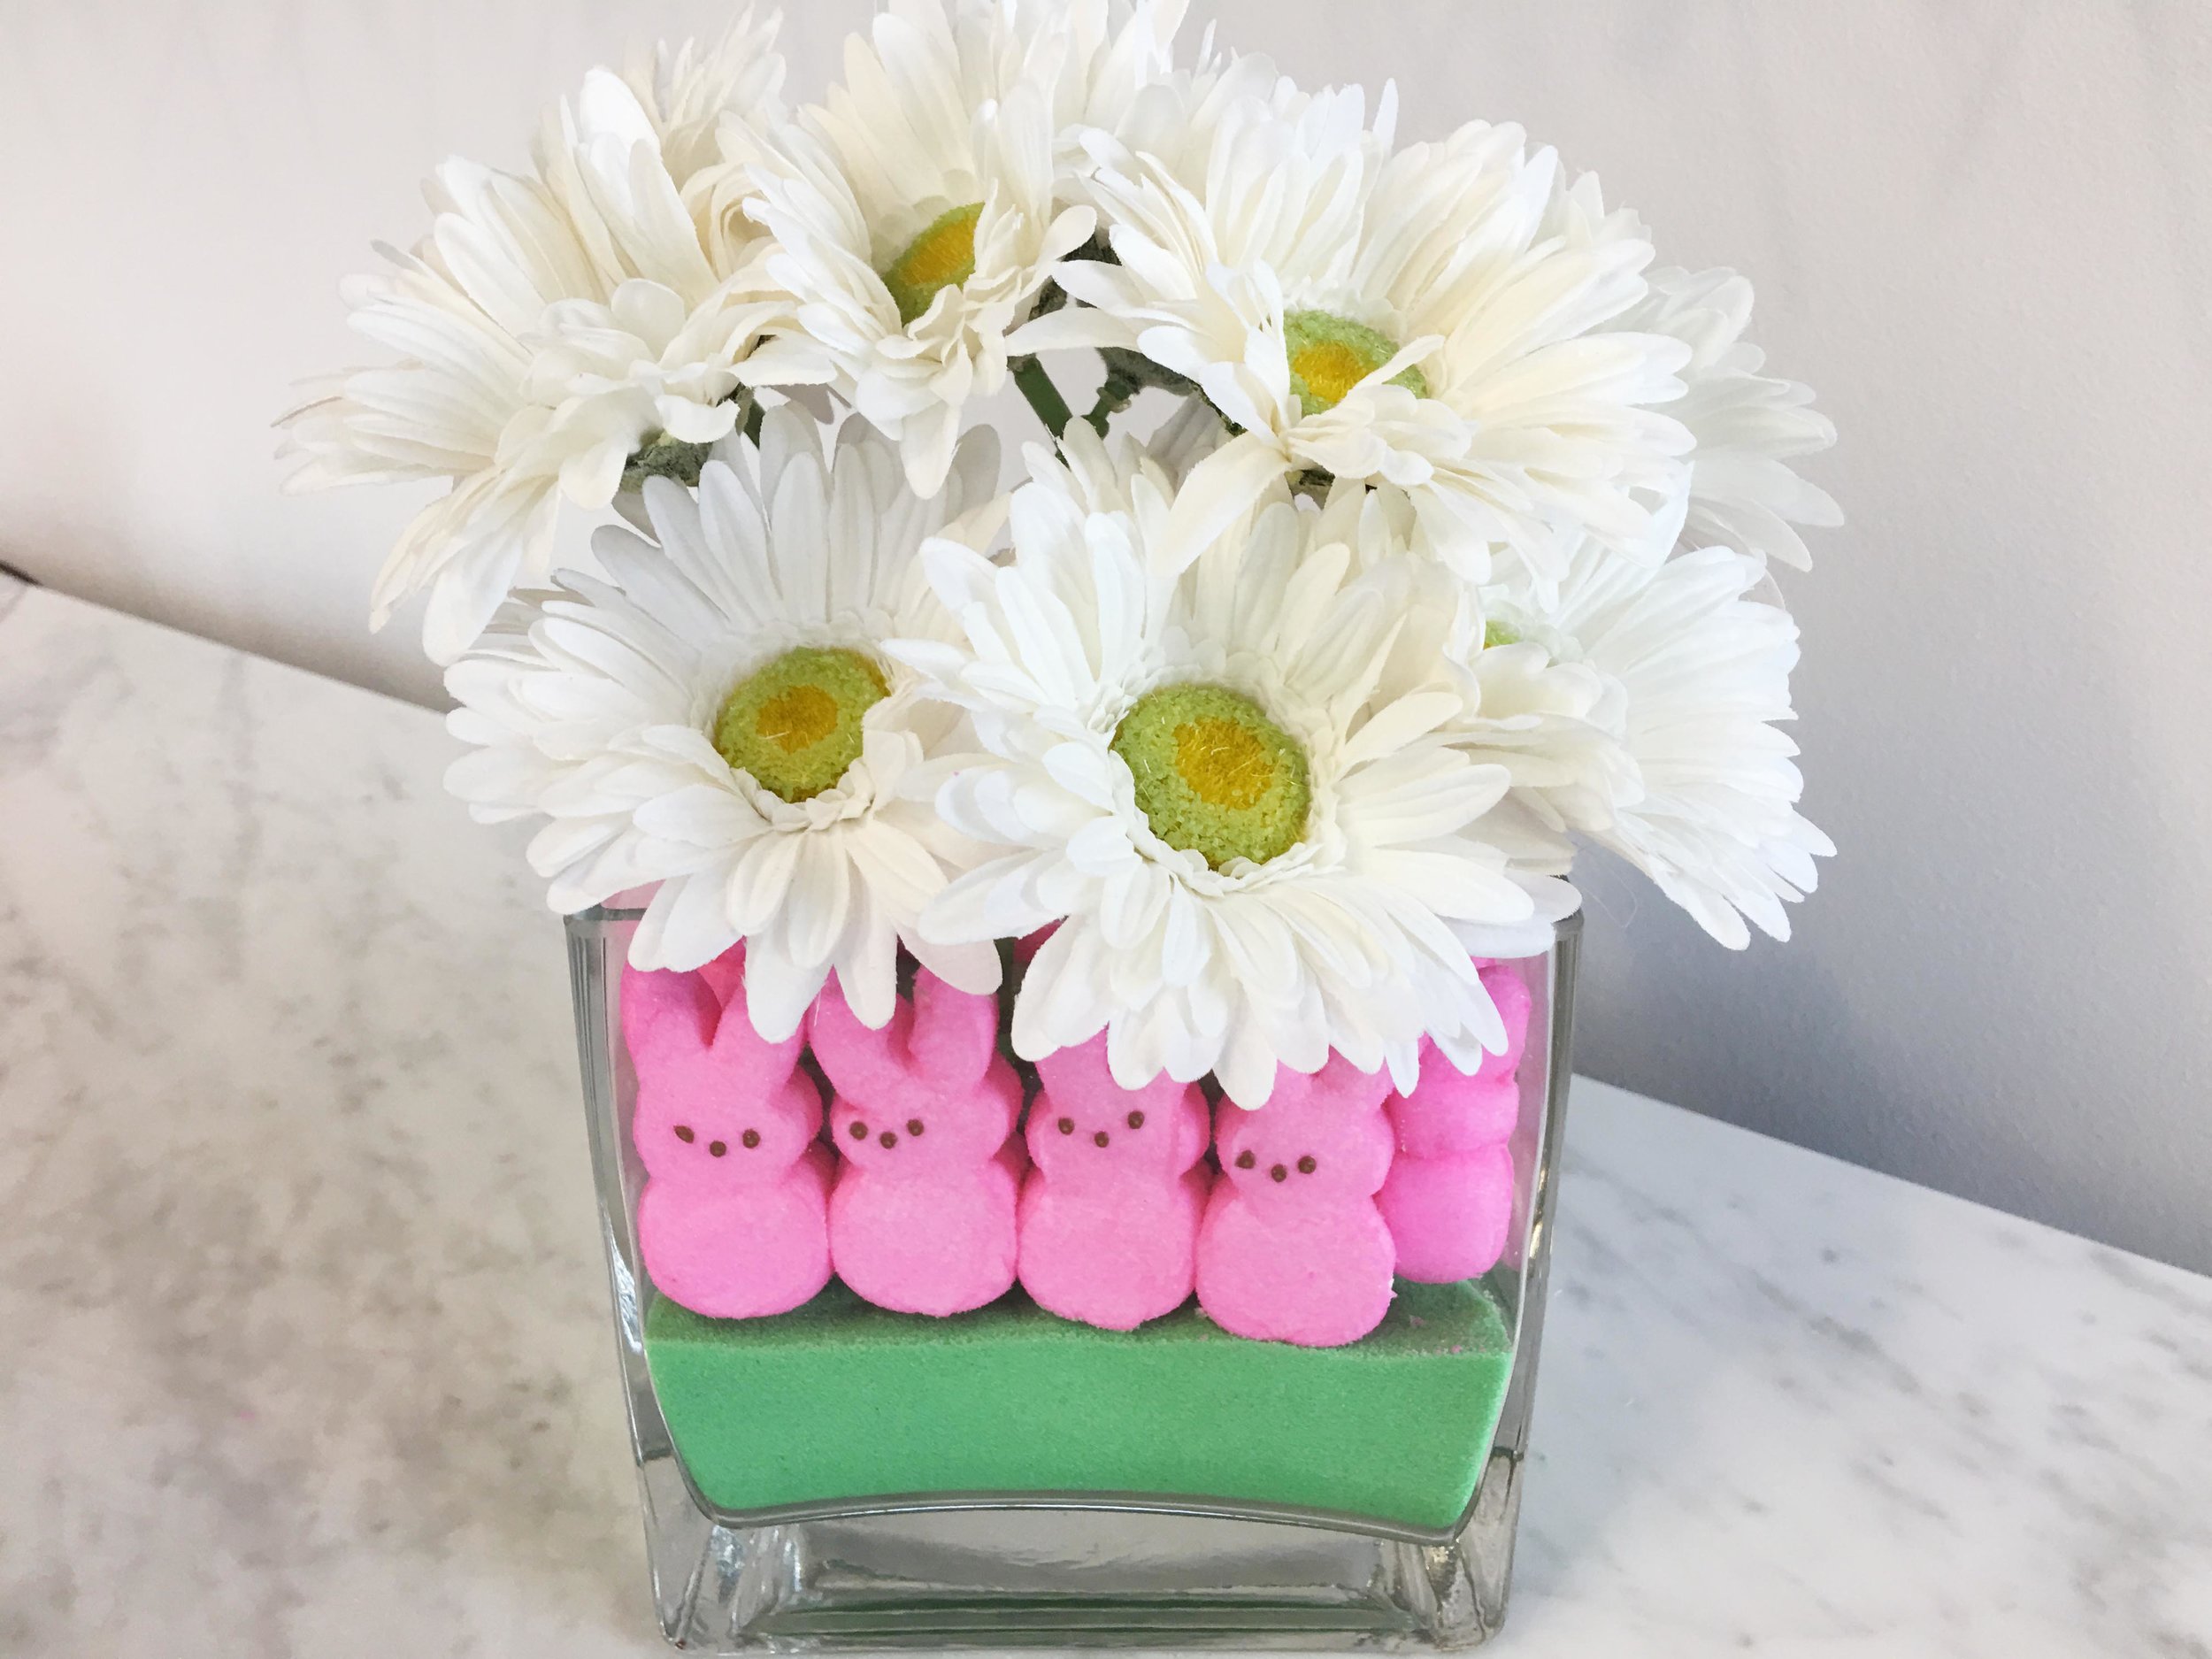
We chose to do a complete Easter Basket!


We hope you have a blast decorating your eggs this Spring time!
Be sure to come back again for more amazing projects and DIYs from the Crayola Play Sand Lab!