Mother's Day/Teachers Appreciation hand-crafted card for kids to make with Colored Sand

Mothers_Day gift idea for kids

It's that time of year again- the time to show appreciation for moms, teachers, or anyone you want to tell "You're the best." One of the best ways to show appreciation is a handmade card. This CIY craft allows you to imagine whatever designs, patterns, and colors you want! We've included templates to help get you started in thanking your teacher or telling your mom what she means to you.

Supplies:

- Crayola Play Sand
- Paper (cardstock is best for this CIY craft)
- Printed template 
- Markers (for decoration)
- Colored Popsicle sticks (for decoration)
- Paint brushes
- Mod Podge glue or other craft glue
- Spoon


  1. Download and print the template you'd like to use

Stencils Collection - Free Download


2. Apply glue using paint brush

Teachers gift craft idea
MD_2.jpg

3. Quickly sprinkle Crayola Play Sand over glue, one color at a time, making sure to allow time to dry between different colors

Mothers Day Craft for kids
teachers thank you card craft idea for kids

4. Repeat painting with glue and sprinkling sand, color by color, until the design is filled in

Mothers Day Craft ideas for kids
Teachers DIY homemade card

5. After the card is dry, fold if needed, and write a message using markers or decorate with colored Popsicle sticks 

Mothers Day gift ideas for kids
Teachers appreciation hand-crafted card for kids to make
Mothers day craft idea for kids
Thank you cards for kids to make with sand
Mothers Day Teachers craft ideas for kids

Kicking Off Back-to-School with “Stained Glass” Window Art and Colored Sand

Window Art.jpg

It’s that time of year again and the first day of school is just around the corner!  What better way to celebrate than to make a fun and easy Back-to-School craft? This “Stained Glass” Sand Art is a great gift for students to make for their new teacher or a perfect first day of school craft to help kids get involved and open up their imaginations.  Either way, this easy craft will spark joy and creativity in everyone as the school year begins.  

Materials: 

1.     Crayola Play Sand (multiple colors)

2.     Paper

3.     Scissors

4.     Tape

5.     Bowl

6.     Glitter (optional)

7. Crayola crayons, markers, or colored pencils (optional) 

IMG-5014.jpg

Instructions and Ideas: 

Step 1: Print out your shape on a piece of paper.  An apple shape is perfect for Back-to-School, but you can use any shape you want to make this craft.

IMG-5017.JPG

Step 2: Cut out the center of your shape. This way light can shine through the center, just like a stained glass window. 

IMG-5018.JPG
IMG-5019.JPG

Step 3: Flip the paper over so that the back is facing you.  Then tape over the hole you cut with the sticky side of the tape facing outwards toward the front of your shape.  Once you have finished taping over the hole, cut away any excess tape on the outside of the page.

IMG-5028.JPG
IMG-5020.JPG

Step 4: Flip the page back over so that the front of the shape and the sticky side of the tape are facing you. Then sprinkle Crayola Play Sand onto the tape.  Use your imagination to create whatever design you want! Add glitter and sparkles, make crazy shapes, and have fun with your designs!

IMG-5021.JPG
IMG-5022.JPG

Step 5: Carefully pick up the paper and pour the extra sand into a bowl.

IMG-5024.JPG

Step 6 (optional): You can cut along the outside of your shape to get rid of any excess paper or you can leave it as is and decorate the extra space!  

IMG-5025.JPG
IMG-5026.JPG
IMG-5102.JPG

Step 7: All done! Now you can enjoy your beautiful creation! Hang your Stained Glass Sand Art in a window so the sunlight can shine through and light up your masterpiece! You can also wrap it up and give it to your teacher or someone special as a creative, handmade gift!

IMG-5027.JPG

No matter what you decide to do with your creation, this hands-on craft is a great way to use your imagination and “The Power of Creativity” to make a masterpiece.  We welcome everyone back to school and remember to learn, laugh, and have fun!

image1.jpeg

Make Candy-filled Easter Eggs using Crayola Play Sand!

Easter 2018 blog cover.jpg

Spring has sprung! Color up your plastic Easter eggs this holiday with Crayola Play Sand! Colored sand is an awesome alternative to traditional egg dye that is less of a mess but all the more color!

The 'sweetest' part is that you can fill it with your kids favorite candy! (We always recommend placing wrapped/sealed candy inside no matter how you choose to decorate your eggs).

Below are the step-by-step instructions to the colorful DIY straight from the Crayola Play Sand Lab. 

Keep reading to learn how to decorate your own!

IMG_0167.jpg

MATERIALS

Here are some of the items you'll need:

  • Plastic white Easter eggs (Find these at your local craft store)

  • 1 8 oz. jar of Mod Podge, or any type of kid-safe liquid glue

  • At least 1 bag of Crayola Play Sand- Any color! Select multiple colors for an even cooler looking design! (Click here to find it at a store near you!)

  • 1 Cup per color of Crayola Play Sand

  • Large Paper clips (1 for each egg you intend to make)

  • Medium Paint Brush

  • Bowls

  • Glitter

  • Candy! (Wrapped candy preferred)

  • Straw grass & Basket (optional)

  • 1 styrofoam block

Purple Crayola Play Sand

Purple Crayola Play Sand

Pink Crayola Play Sand

Pink Crayola Play Sand


INSTRUCTIONS:

For starters, lets create a simple way to hold the eggs while you paint, sand and set them to dry. We do this by unfolding a large paperclip and leaving it in the shape of a candy cane (like below).

IMG_0185.jpg
IMG_0186.jpg

Next, break apart a plastic egg, hold the bottom half of the egg (or the side with the 2 holes in it) and slide the paperclip through both holes as pictured below. Then add the other half of the egg by sliding it up the bottom end of the paper clip.

Snap the eggs together and you're done! You now have an easy, less messy and more fun way to decorate your eggs. Let the fun begin!

IMG_0191.jpg
IMG_0192.jpg

First, pour Crayola Play Sand (and even glitter if you like sparkle) into a bowl, mix the materials together, and set it to the side.

IMG_0182.jpg
IMG_0224.jpg

Holding the egg by the paper clip handle, use a brush to paint Mod Podge or liquid glue onto your egg with swift strokes until the egg is covered specifically where you'd like to add your play sand and glitter. You can do spots, stripes or the entire egg!

IMG_0072.jpg
IMG_0077.JPG
IMG_0205.jpg

Next, grab your bowl of Crayola Play Sand and/or glitter mix and begin carefully sprinkling it along the areas you applied glue to using a spoon. Don't be afraid to shake on alot if you're going for a strong pop of color! 

IMG_0207.jpg
IMG_0214.jpg

Place the egg in the styrofoam block and Let dry for about half an hour.

IMG_0217.jpg

Once the eggs are dry, you can fill them with your favorite wrapped candy and you're done!

Easter 2018 blog final.jpg

We chose to do a complete Easter Basket!

IMG_0239.jpg
IMG_0241.jpg
IMG_0234.jpg
IMG_0237.jpg

We hope you have a blast decorating your eggs this Spring time!

Be sure to come back again for more amazing projects and DIYs from the Crayola Play Sand Lab!

Colorful Valentine's Day Gifts ideas using Crayola Play Sand!

Crayola play sand valentine craft header

Celebrate love by having some craft time fun using Crayola Play Sand! 

Below are some fun and easy DIY ideas from the Crayola Play Sand Lab that are fun and safe for both parents and kids. Create a one of a kind picture frame for your favorite photo of your loved one and even make a matching candle to pair with it using colored sand! 

Keep reading for a little inspiration to make your own!

Crayola play sand valentine craft supplies.jpg

MATERIALS

Here are some of the items you'll need:

  • White wooden frames (Find these at your local craft store)

  • Candles (try mixing tall and medium sizes)

  • At least 1 bag of Crayola Play Sand- Any color! Select multiple colors for an even cooler looking design! (Click here to find it at a store near you!)

  • 1 8 oz. jar of Mod Podge, or any type of kid-safe liquid glue

  • Medium Brush

  • Paper heart stickers

  • Paper plates (makes for easy clean up!)

  • Glitter

  • 1 Cup per color of Crayola Play Sand

Purple Crayola Play Sand

Purple Crayola Play Sand

Pink Crayola Play Sand

Pink Crayola Play Sand


INSTRUCTIONS & IDEAS

For starters, pour Crayola Play Sand, glitter (or a mix of both!) on to a paper plate, mix the materials together, pour it into a cup and set it to the side.

IMG_0064.jpg
IMG_0065.jpg

Using the brush, paint Mod Podge or liquid glue onto your white frame with swift strokes until the frame is covered specifically where you'd like to add materials your play sand and glitter. We chose to dazzle up just one corner of the frame!

IMG_0072.jpg
IMG_0077.JPG

Next, grab your cup of Crayola Play Sand and/or glitter mix and begin carefully sprinkling it along the areas you applied glue to. Don't be afraid to shake on alot if you're going for a strong pop of color! 

IMG_0079.JPG
IMG_0104 (1).jpg

Let dry for about half an hour and then glue on your heart decor as desired. (Tip: apply glue to the back of decor items for a stronger hold to the frame).

Below is another frame design option using Purple Crayola Play Sand.

IMG_0081.JPG
IMG_0083.JPG


Now lets have some fun with the candles!

Here are some other neat design ideas using the same glue and sand sprinkling method.

IMG_0088.JPG
IMG_0091.JPG

Below we added some of our leftover hear decor to the candle before the glue and sprinkling step. Once done, we removed the decor to leave behind a cool heart shaped pattern design! The possibilities are endless!

IMG_0097.JPG
IMG_0098.JPG
IMG_0102.JPG

Here are some of the finished pieces!

IMG_0138.jpg
IMG_0132.JPG
crayola valentine 2018 final.jpg

We hope you enjoy brining some of these craft ideas to life with your loved ones this Valentine's Season!

Visit again for more amazing projects and DIYs from the Crayola Play Sand Lab!

Make Festive Ornaments using Crayola Play Sand!

title IMG_1560.jpg

Tis' the Season to Color Your Play! The holidays are upon us and one amazing way to color up your traditional decor is with Crayola Play Sand! Today in the Crayola Play Sand Lab, we are showing you many cool ways to color up your tree ornaments with colored sand. When getting creative using swirls, glitter, lettering, and glue, the possibilities are endless! 

Keep reading for a little inspiration to make your own!

IMG_1513.JPG

MATERIALS

Here are some of the items you'll need:

  • Clear/Glass or Plastic Ornaments (Find these at your local craft store)

  • 1 bag of Crayola Play Sand- Any color! Pick multiple colors for an even cooler looking ornament designs! (Click here to find it at a store near you!)

  • 1 8 oz. jar of Mod Podge, or any type of kid-safe glue

  • Medium Brush

  • 1 bowl

  • Paper plates (makes for easy clean up!)

  • Glitter

  • Glue Gun (Safety First!)


INSTRUCTIONS & IDEAS

Pour Crayola Play Sand, glitter (or a mix of both!) into a medium sized bowl and sit to the side.

IMG_1516.JPG

Using the brush, paint Mod Podge or liquid glue onto the ornament with swift strokes until the ornament is covered specifically where you'd like to add materials.

IMG_1517.JPG

Next, dip the ornament in in your bowl of Crayola Play Sand. This method works specifically for covering a large solid area of the ornament.

IMG_1521.JPG
IMG_1522.JPG

Let dry for about an hour and then it's ready to hang in the tree!!

IMG_1537.JPG


Here are some other festive design ideas:

IMG_1534.JPG
IMG_1529.JPG
IMG_1532.JPG
IMG_1537.JPG
no title IMG_1560.jpg

Happy Holidays from the Crayola Play Sand Lab!!

Make Spooky Halloween Glow Bowls with Crayola Play Sand!

IMG_1245 edit 2.jpg

Halloween is one of the most fun-filled times of the year! Fun costumes, trick-or-treating, parties galore and best of all, spooky decor! Today in the Crayola Play Sand Lab, we have another super easy DIY decor: Halloween Glow Bowls! These are fast and simple to make when you're in a hurry to decorate and even makes for a great Halloween sensory bin for kids that need or enjoy unique interaction.

Keep reading to learn how to make one of your own using colored sand!

IMG_1247.JPG

MATERIALS

Here's what you'll need:

  • 1 Clear glass or acrylic bowl (Found at your local craft store - Any size will do!)

  • 1 bag of Crayola Play Sand- Any color! Pick multiple colors for an even cooler looking bowl! (Click here to find it at a store near you!)

  • Plastic neon Halloween favors (Found at Walmart)

  • Neon Pebbles (Optional, Found at Walmart)

  • Blacklight (Optional, but highly recommended).


INSTRUCTIONS

1. Start by pouring in the Crayola Play Sand cup by cup into the bowl until you reach your desired level. Take your bowl up a level by layering multiple play sand colors... (but be sure to keep the separate by not mixing it).

IMG_9301.JPG

2. Once the sand is in the bowl, start adding the neon pebbles and Halloween decor to your liking. Just plant them right in!

IMG_1252.JPG
IMG_1256.JPG

3. We planted the skeletons and bats it and placed the spiders and snakes on the surface. Finally, we draped the beads all around the bowl. Perfect for a party table centerpiece!

IMG_1229.JPG


5. Optional but Recommended: With the room lights off, use a black light to add an extra glow effect to your bowl. Watch those neon colors and play sand pop once the light is turned on! If a blacklight is hard to find, you can always buy a blacklight light bulb (from Walmart) and screw it into a regular lamp or desk lamp. Works like a charm!

IMG_1242.JPG
IMG_1245 edit last.jpg

And you're all done! Here's to a glowingly spooky Halloween!

Back 2 School! Head back with a Sparkly Tumbler filled with Crayola Play Sand!

Yes, yes, we know! The time has come already! It's already time to go back to school! Seems like the Summer break just started right?! Send your kiddos back to school in style with their very own custom sparkly tumbler made with Crayola Play Sand! Your kids will love staying hydrated with their colorful tumbler filled with sparkling glitter. The glitter floats around even more when shaken. This adds an amazing effect for kids that need a little sensory interaction while sitting at their desks for long periods of time.

Keep reading to learn how to make one of your own using colored sand!

MATERIALS

Here's what you'll need:

  • 1 Clear acrylic tumbler with a removable bottom (Found at your local craft store, or

  • 1 bag of Crayola Play Sand- Any color! (Click here to find it at a store near you!)

  • E6000 Craft adhesive glue

  • Colored glitter of your choice (The bigger, the better!)

  • 1 cup (for pouring)

  • 1 spoon

  • 1 pair of scissors

  • 1 cotton swab

  • 4-8 oz. of clean water

  • Optional: plastic school related inserts (found in scrapbooking at the craft store).


INSTRUCTIONS

1. Start by unscrewing the bottom of the tumbler until it comes completely off. Next, Spoon in your favorite color(s) of Crayola Play Sand

2. Once the sand is filled up 1/2 to 2/3rds of the  way, add glitter to your liking for a little extra sparkle! Next, add water to fill up the remaining space until theres only 1-1.5 inches of unfilled space left in the tumbler.

3. Next, its time to glue the bottom lid back down. Grab your E6000 glue, and with a cotton swab, smear a safe amount of glue along the entire inner rim of the tumbler lid. For added sealing, you can also add some glue around the bottom rim of the tumbler as well. Next, quickly screw the lid back on. Make sure it is screwed as tightly and evenly as possible to avoid any chances of water leaking. Allow to dry over night before using.

4. Shake! Shake! Shake! Enjoy watching the sand and glitter mix and float all around. Your kid is going to love it!


5. Optional: DRY version of this tumbler using plastic school-related inserts (found in the scrapbooking section of your craft store). This looks looks pretty messy, but some kids enjoy shaking the tumbler to reveal the pencils and journals buried in the sand! (We do not recommend adding water or liquids if you go this route).

And you're all done! Here's to a bright and colorful school year for the kids in your life!

Make 4th of July Confetti Blasters with Crayola Play Sand!

Independence Day is right around the corner and we've got a fun, colorful and low cost way to celebrate! These blasters make for a wonderful alternative when fireworks in neighborhoods aren't permitted. They are also kid safe, (just be sure to not aim at anyone's face!).

See it in action below and keep reading to learn how to  make some of your own using colored sand!

MATERIALS

Here are the items you will need:

  • Toilet paper tubes (#TeamRecycle)

  • Patriotic themed scrapbook paper

  • Patriotic colored glitter and confetti of your choice (Blue, red, white, silver)

  • 1 bag of Crayola Play Sand- Blue (Click here to find it at a store near you!)

  • 12" ballons

  • Washi Tape (we chose the glittery kind!)

  • Regular tape

  • 1 Mixing bowl

  • 1 spoon

  • 1 pair of scissors


INSTRUCTIONS

1. Measure and cut your scrapbook paper to the length of the toilet paper tube. Next, secure the paper to the tube with regular tape as pictured and roll it up until the tube is completely covered. Secure it with more regular tape.

2. Next, cover the clear tape with washi tape. Secure the washi by folding it over on the top and bottom of the tube.

3. Grab a balloon, tie the tail end in a knot and cut the top (round part) off with scicorrs. 1/3 of the way will do!

4. Affix the tail-end of your ballon around the top of the decorated tube and secure the perimeter with washi tape.

All done with the tubes! Now on the sand + confetti mix!

5. Grab your mixing bowl and pour 1 cup of blue Crayola Play Sand into the bowl. (1 cup is good for around 6 blasters.)

6. Add confetti of your choice...in the amount to your liking. We chose big sparkly stars!

7. Stir up the mix with a spoon until the confetti is spread evenly among the play sand.

8. Spoon in about 2 spoonfuls (2 tbs) of confetti sand mix into each tube.

And you're done! Go outside and blast off! Happy Independence Day!

Make Glittery Galaxy Goop using Crayola Play Sand & Shaving Cream!

Color your play with this fun and easy 2-3 ingredient activity that makes for a great sensory activity for kids! We created this squishy sparkly goop using Crayola Play Sand and shaving cream... YES, SHAVING CREAM :) (Shhh...Don't tell dad).

Continue reading below for instructions...

MATERIALS

Here are the items you will need:


INSTRUCTIONS

1. Pour 3 Cups of Crayola Play Sand into the mixing bowl.

2. Add a good amount of shaving cream (we held the can button down for about 10 seconds).

3. Dive in and start mixing the shaving cream and colored sand together. You can use a spoon or your hands! TIP: Add more sand or more shaving cream to get to a texture of your liking.

4. Add Glitter to your liking for some sparkle! (optional)

5. Cover the bowl with a lid or plastic wrap so the goop can set over night. 

And there you have it! Enjoy your glittery galaxy goop! Share photos of you and your kids with the goop using #ColorMySummer on Instagram! We can't wait to check it out!

Create a Colorful Easter Bouquet with Crayola Play Sand and Marshmallow PEEPS®!

Crayola_Play_sand_Bouquet_with_Marshmallow_Peeps_cover

Color up this Easter Holiday with a fun and quirky bouquet using Crayola Play Sand and Marshmallow PEEPS®! Peeps are one of the first treats that come to mind when you think of Easter, so It's only fitting to create a floral bouquet full of them hopping around on 'grass' using green colored sand!

This easy DIY is fun and safe for parents and kids. It can also be the beautiful focal point for Easter Sunday dinner or a colorful accent for kid photos!  Continue reading below for instructions...

Crayola_Play_sand_Bouquet_with_Marshmallow_Peeps_Materials


MATERIALS

Here are the items you will need:

  • 1 One clear vase from your local craft store (you can select your desired shape/size. The bigger the vase, the more PEEPS and colorful play sand!)

  • 1 bag of green Crayola Play Sand. (Click here to find it at a store near you!)

  • 1 styrofoam block (make sure it fits in the vase!)

  • Your choice of Marshmallow PEEPS!

  • 1 glue gun

  • 1 pair of wire cutters (not pictured)

  • 1 cup, scooper or hand shovel

  • Your choice of silk flowers


INSTRUCTIONS

1. Warm up your glue gun and add an appropriate amount of glue to the styrofoam block and immediately press it downward into the bottom of the base. Allow a few minutes for it to dry.

2. Carefully use a cup or hand shovel to pour an appropriate amount of Crayola Play Sand into the vase at least 1/3 of the way. (The amount of play sand you use depends on the size of the vase and how many peeps you plan to use)! Make sure the sand is even along the edges.

Crayola_Play_sand_Bouquet_with_Marshmallow_Peeps_green_sand

3. Place the individual PEEPS side by side in the vase. Careful not to squish them :)

Crayola_Play_sand_Bouquet_with_Marshmallow_Peeps_Add_peeps

4. Continue adding PEEPS until the entire perimeter of the vase is covered. If your vase size allows, you can add however many rows you wish!

Crayola_Play_sand_Bouquet_with_Marshmallow_Peeps_overhead_vase
Crayola_Play_sand_Bouquet_with_Marshmallow_Peeps_Add_side_peeps

5. Grab your favorite silk flowers, cut the stem to an appropriate size of the vase with wire cutters and insert them into the styrofoam block one by one.

Crayola_Play_sand_Bouquet_with_Marshmallow_Peeps_Add_flowers

And now your beautiful Easter Bouquet is complete! :)

Crayola_Play_sand_Bouquet_with_Marshmallow_Peeps_finshed1
Crayola_Play_sand_Bouquet_with_Marshmallow_Peeps_finished2

We hope you enjoy making this delightful colorful bouquet this springtime season!

Visit CrayolaColorSand.com for more amazing projects and DIYs!

*No PEEPS were harmed during this #DIY :)

Celebrate Love with a Colorful Valentine's Day Centerpiece using Crayola Play Sand!

Celebrate love with a colorful Valentine's Day centerpiece using Crayola Play Sand! 

This easy DIY is fun and safe for parents and kids. It will also be the beautiful focal point of a delightful dinner for two!  Continue reading below for instructions...


MATERIALS

Here are the items you will need:

  • 1 heart-shaped class vase or bowl from your local craft store (you can select your desired size)

  • 1 tealight candle (scented candles are a plus!)

  • 1 bag of pink (or purple) Crayola Play Sand. (Click here to find it at a store near you!)

  • Optional: Your choice of silk or natural flowers or petals to add a nice touch


Pink Crayola Play Sand

Pink Crayola Play Sand

Purple Crayola Play Sand

Purple Crayola Play Sand

INSTRUCTIONS

1. Place you selected heart-shaped vase on a flat surface. The floor works even better if you're work with kids!


2. Carefully pour an appropriate amount of Crayola Play Sand into the vase about a 1/2 inch to 1/4 inch from the rim.


3. Use your thumb to create a shallow hole in the center of the sand-filled vase and place the tealight in its place.


4. After you have placed your finished centerpiece in your desired location, sprinkle a few rose petals around it for a pop of color.

Safety first! Parents, please handle all candle lighting and keep fire away from the kids :)


TIPS

If you selected a taller vase, add some excitment by layering multiple colors of Crayola Play Sand.

With a wider vase, you can add multiple tealights to one centerpeice! The possibilities are endless!

If you're looking for even more variety, try using more colors of Crayola Play Sand.

We hope you enjoy making this delightful centerpiece with your loved ones this Valentine's Season!

Visit CrayolaColorSand.com for more amazing projects and DIYs using colored sand!


LOVE COLORFULLY.

Add a Pop of Color to Your Aquarium Using Crayola Play Sand

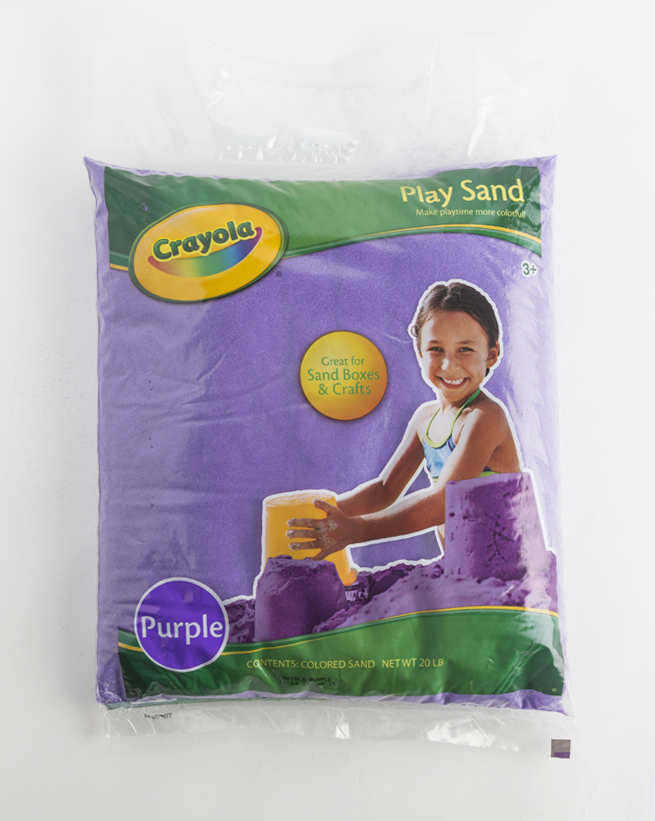
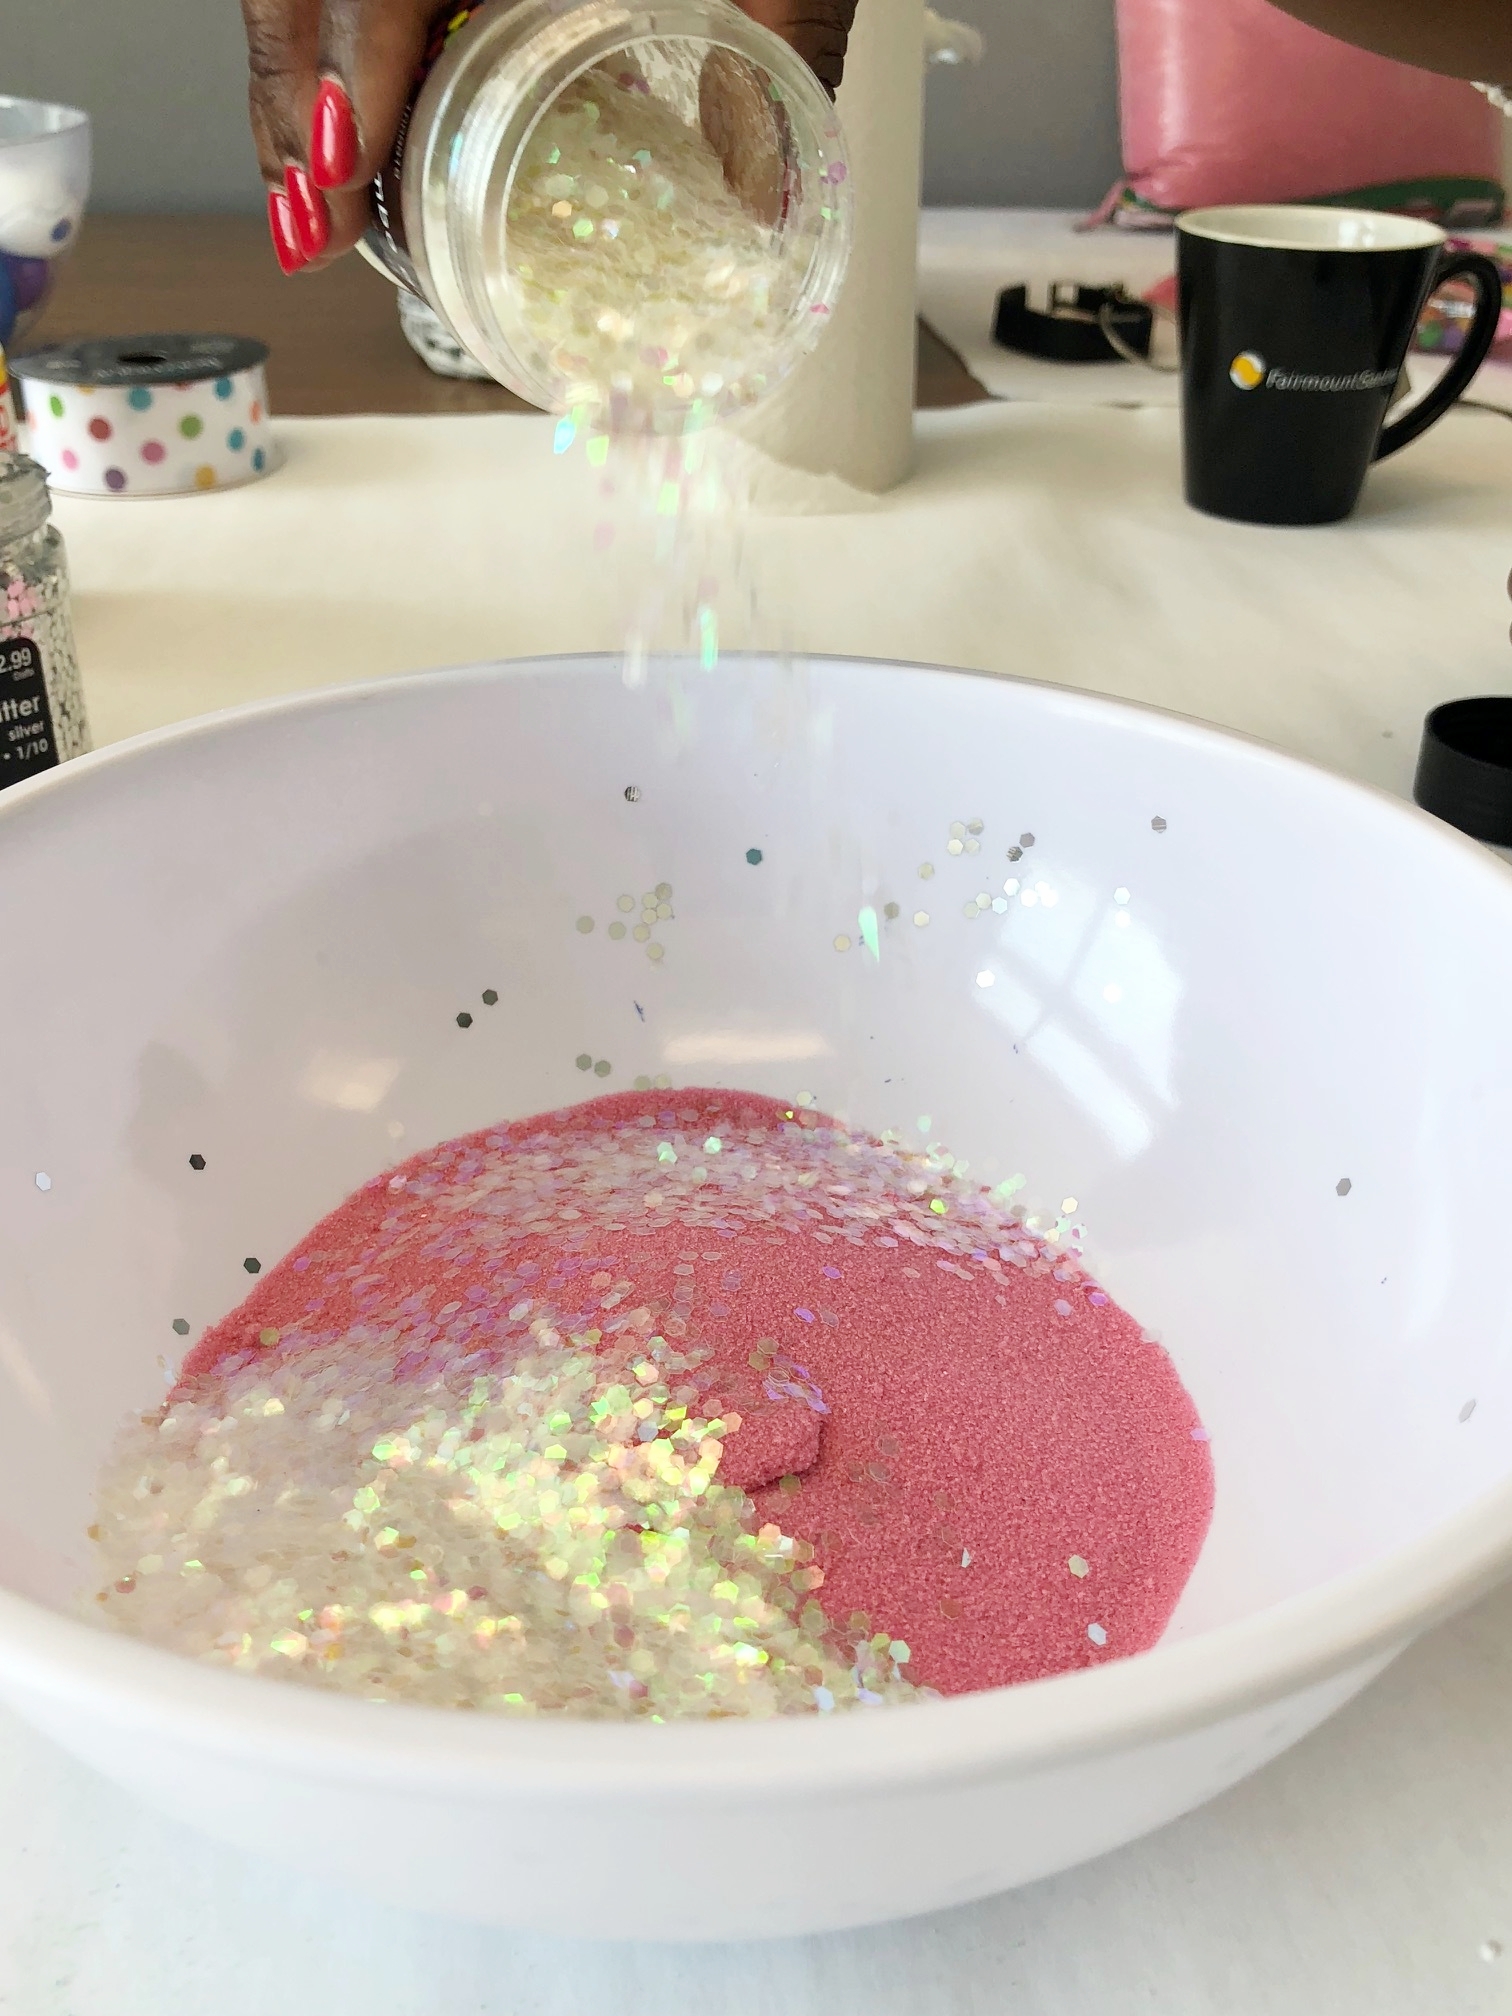
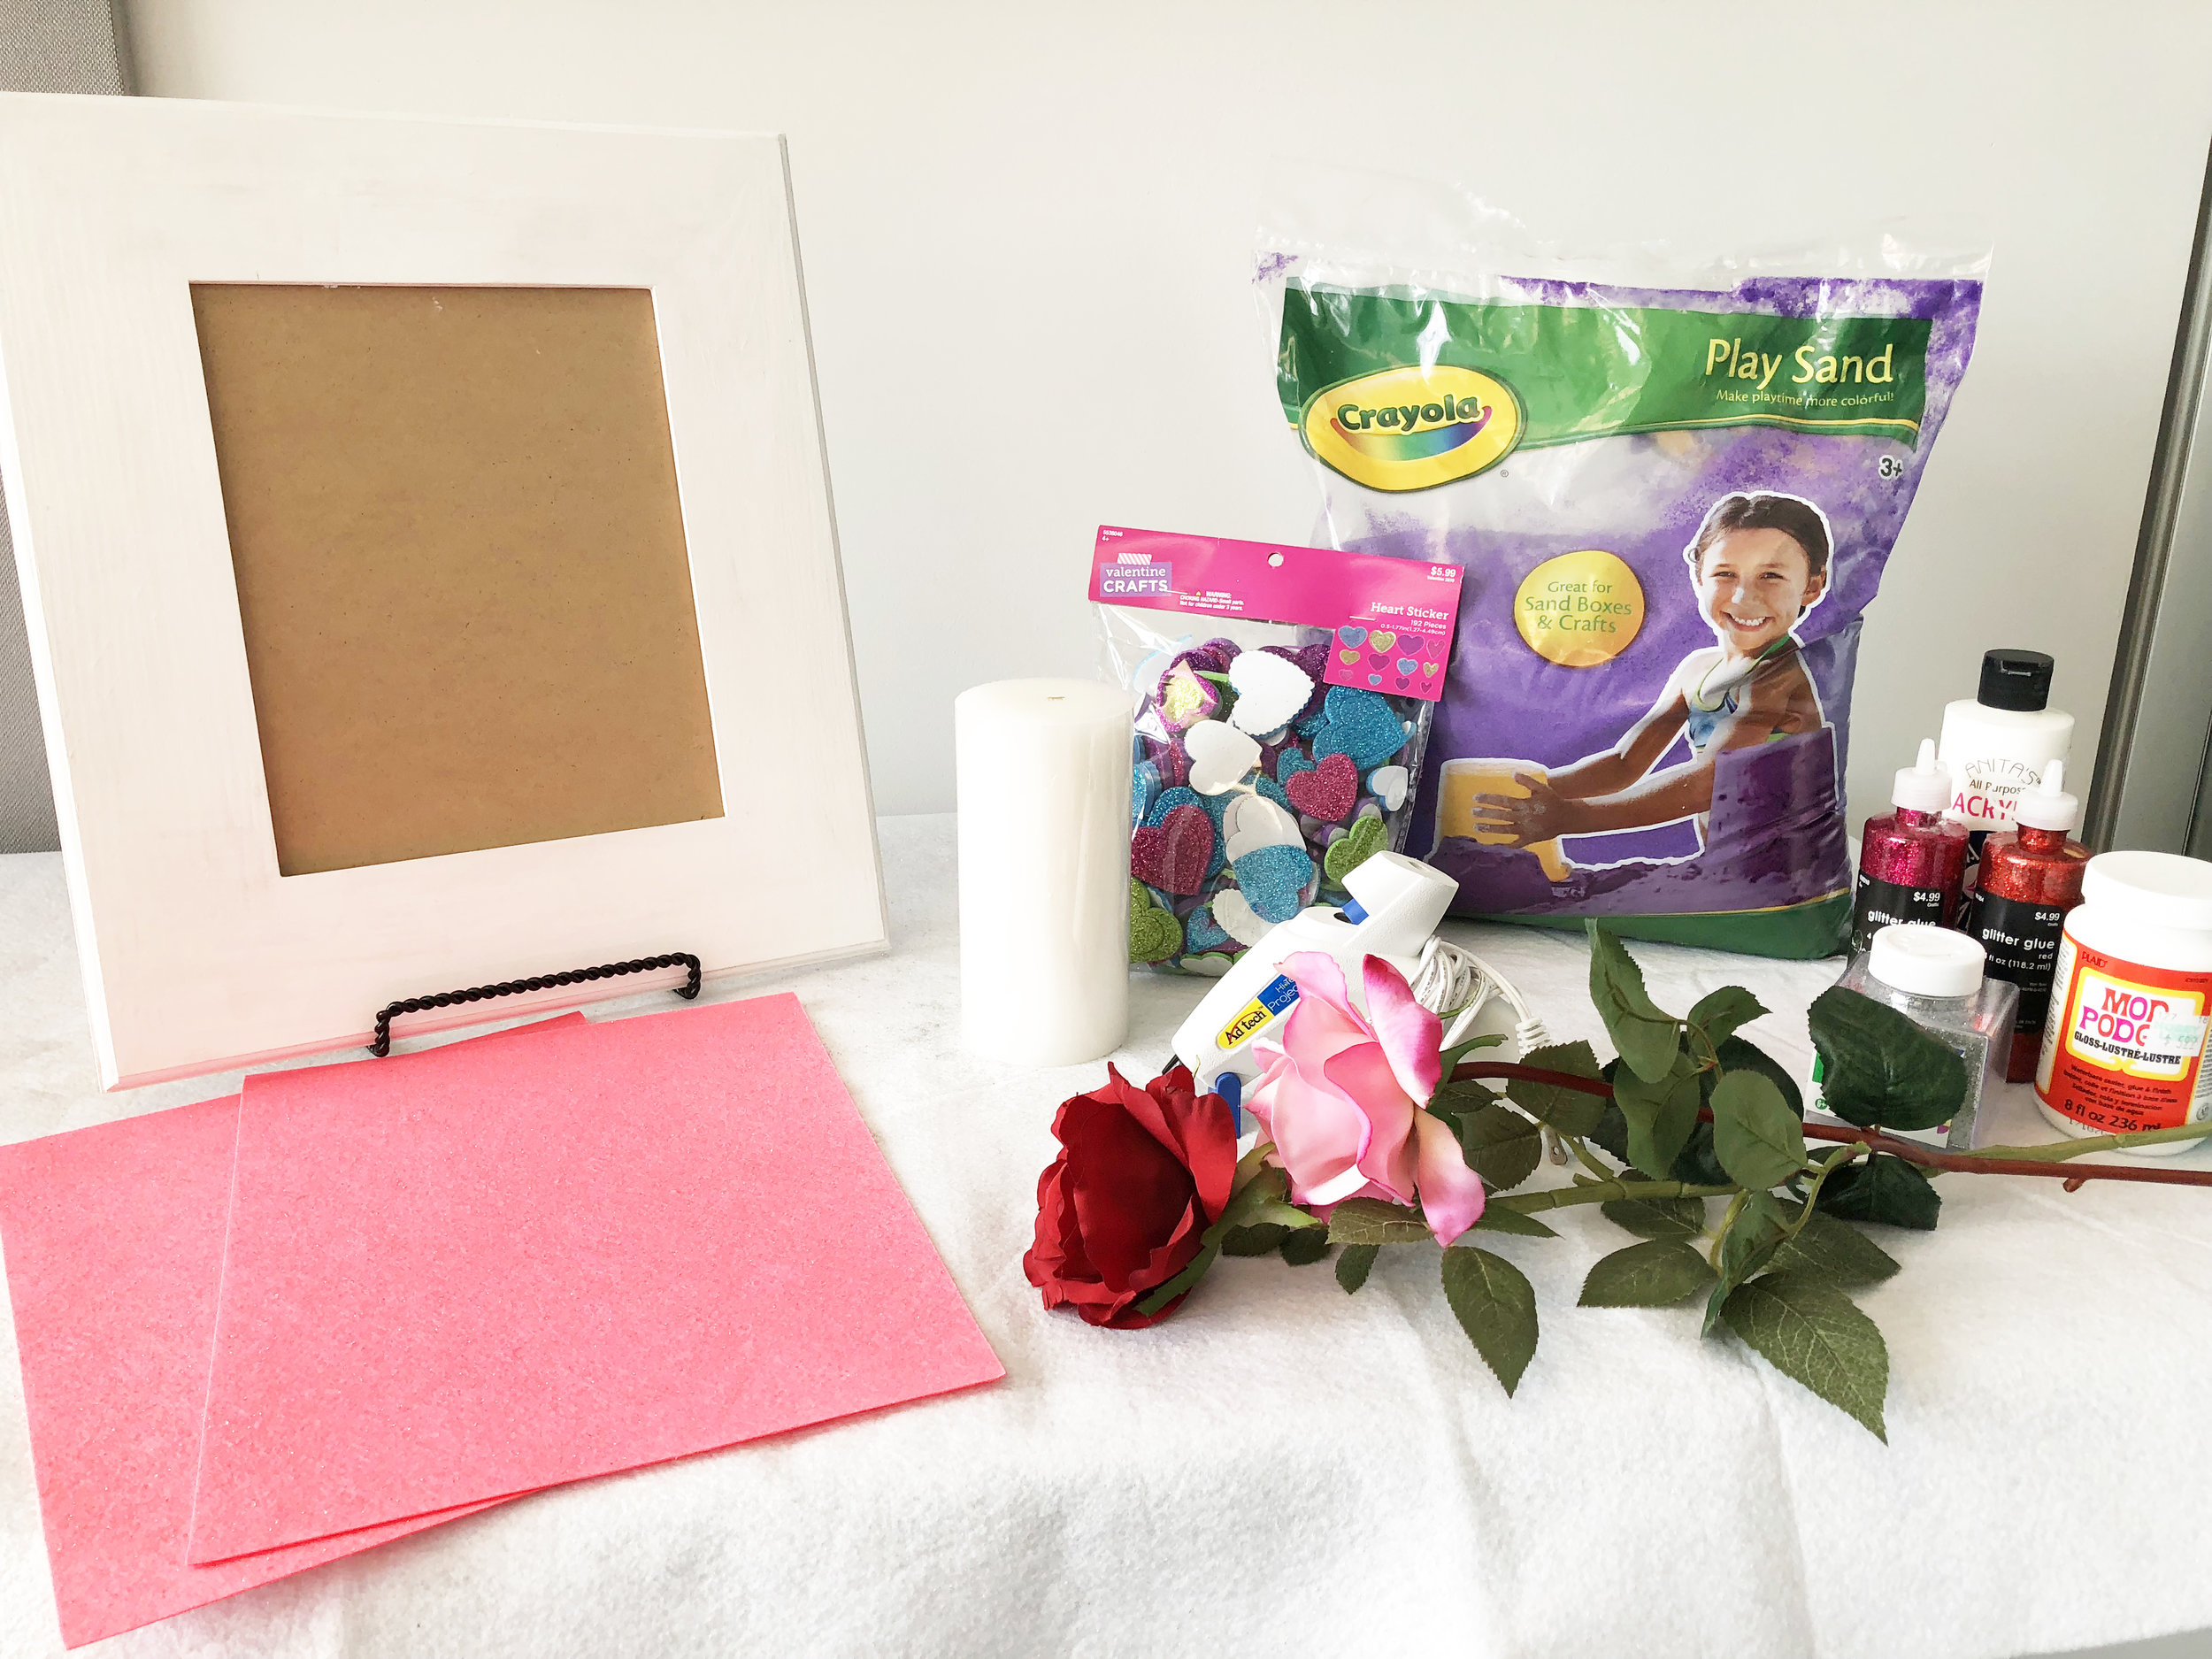
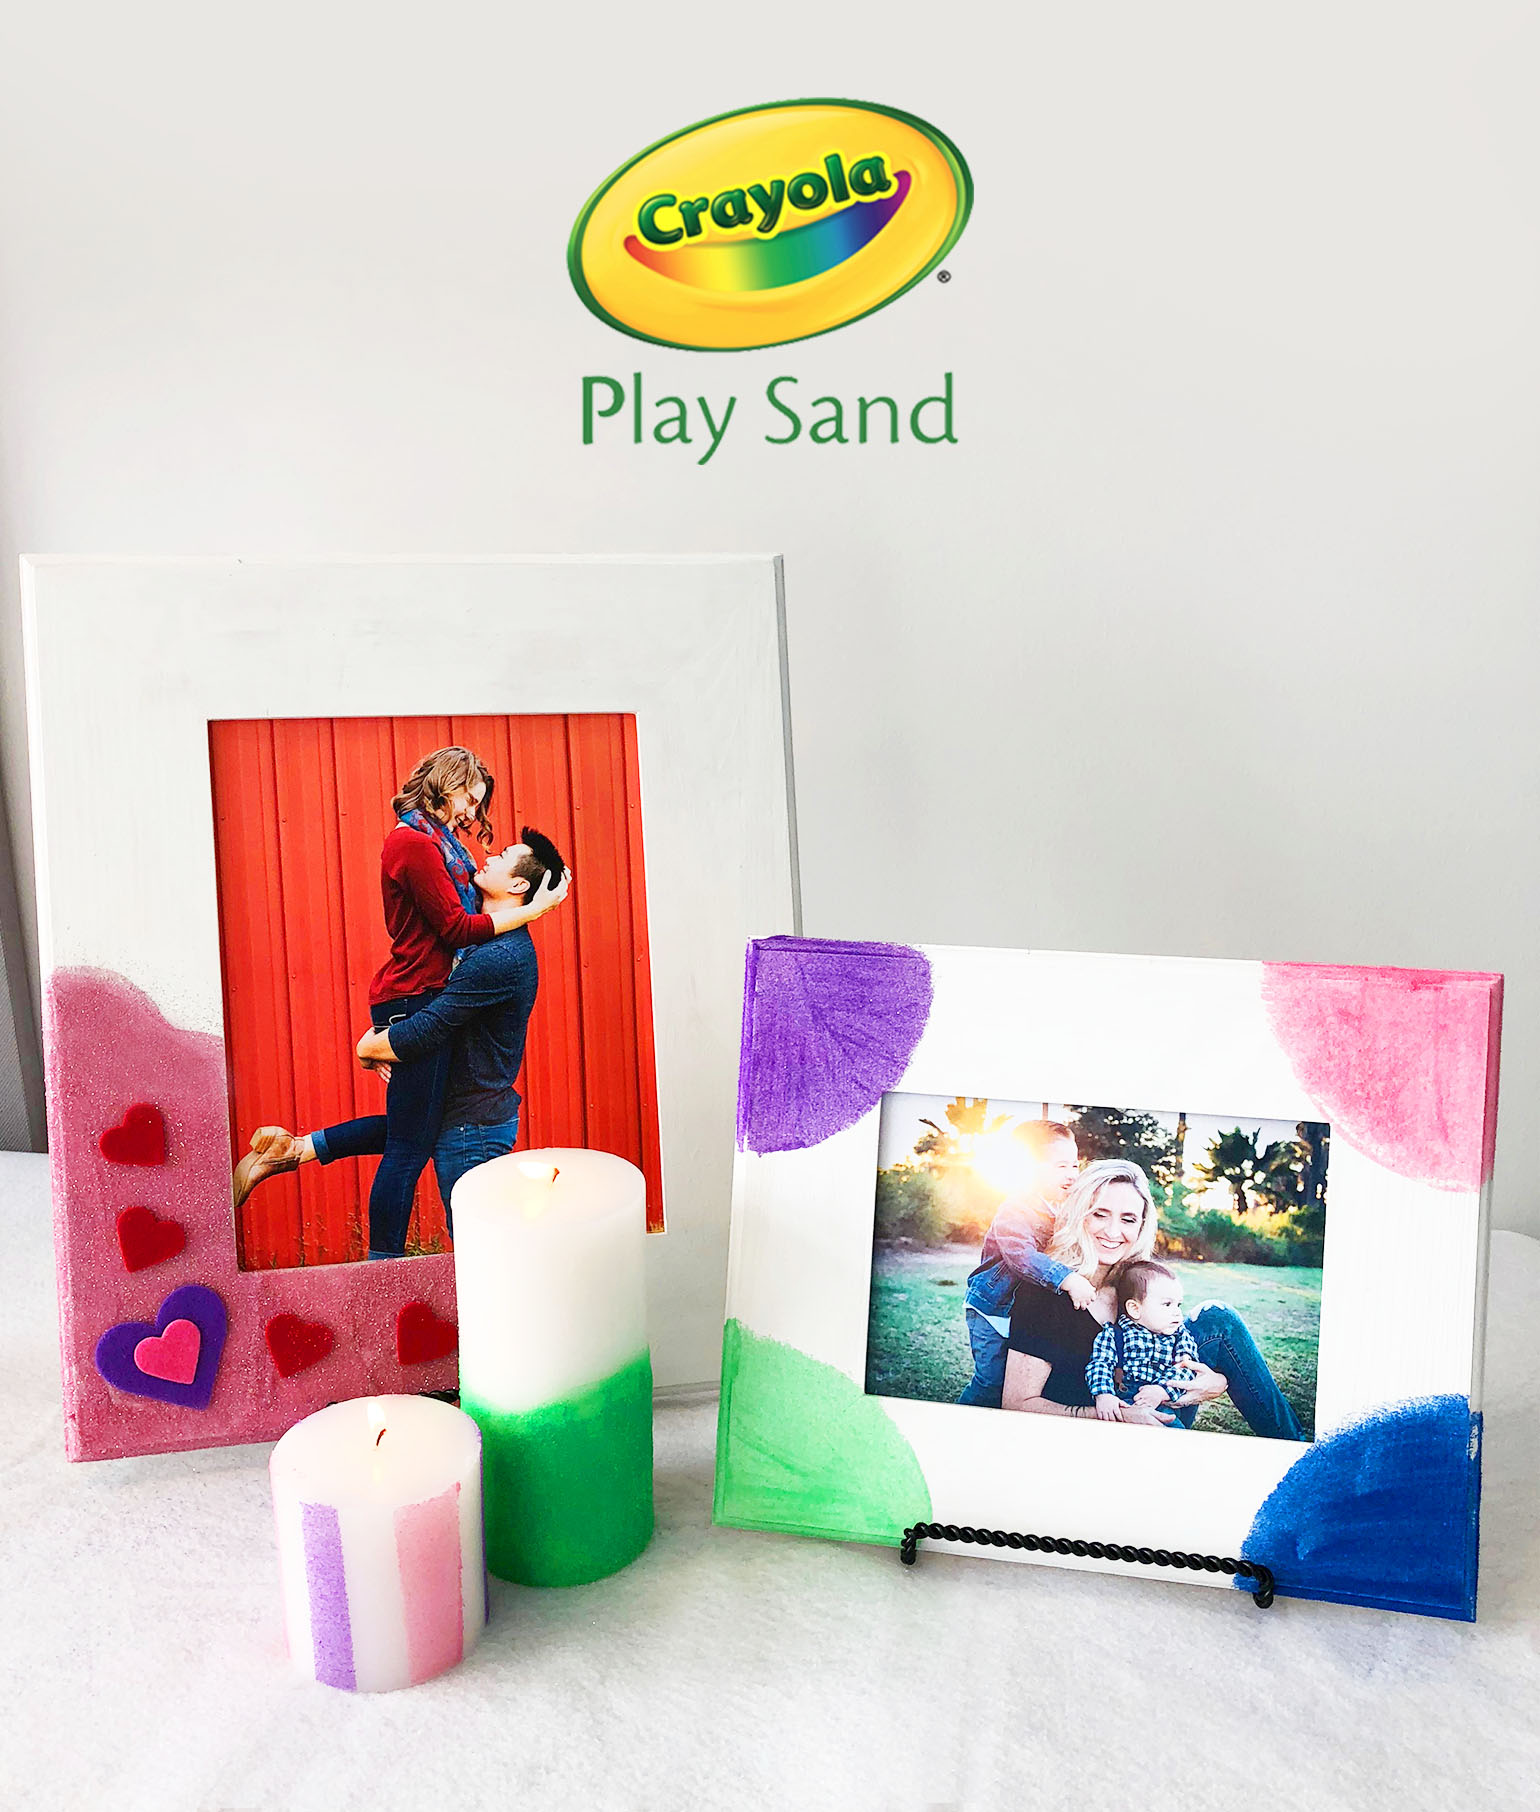
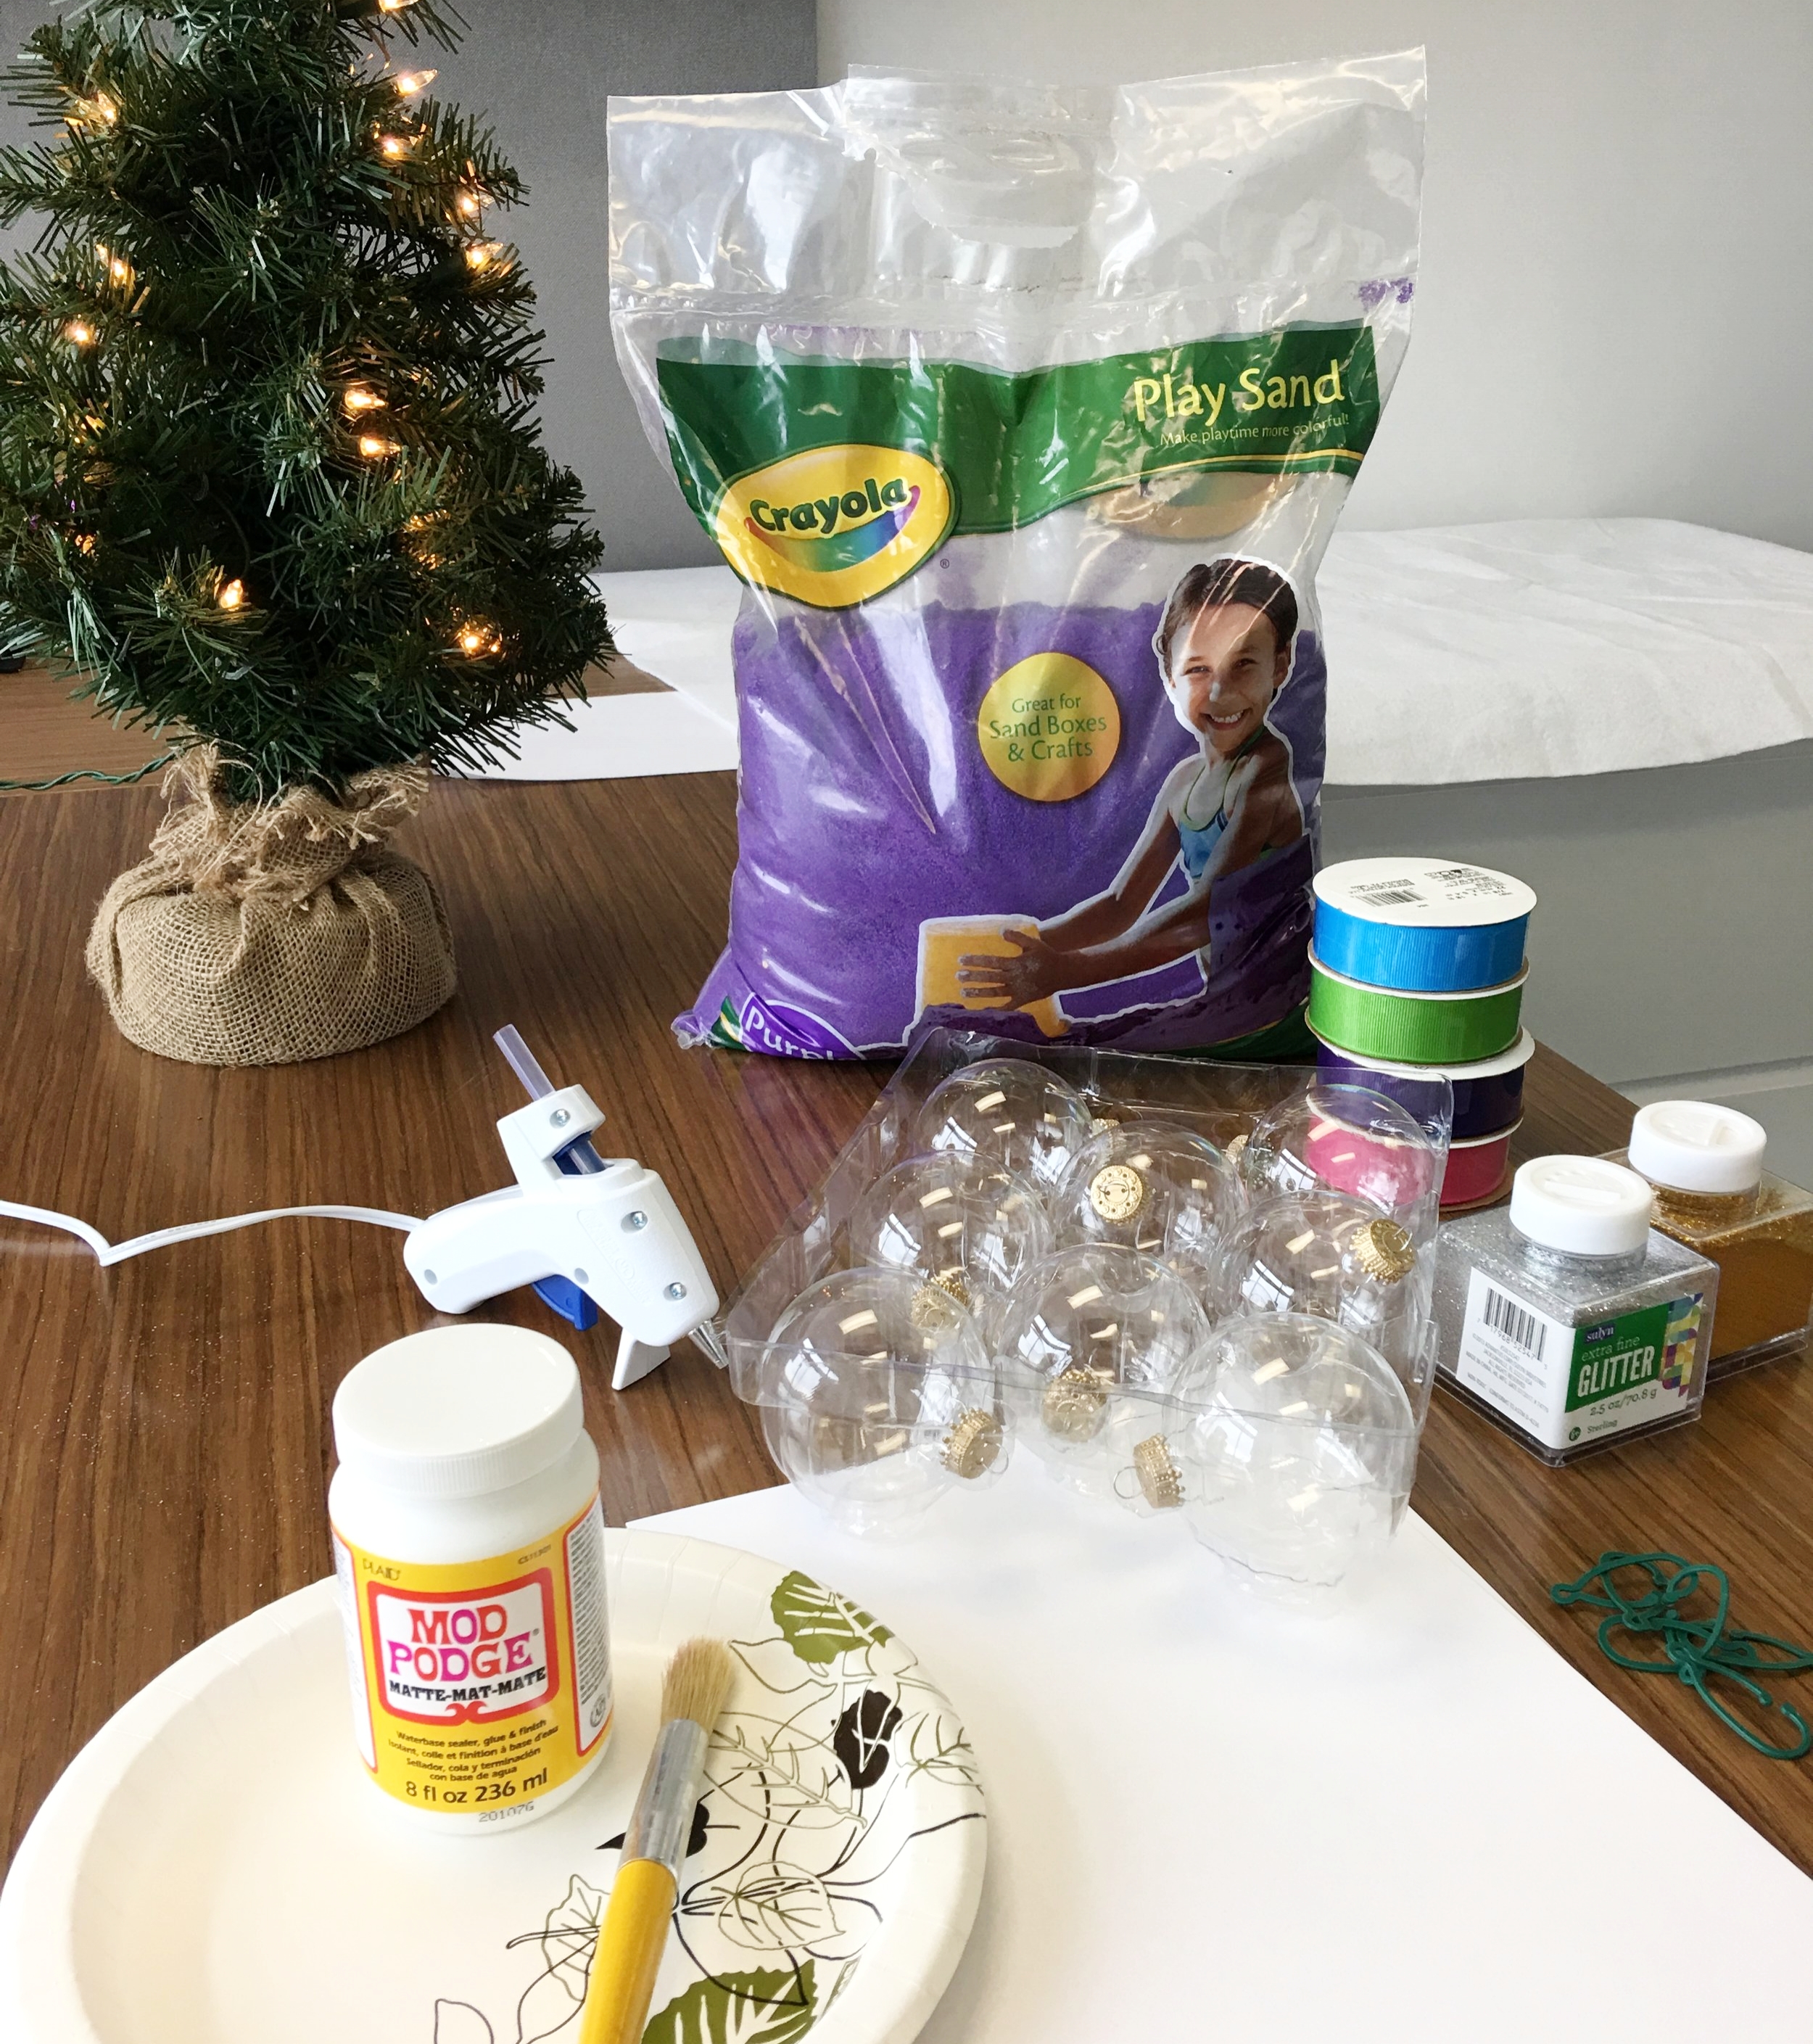
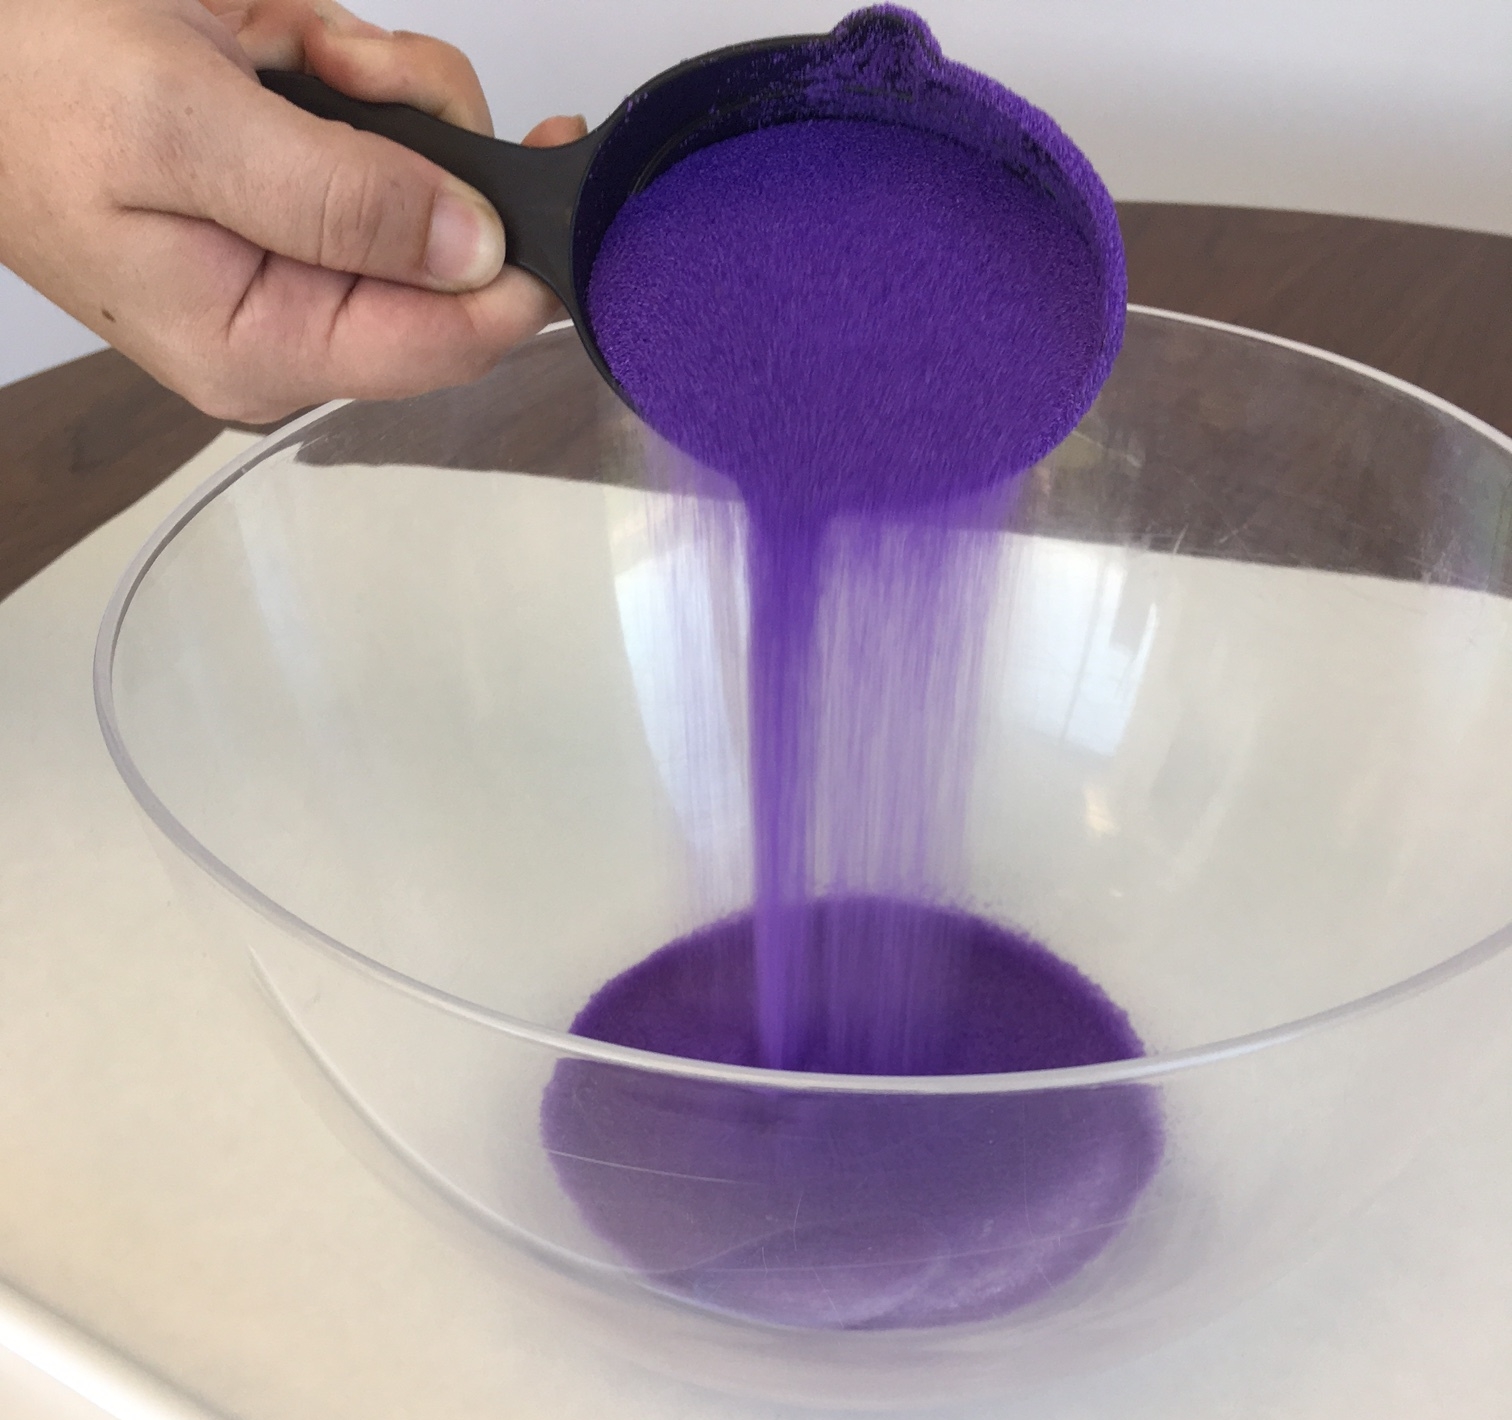
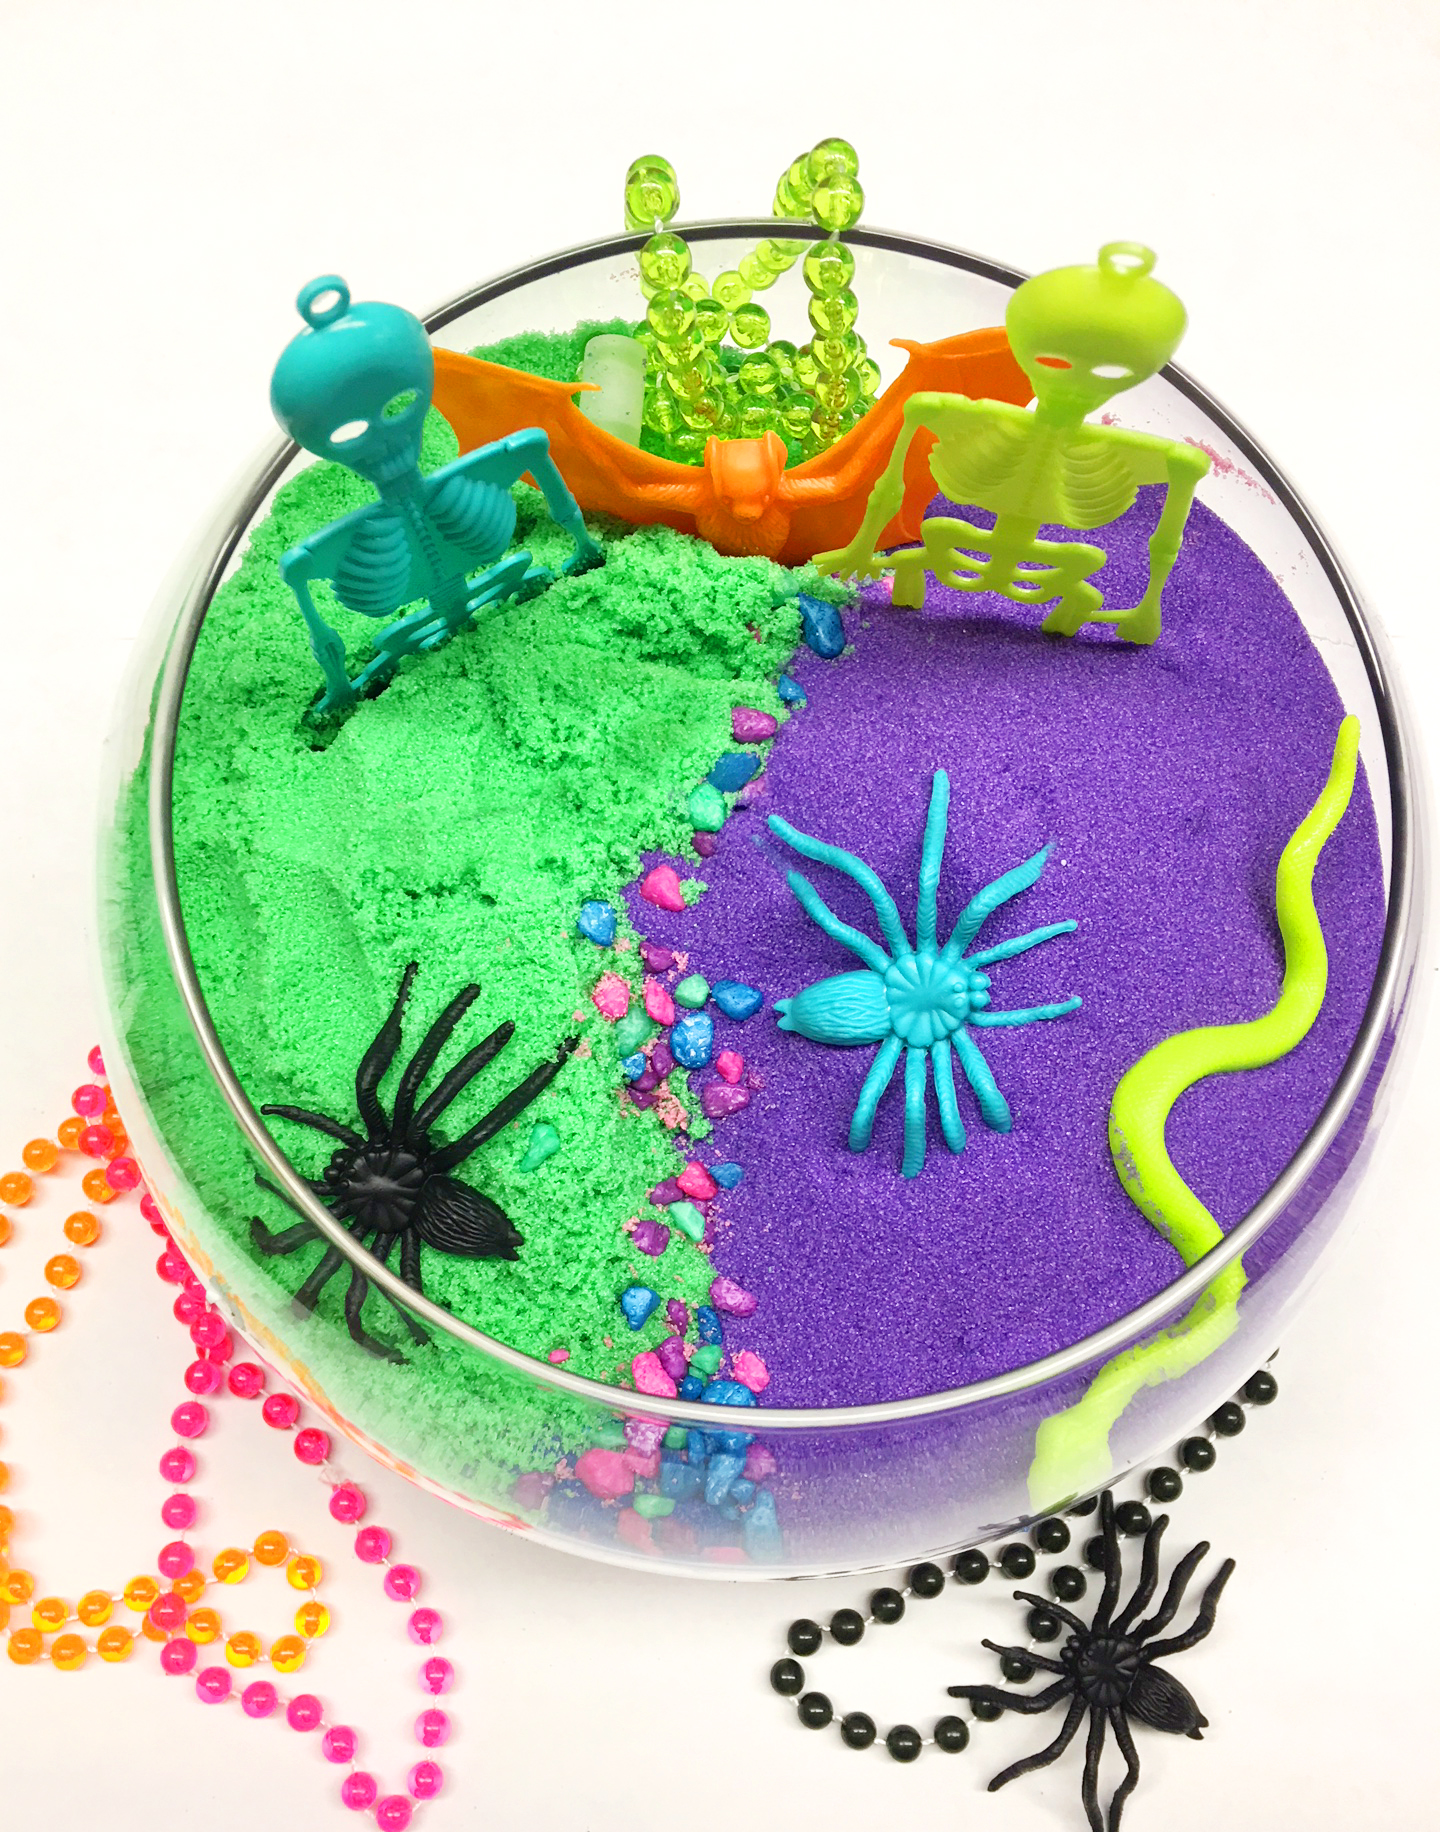
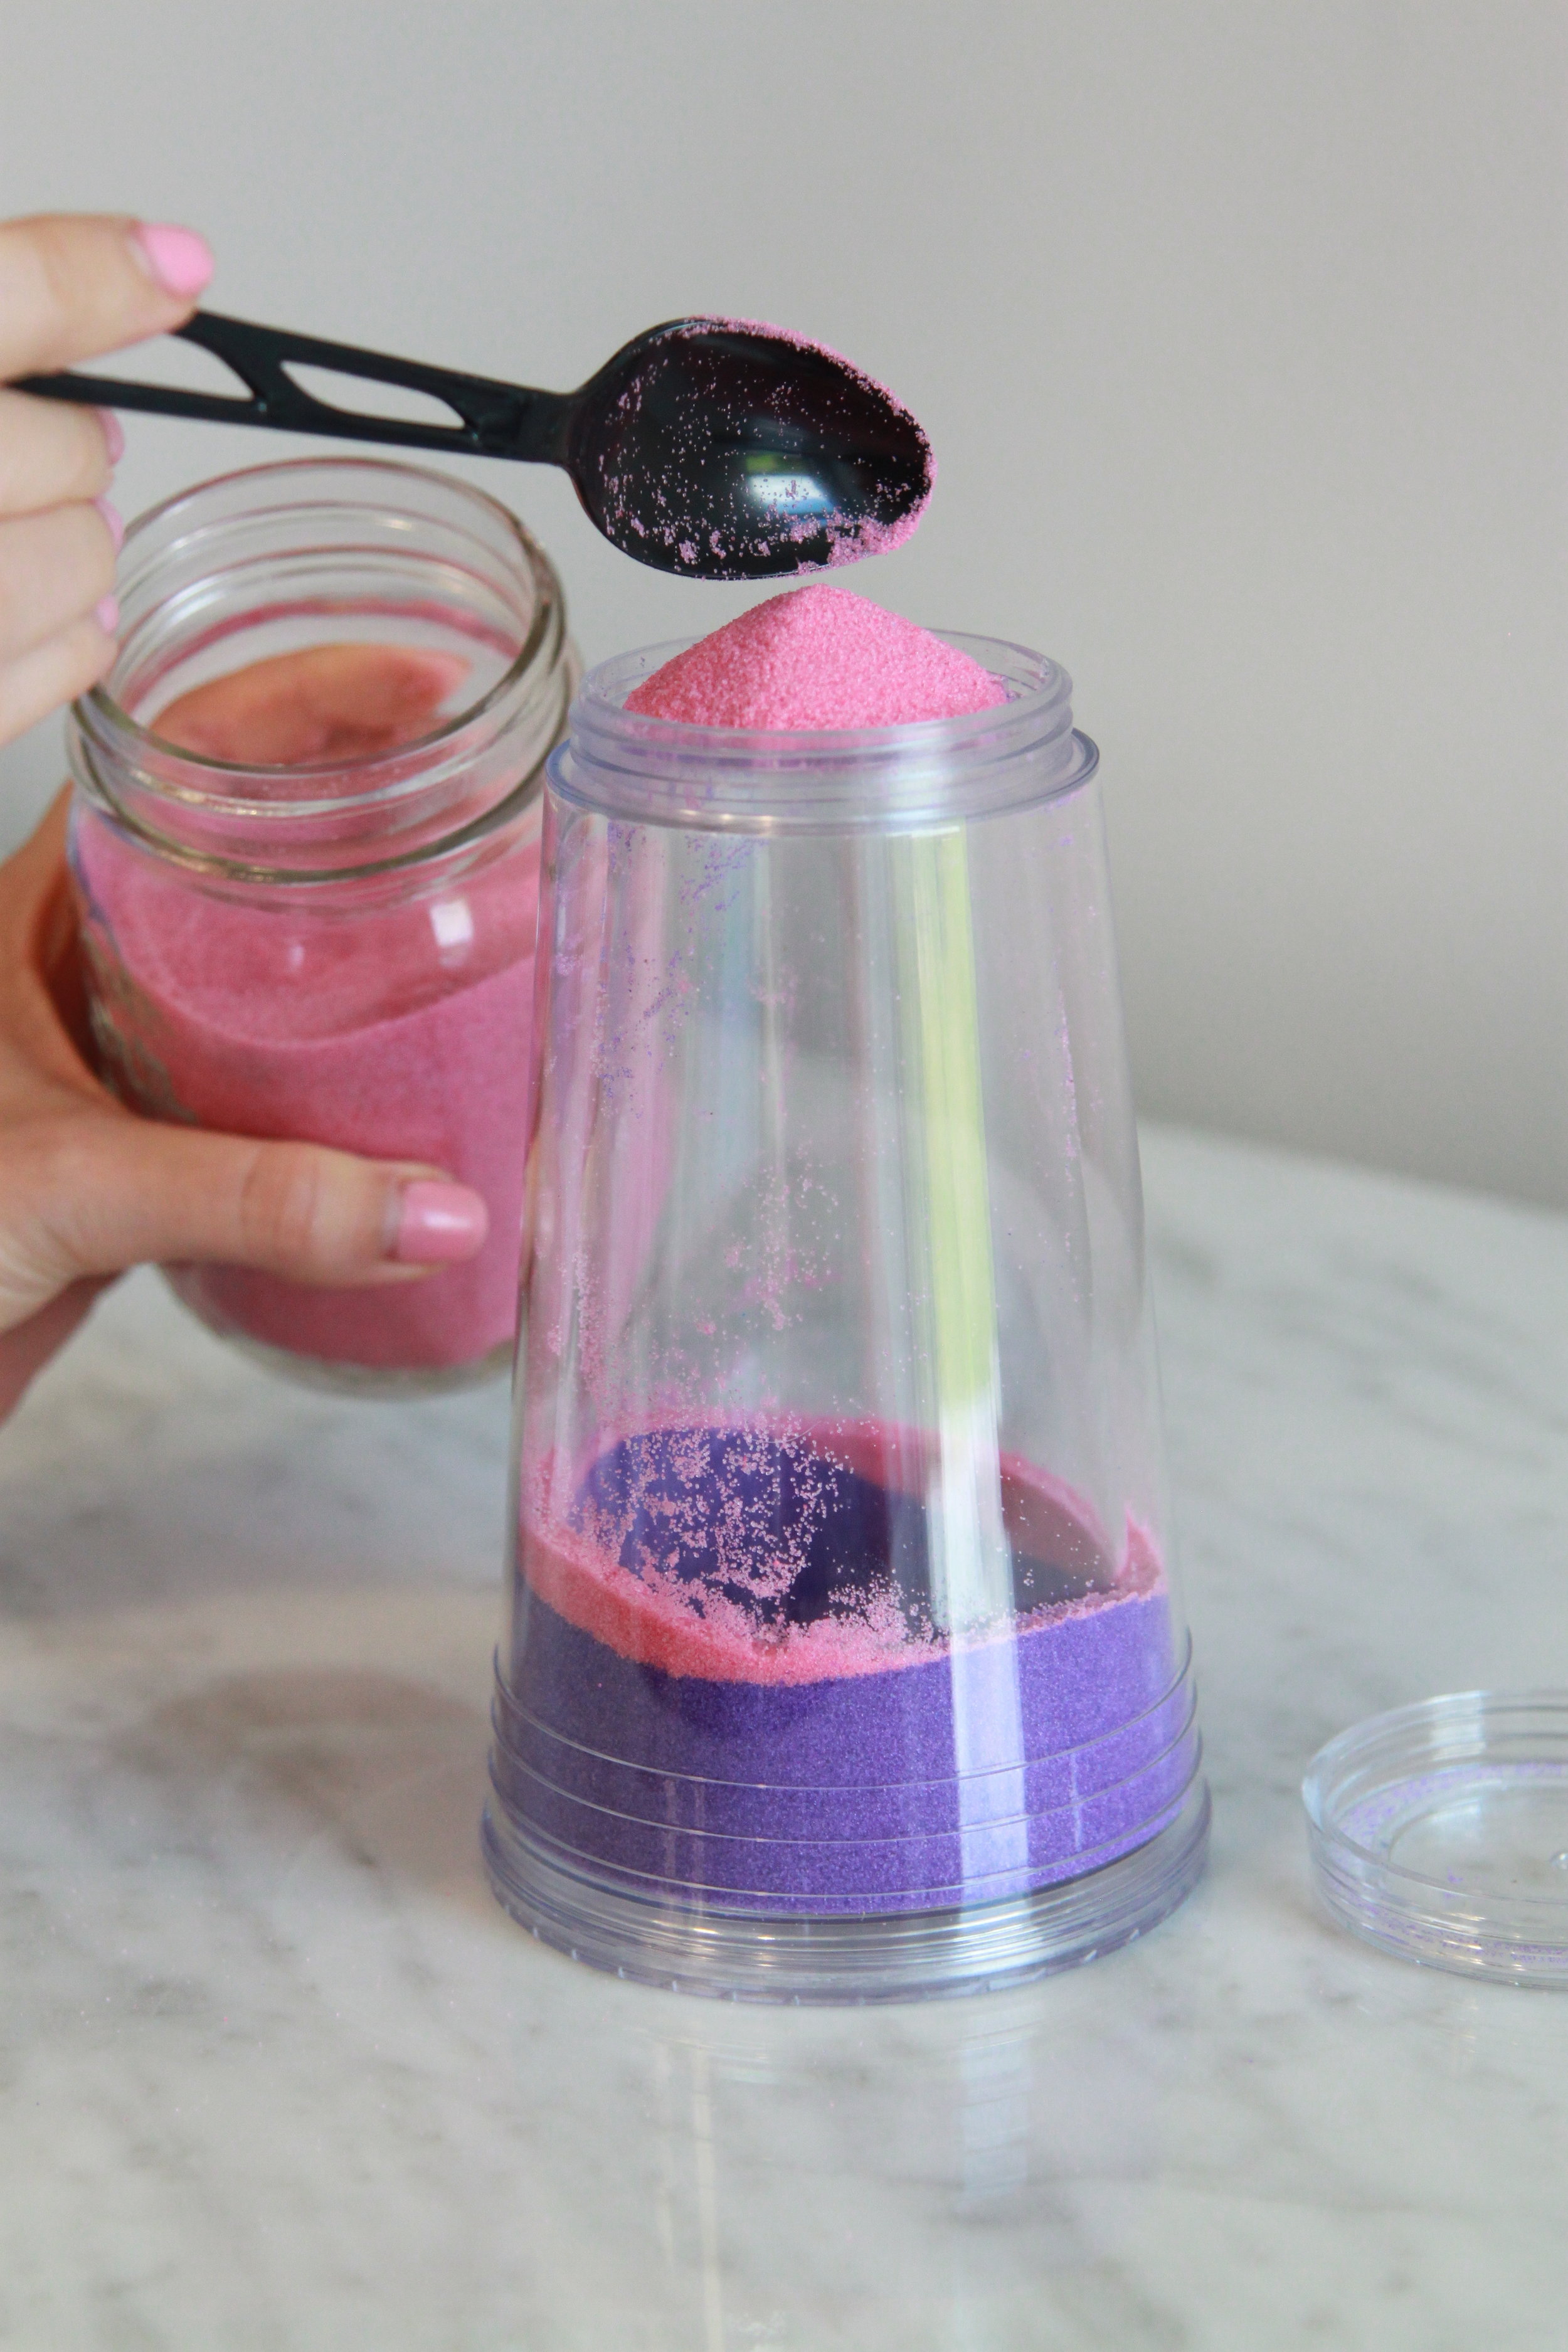
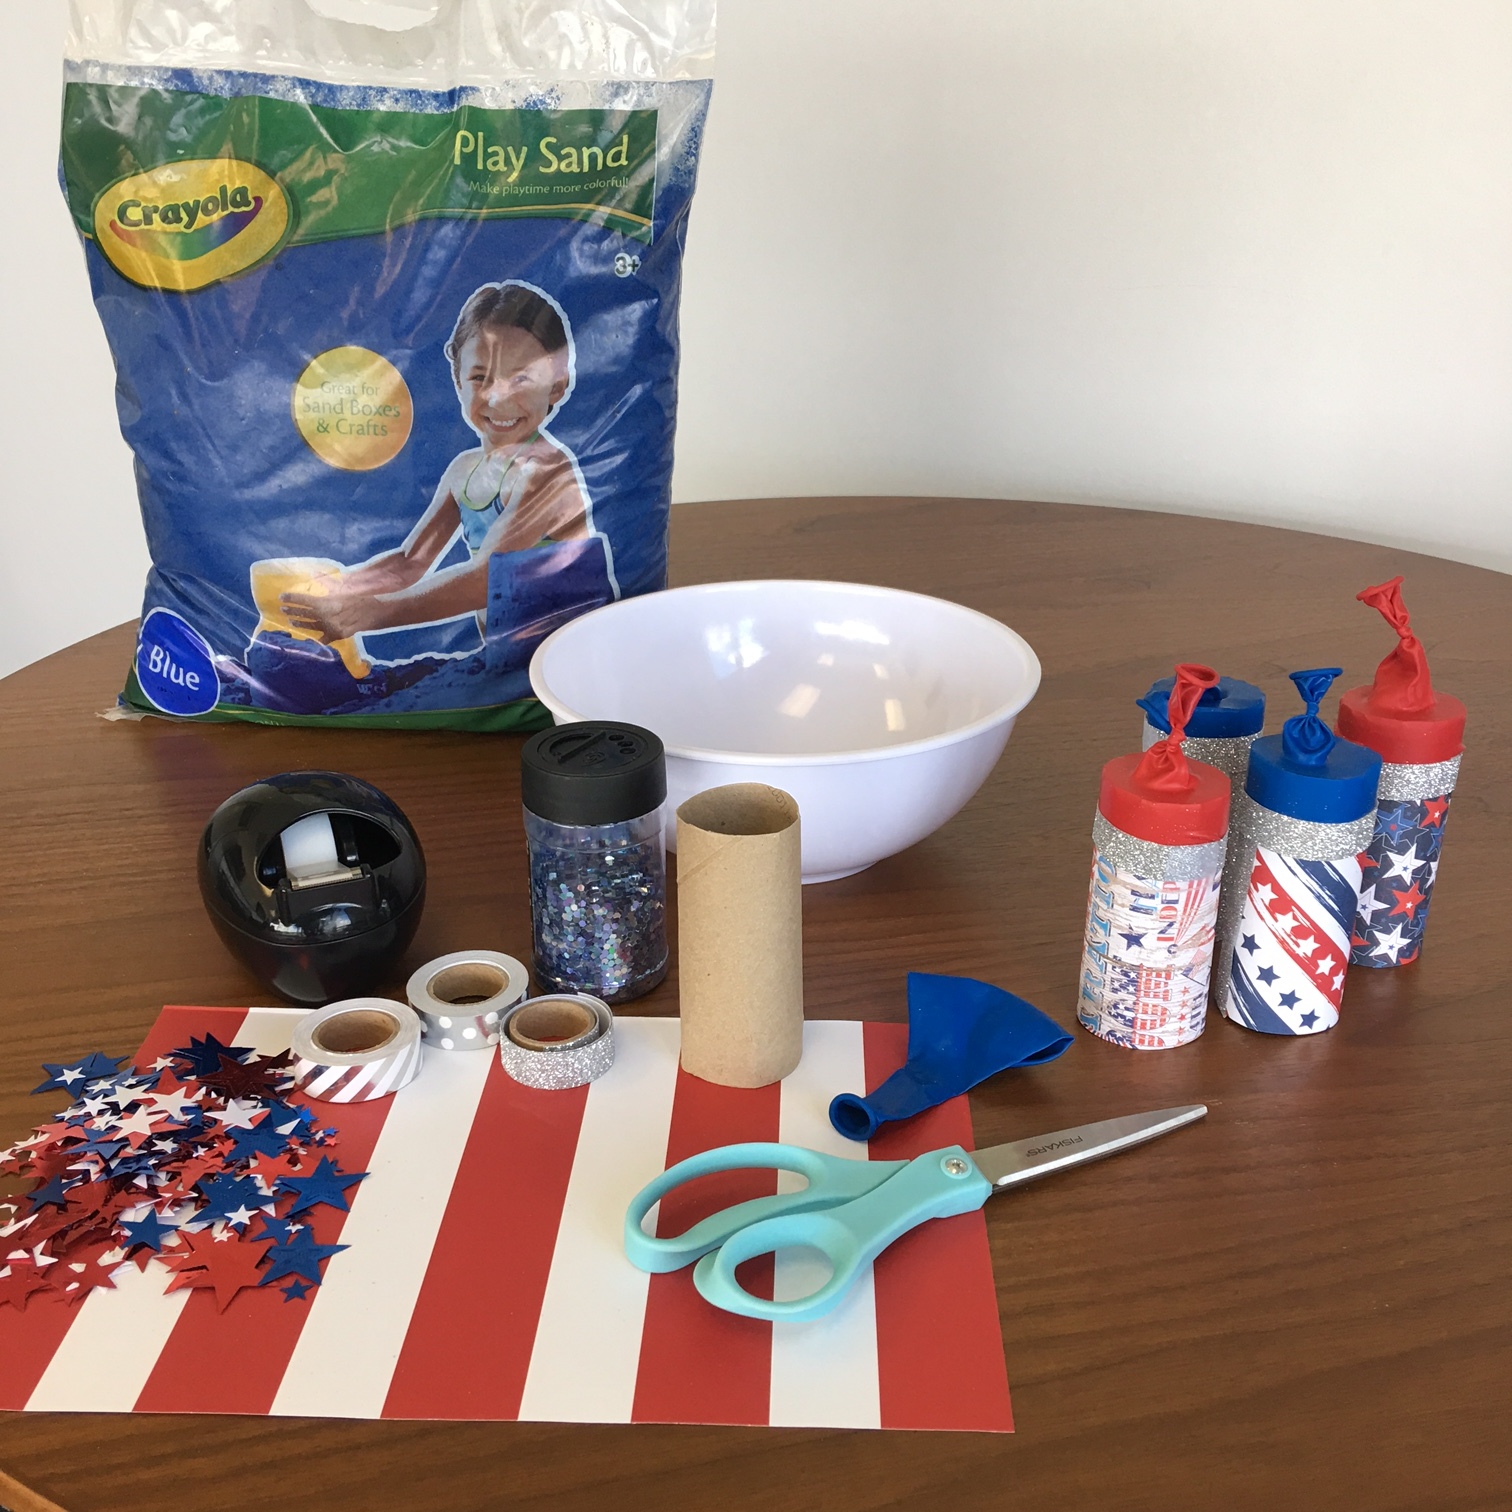
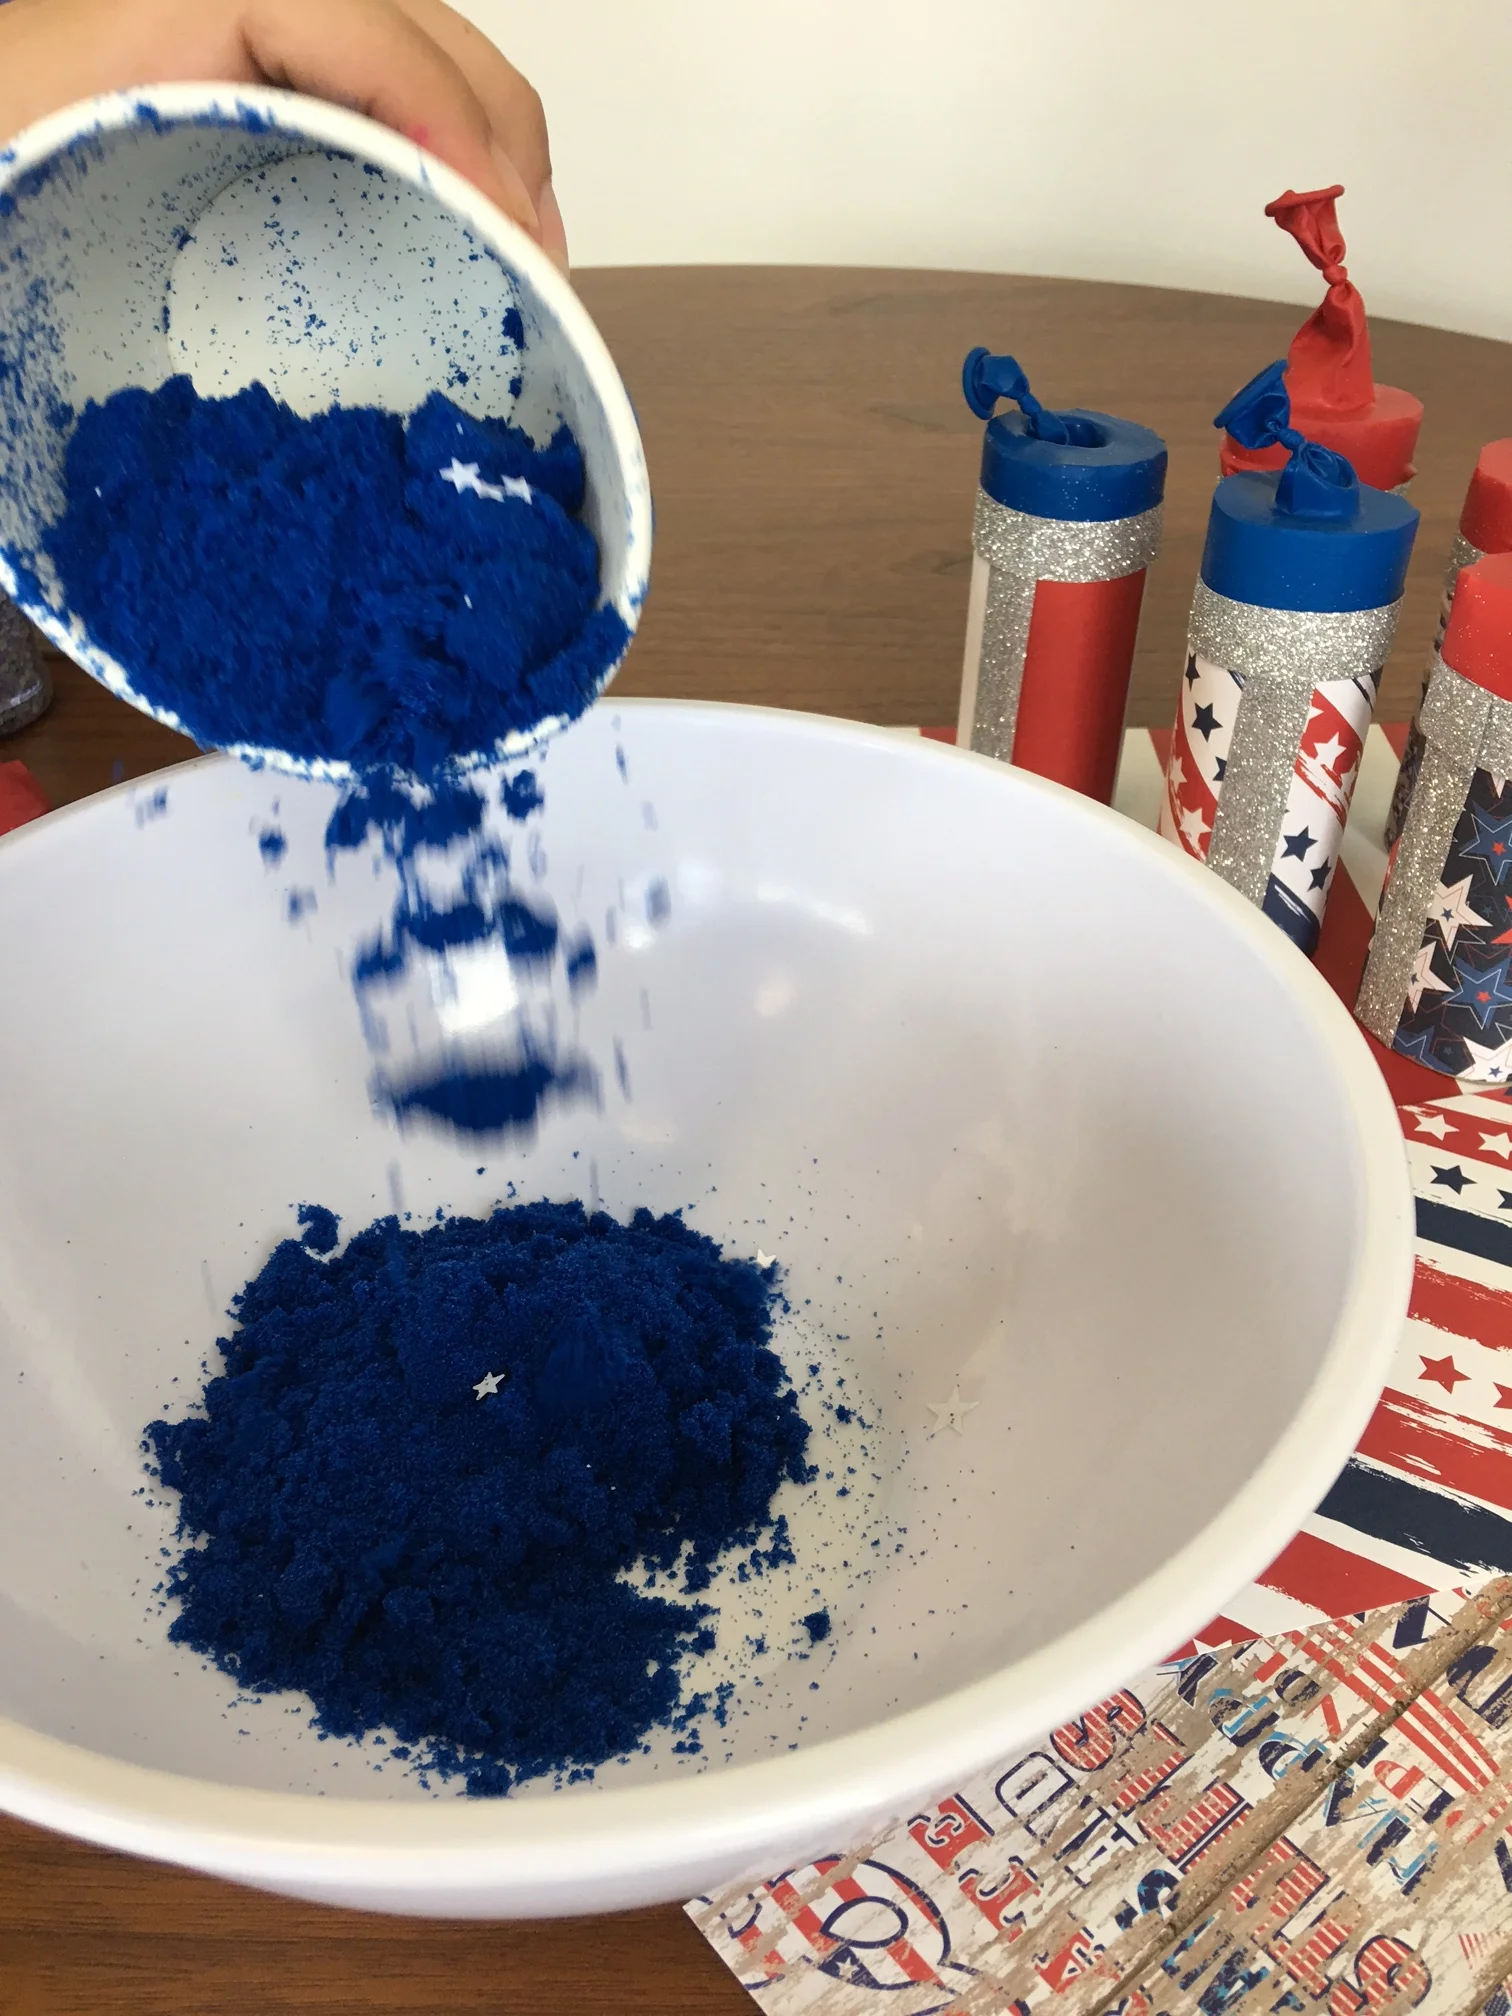
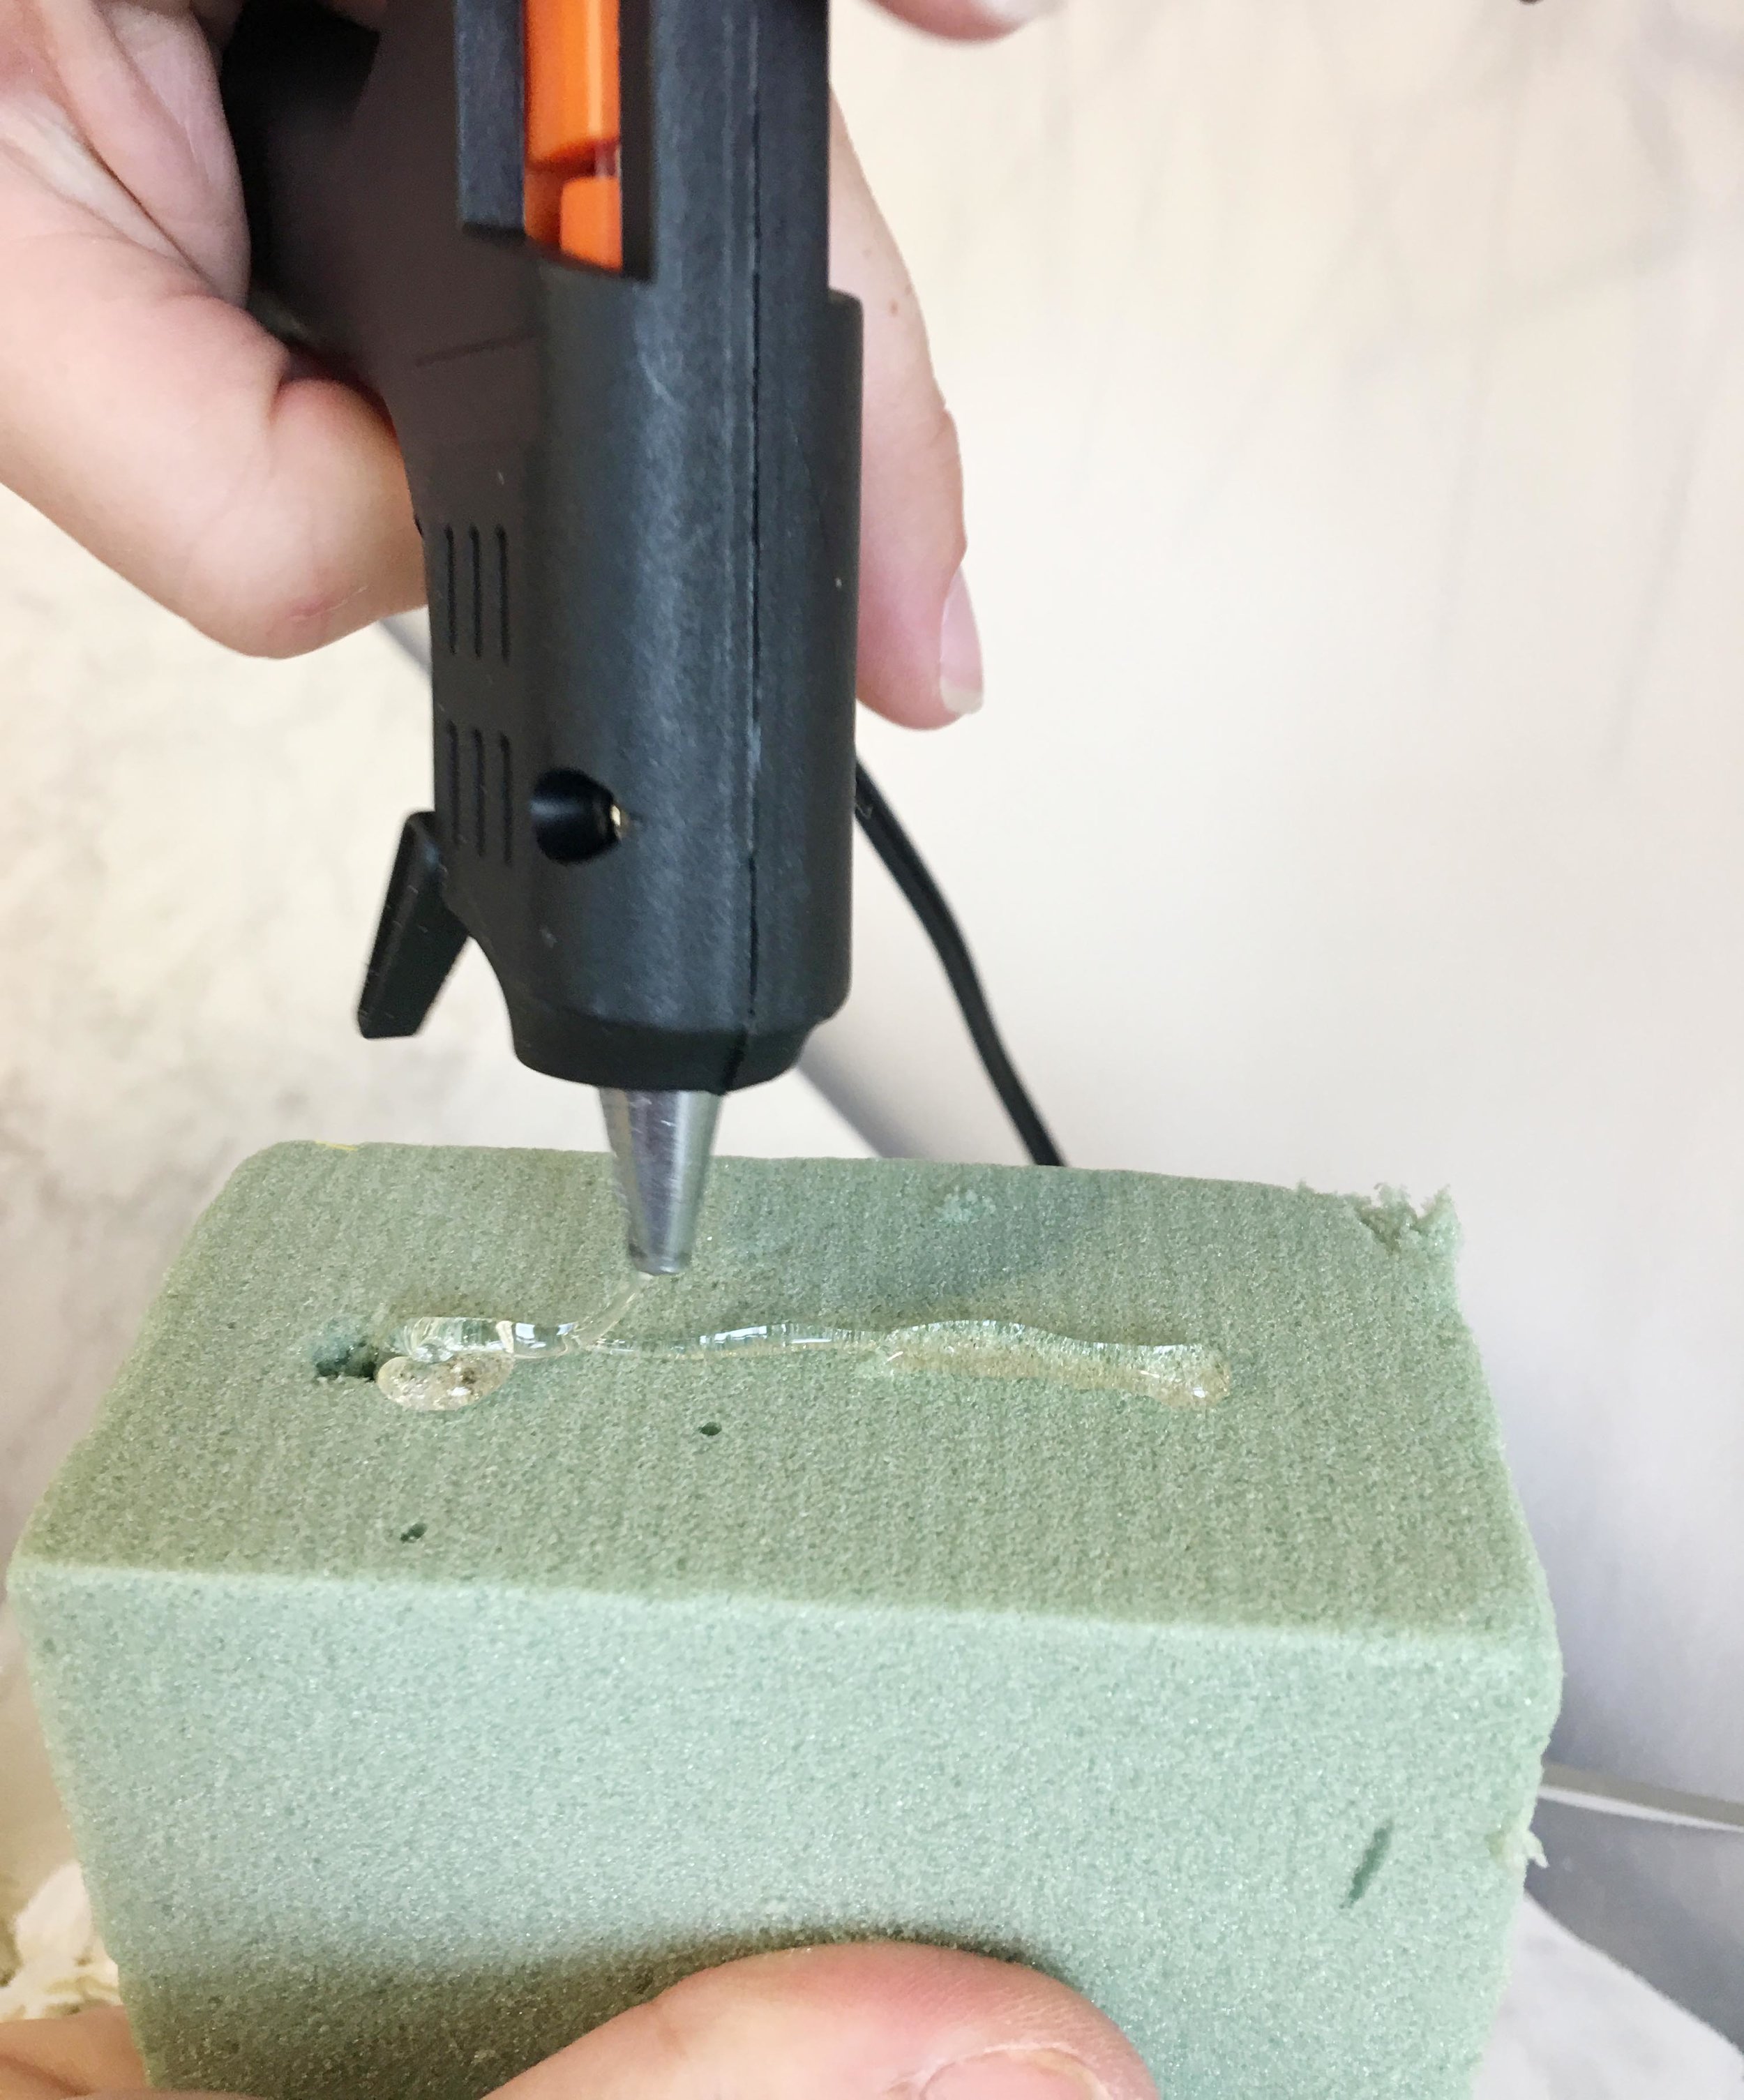
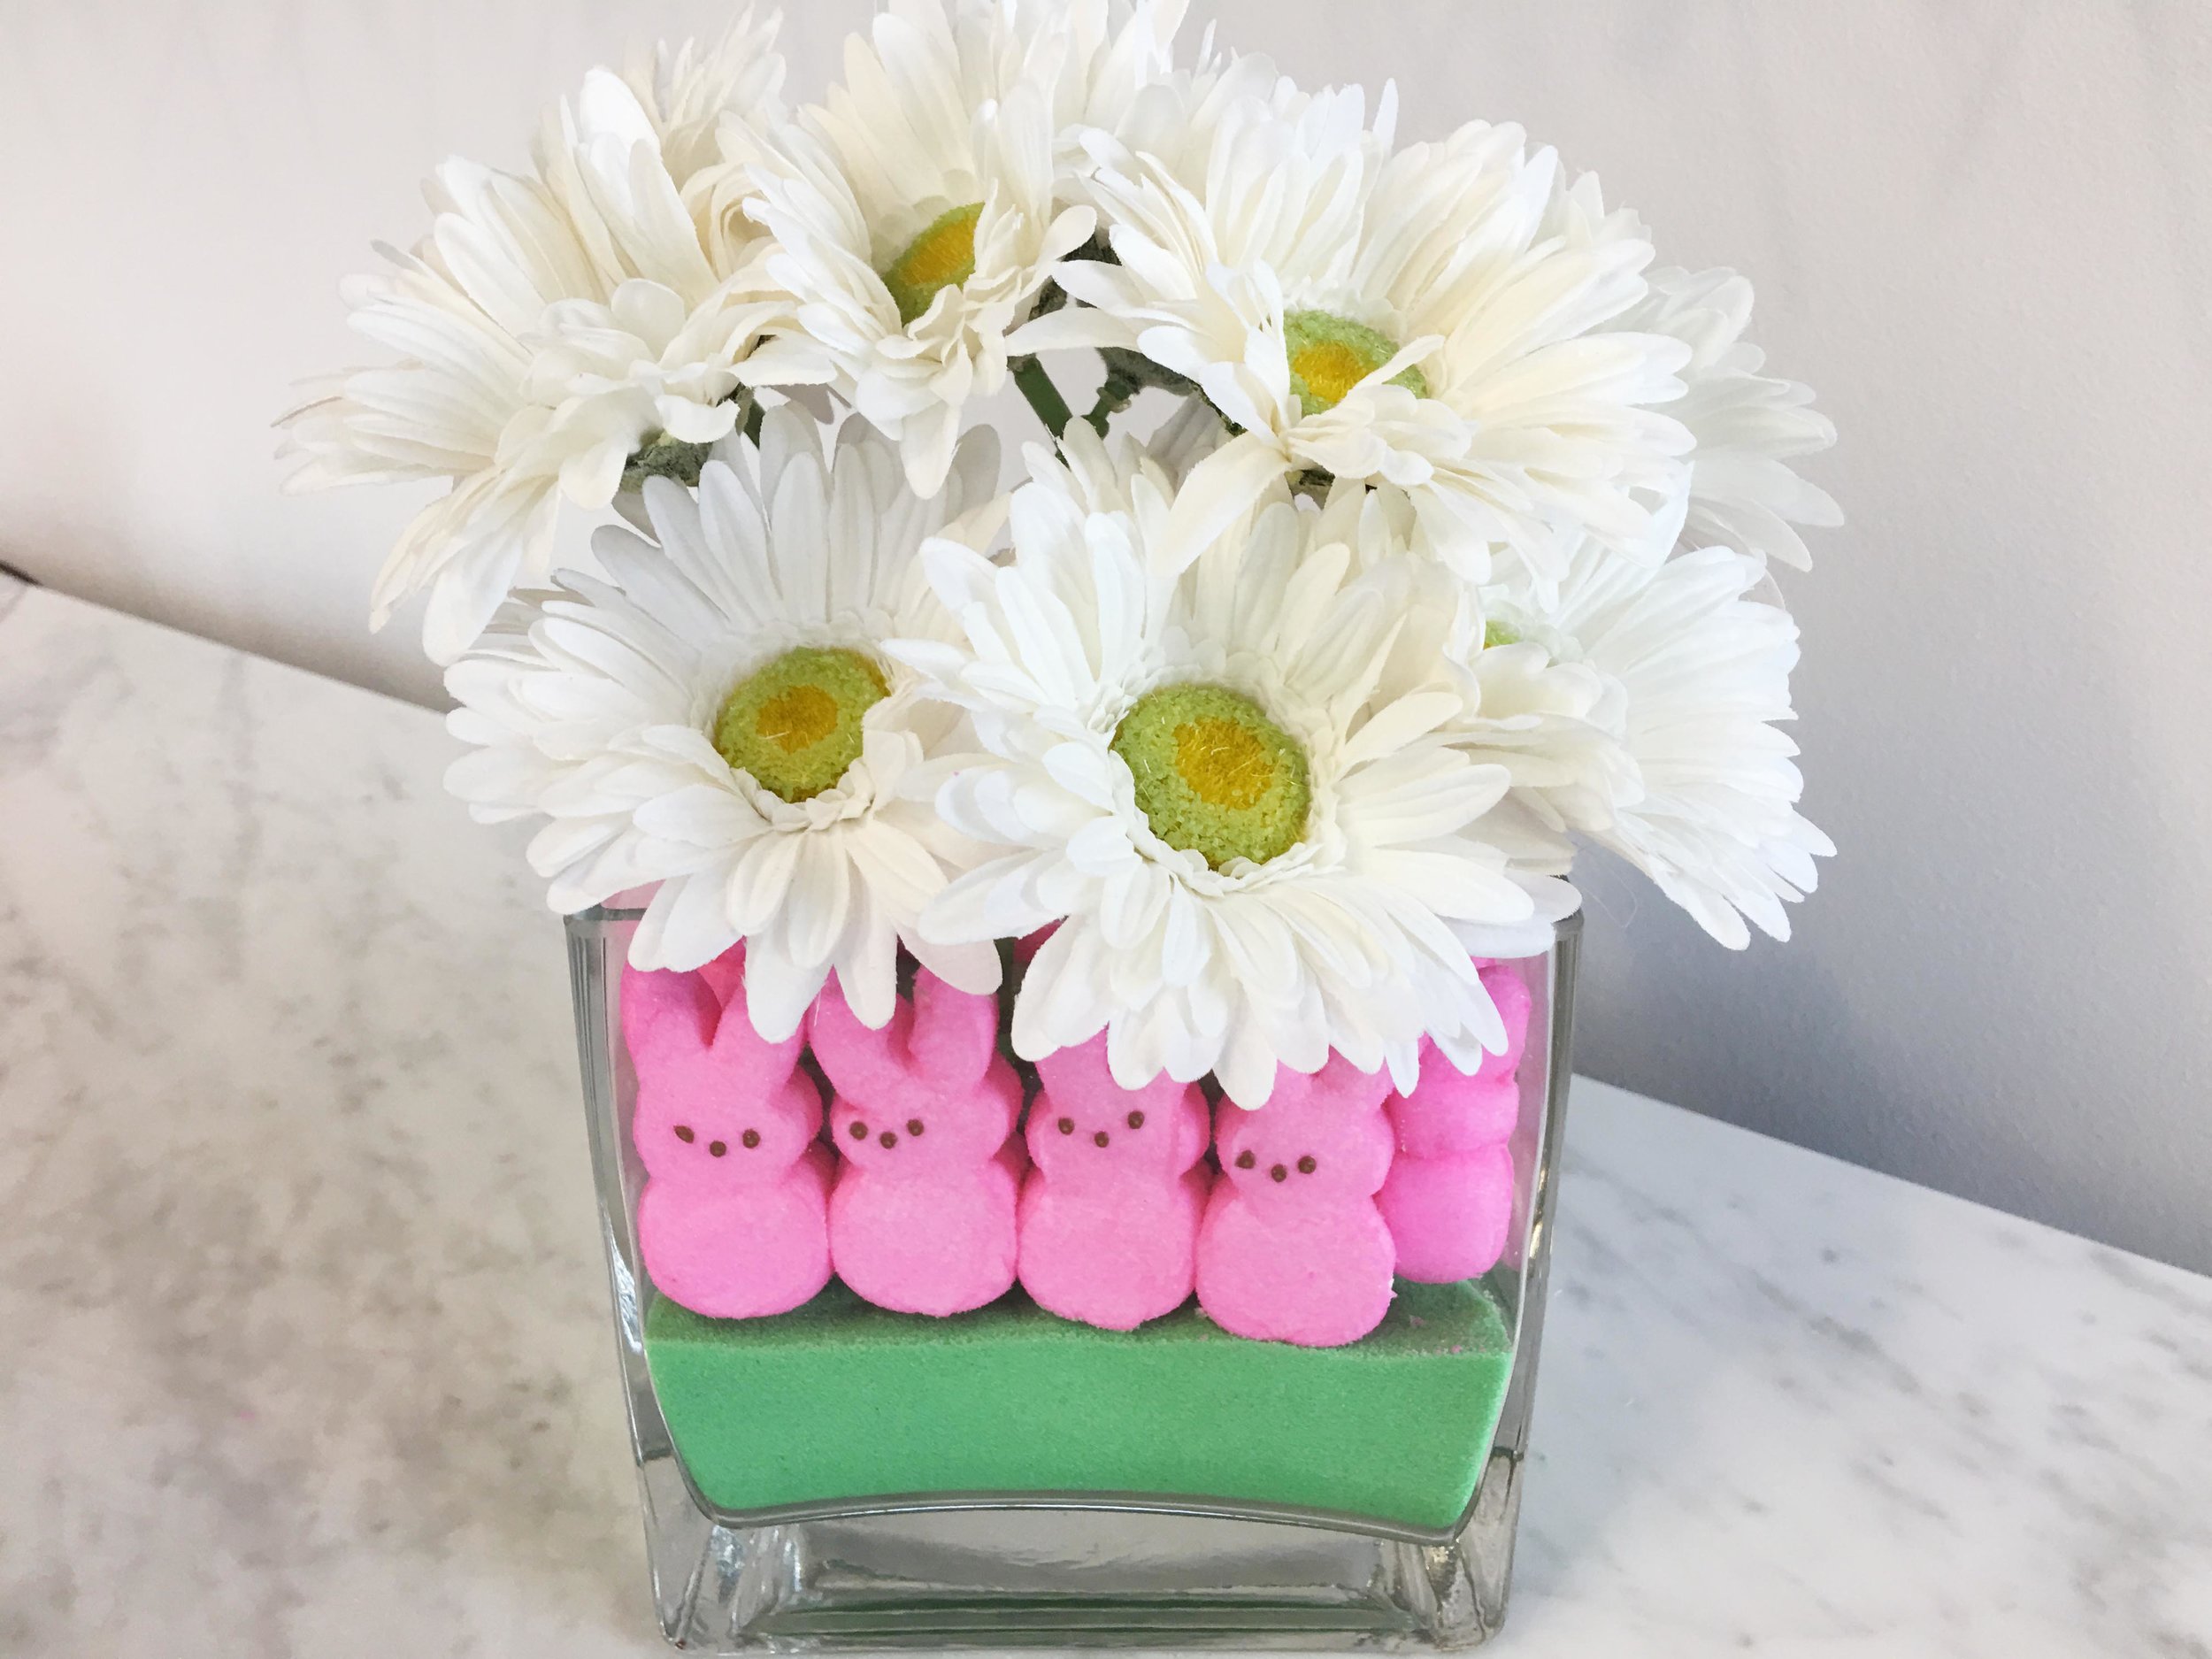
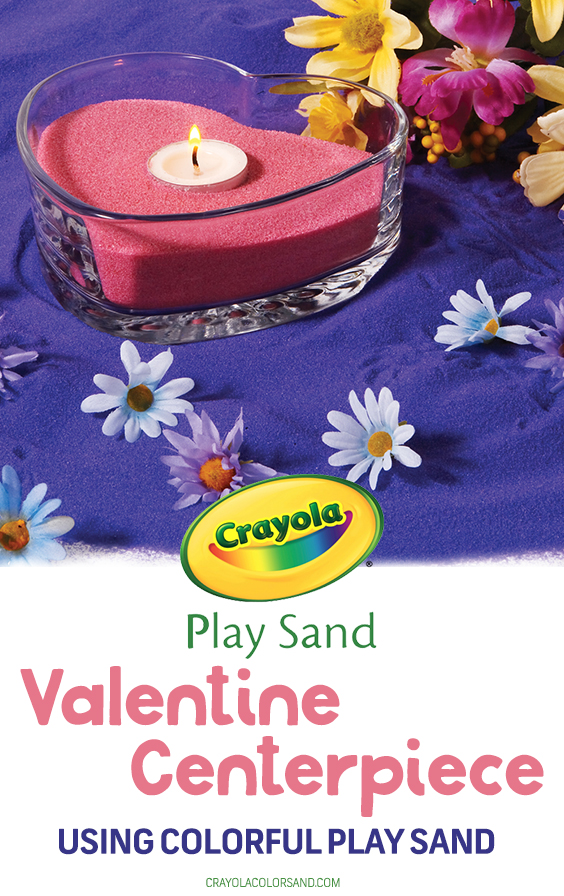
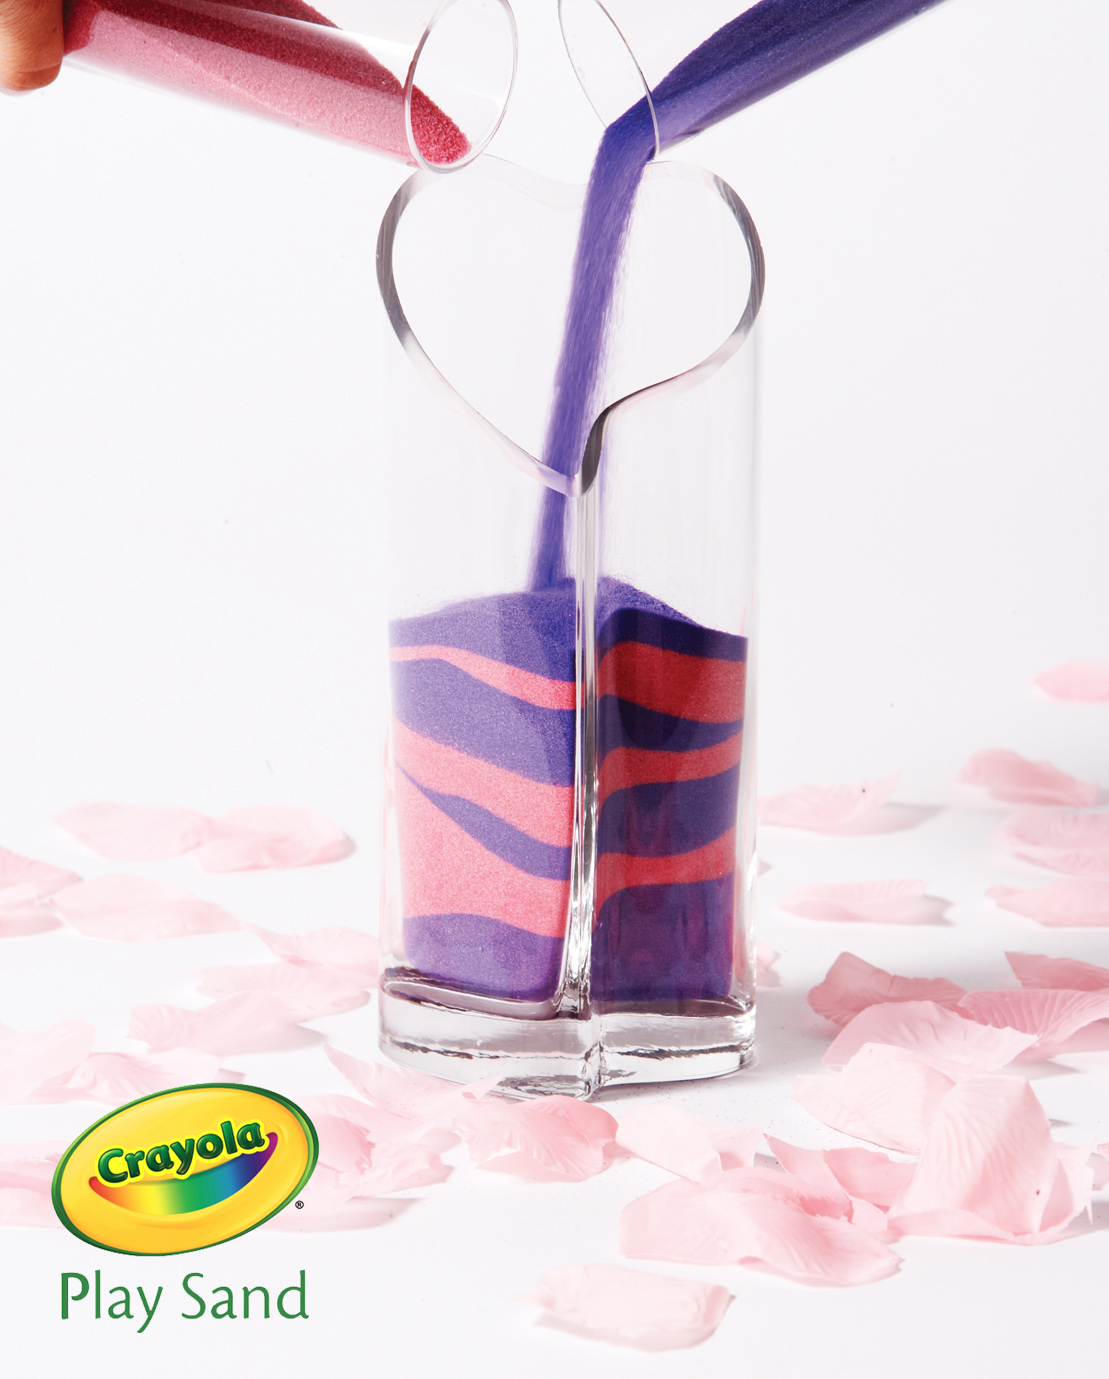
Brighten your aquarium with our sand, and know our safe, nontoxic colored sand will never fade or bleed.

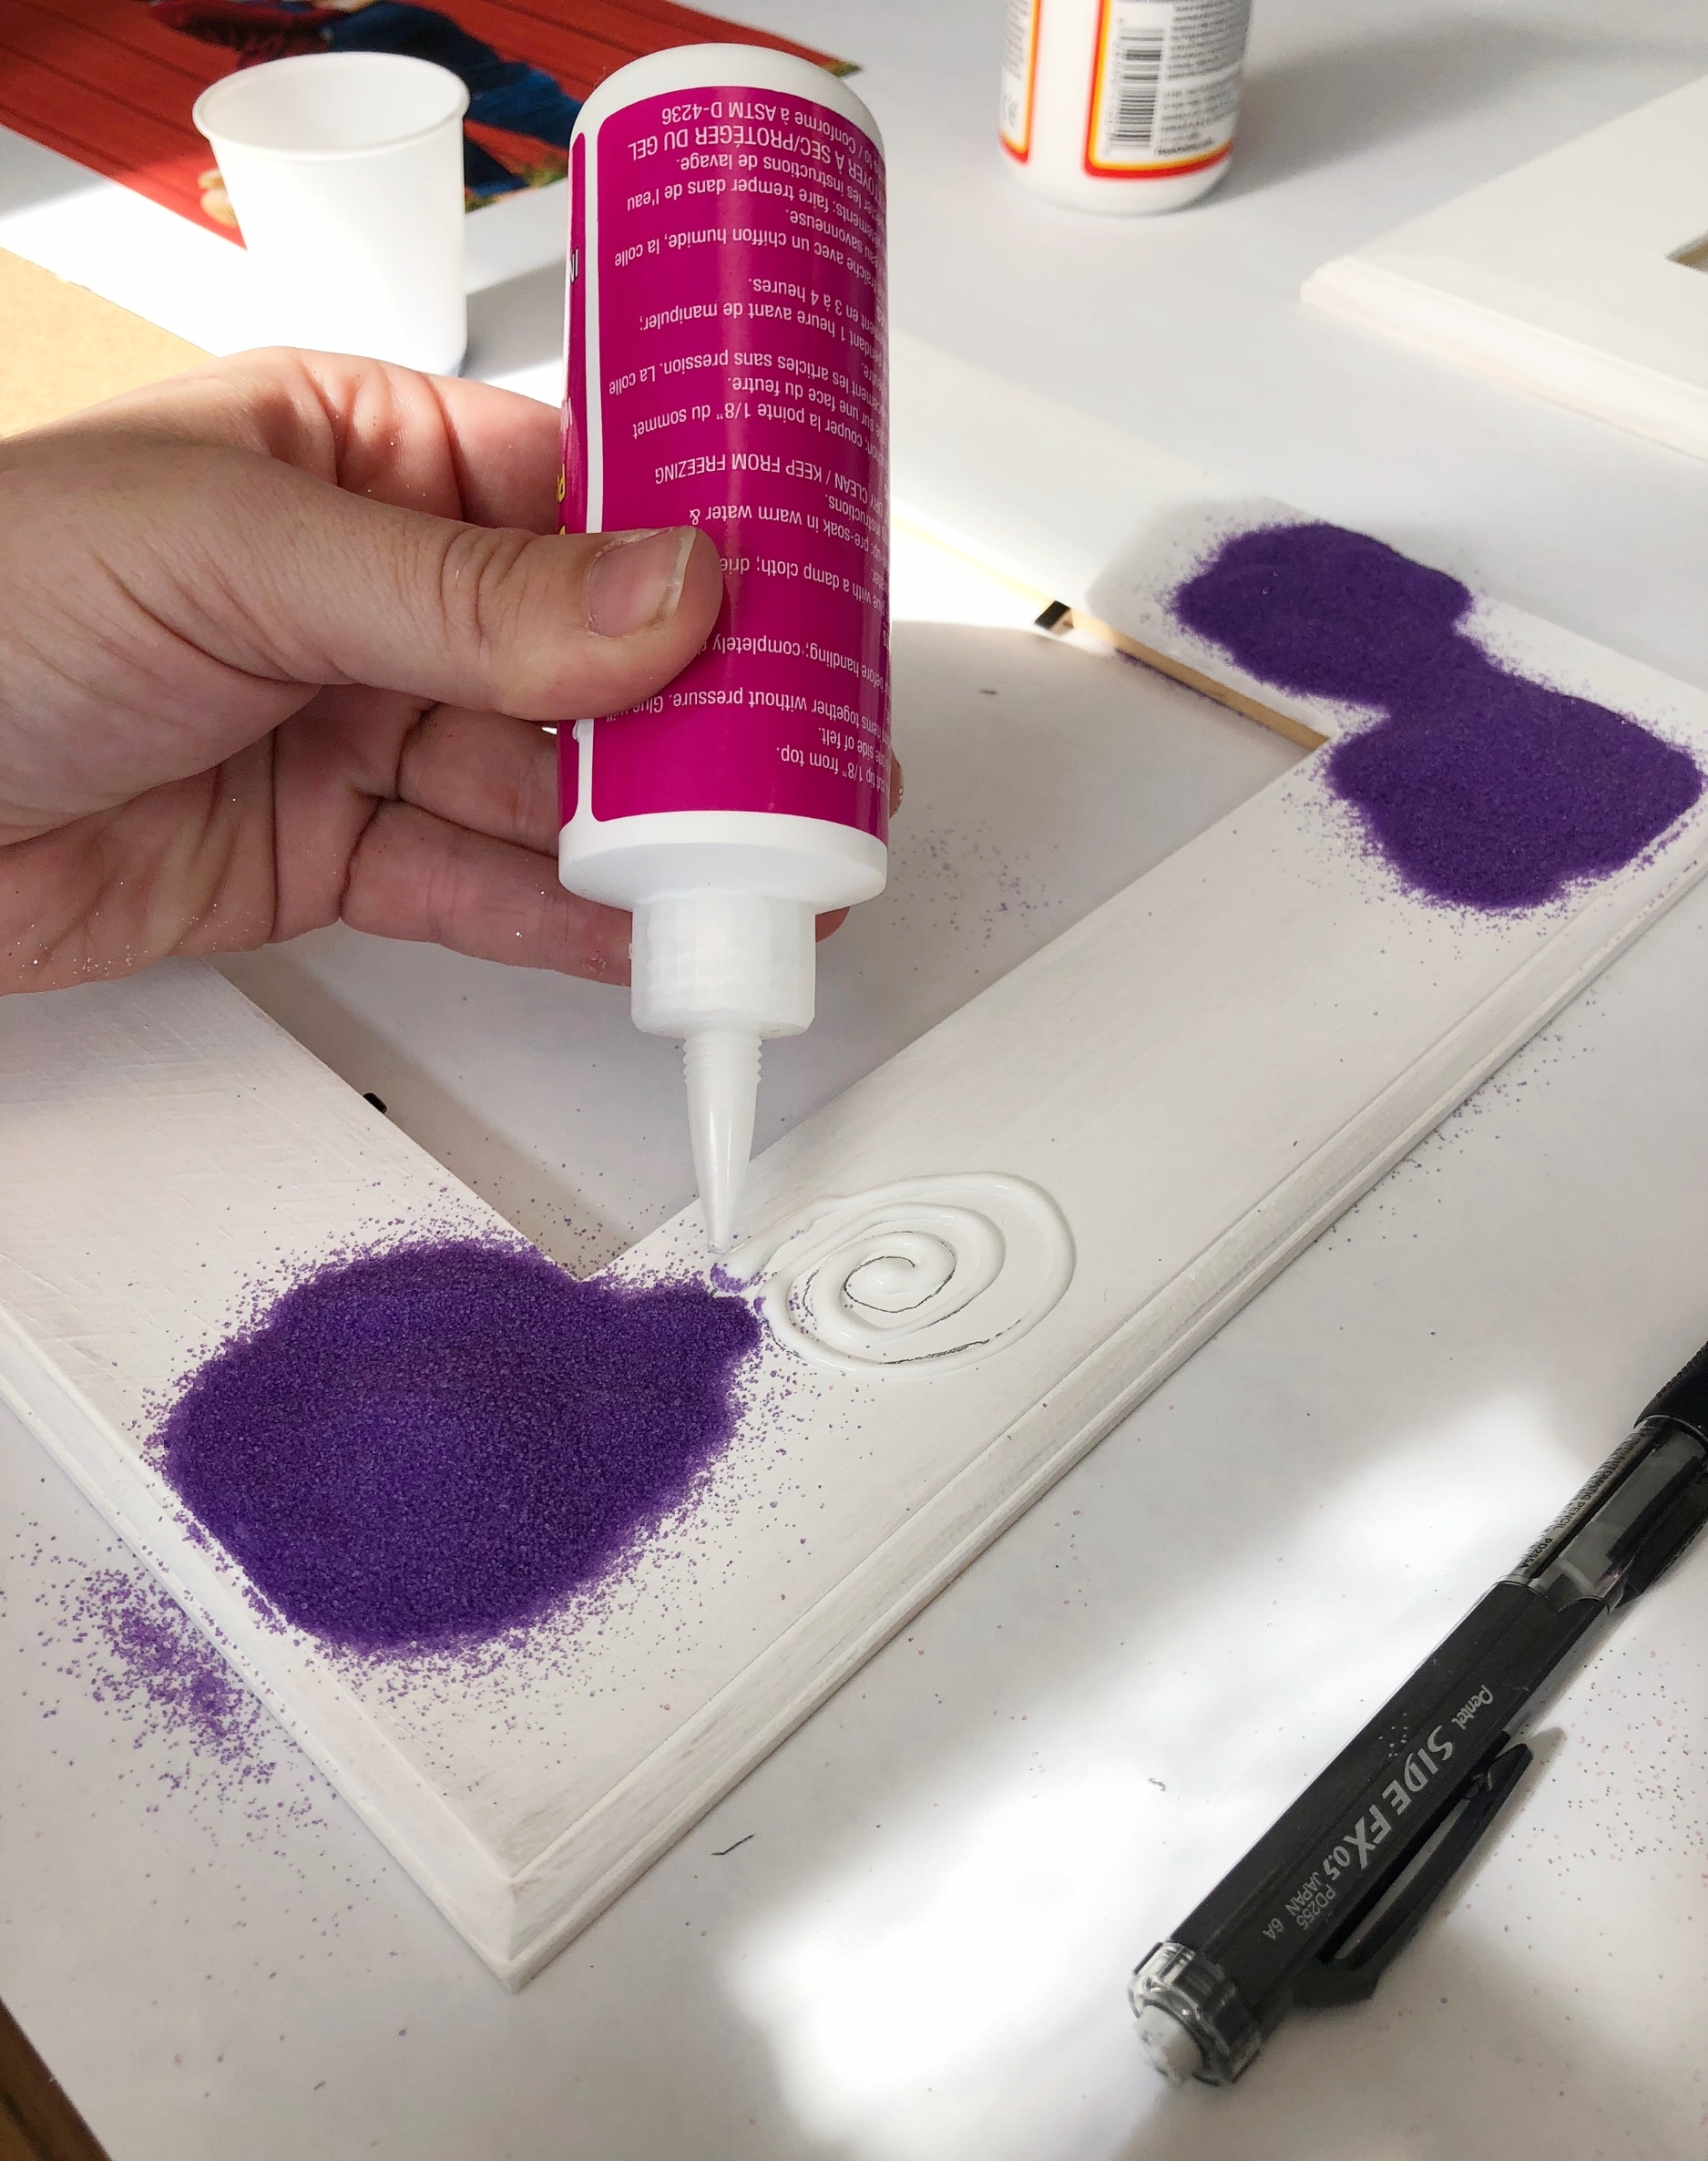
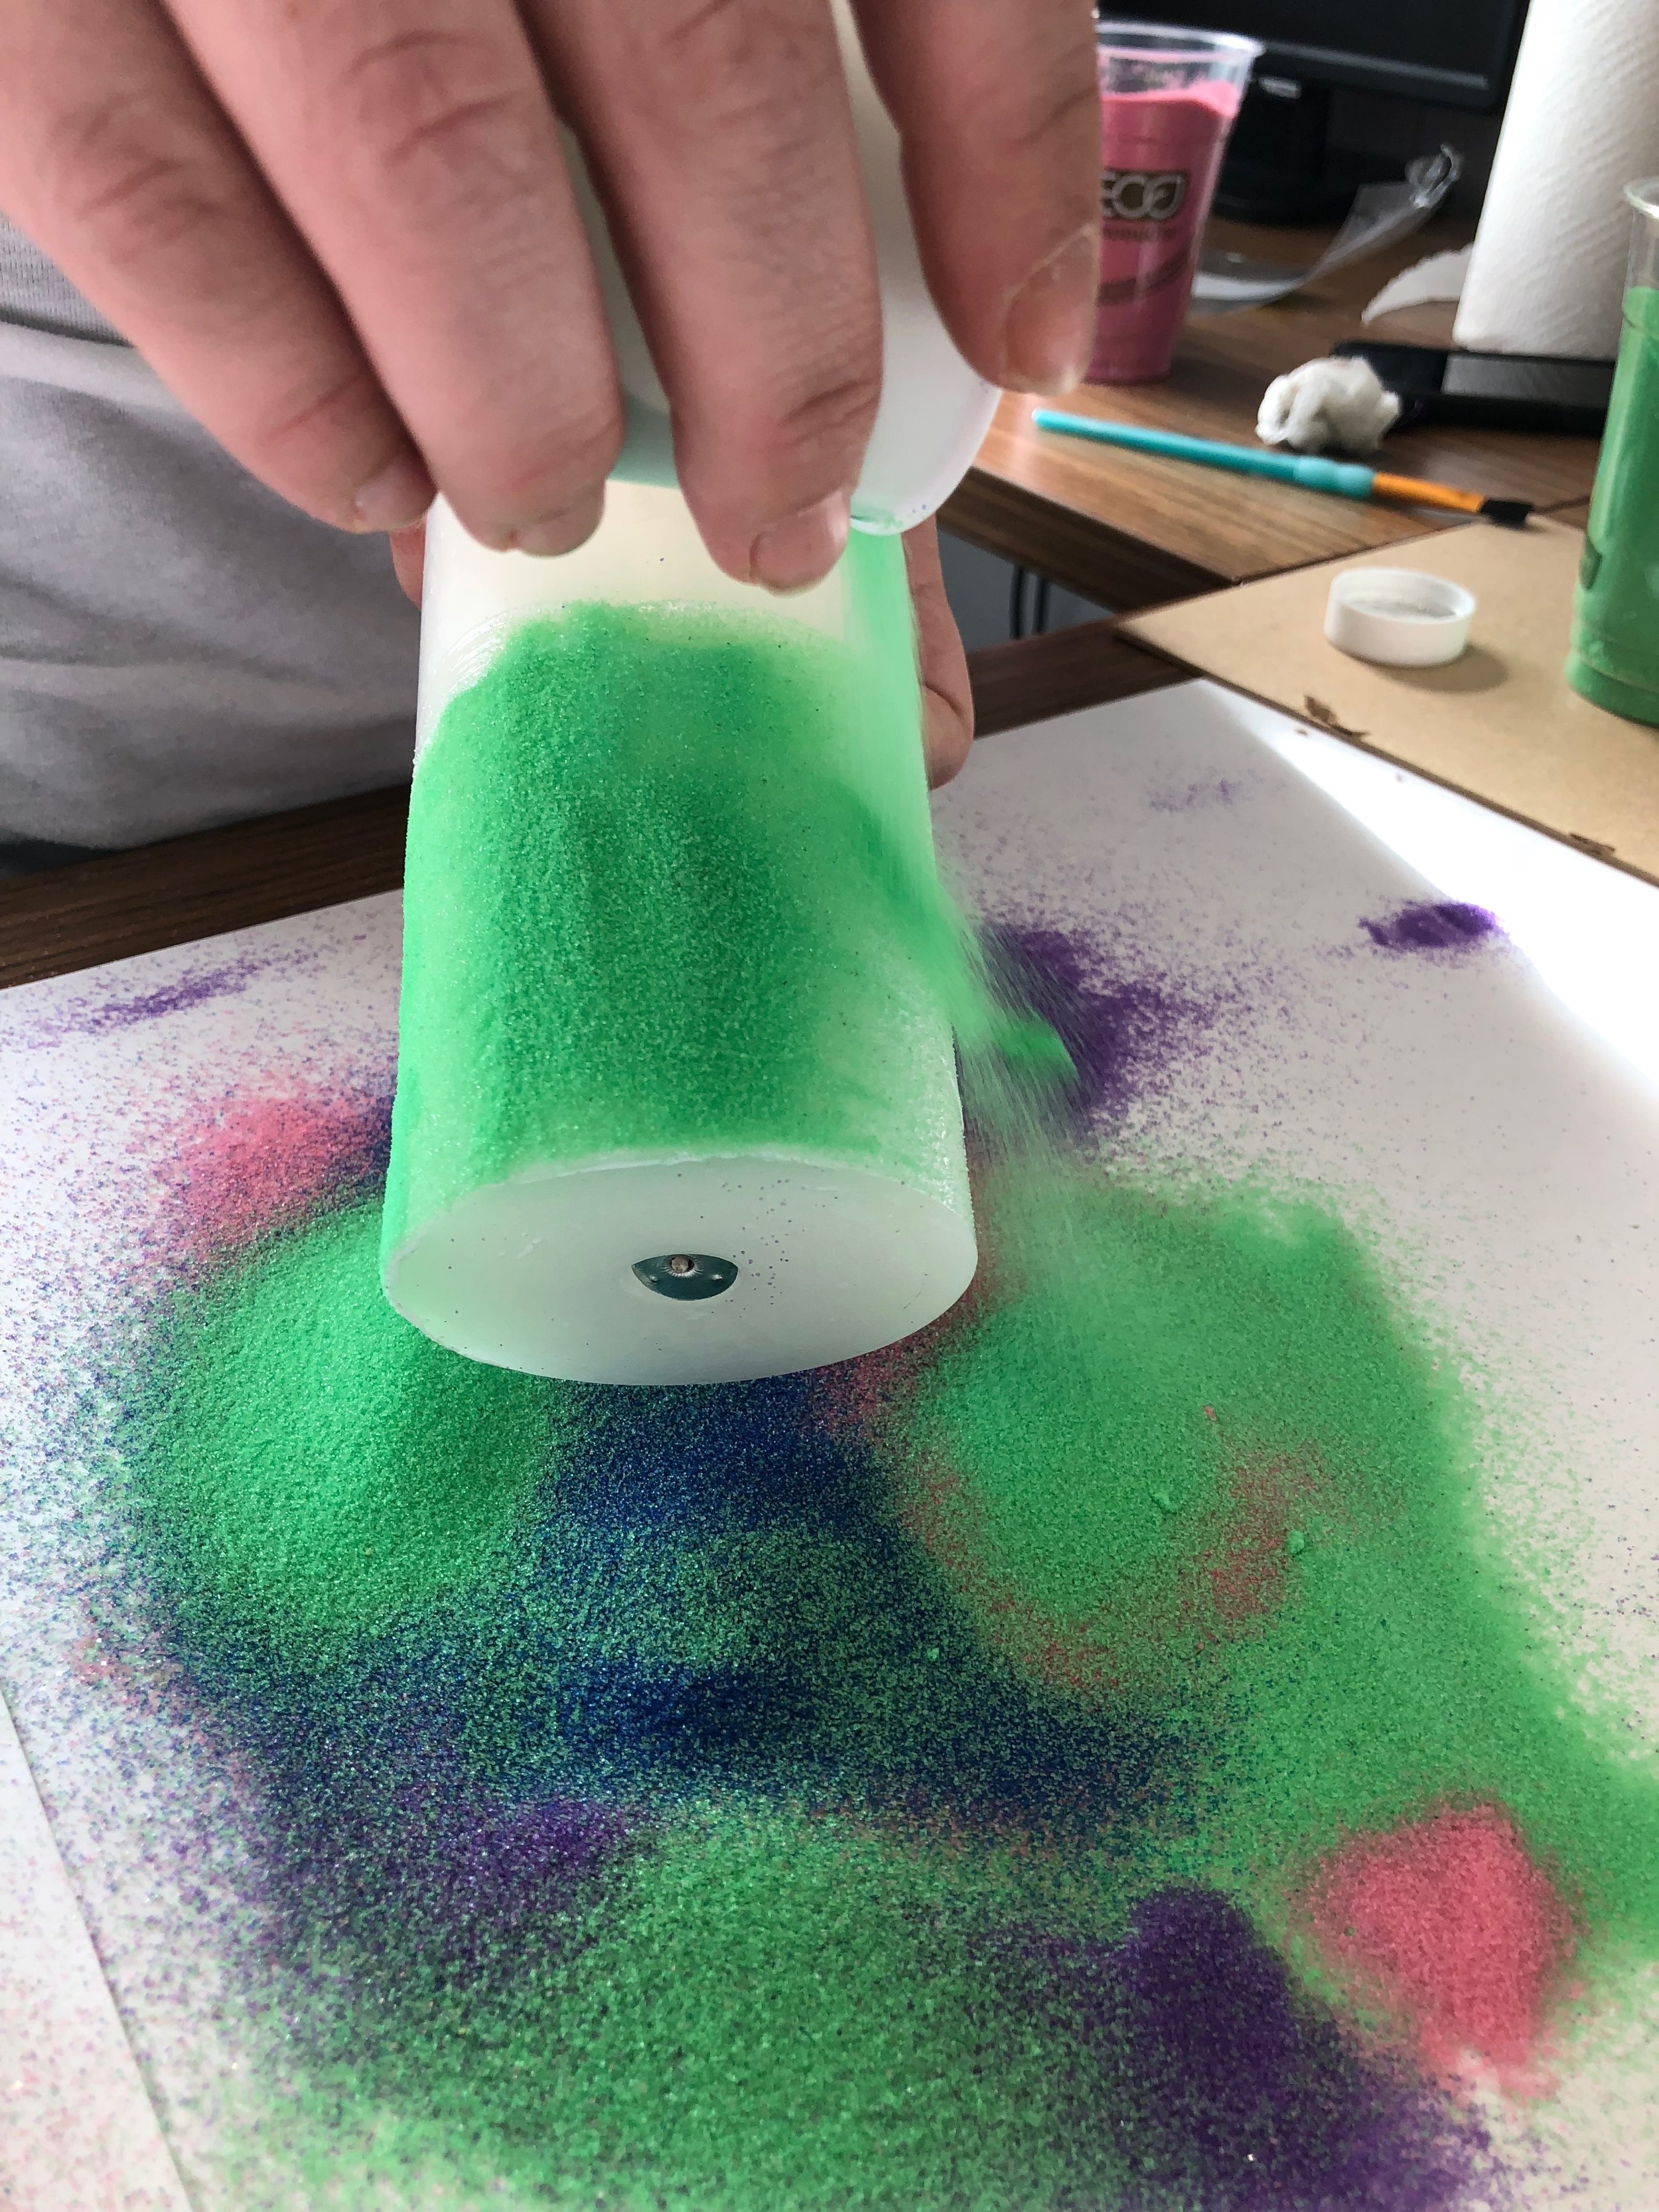
Crayola Play Sand is bleedproof and our all natural quartz sand resists abrasion better than typical sands. Each grain of sand has been screened and is completely round – giving it a smooth soft feel. Our sand is non-toxic, lead free and the colorant is bonded to the sand at 250°F which destroys any possible fungal material or biomaterial. As a matter of fact we don't even use chemicals in our cleaning process - it goes through an extremely hot water wash. 

And like all Crayola products, our Play Sand underwent extreme product testing, however, we don't do any animal testing. If you would like to find out more about the safe uses of our sand, we encourage you to visit official aquarium forums and blogs.          

Sand Writing with Crayola Play Sand

Teaching kids letter formation and shapes is very important so why not make it fun with a splash of color?  

Writing letters in the sandbox is a different method to practice letter and number composition. Turn up the fun using colored sand. There is not much of preparation needed; just simply add any color of Crayola Play Sand into a tray or a sandbox and you are ready for this writing-in-the-sand activity.   

Materials needed: 

  • Tray

  • Crayola Play Sand in any color

  • Set of cards with letters, numbers & shapes

Jump into Summer Colorfully & Safely with Crayola Play Sand!

Finally, the summer is here and we all know it’s time to open the doors and let the kids run riot outdoors. Bright, colorful, safe Crayola Play Sand lets children take their creative experiences outdoors. But how safe is Crayola Play Sand? Crayola brand has been a well-trusted brand for many years and all our play sand products are independently tested at Duke University &  BioScience Laboratories. Unlike beach sand, the smooth grains are thoroughly washed and dried to remove all contaminants and dirt. And be assured that absolutely no chemicals were used in washing our sand, only water!!!  To further ensure you that our Play Sand is safe, each grain is dried by heating them to 250°F which destroys any possible fungal or bio-material.

Let your summer be colorful and most importantly safe!